Company details
Note
Fields marked with * are required.
Basic company details
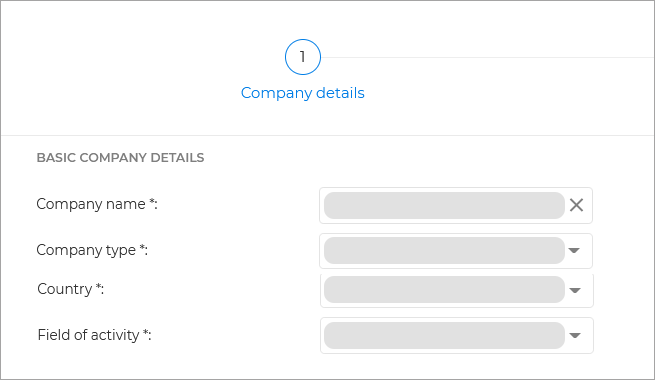
Company name - Enter the name of the new company.
Company type - Select the type of company account:
Partner, if the company is a security or service provider and uses GravityZone to protect its business clients, or it is local GravityZone distributor.
Customer, if the company uses GravityZone to protect just its own network.
Note
To switch a company from Partner to Customer make sure it does not have any customers assigned.
When a Partner company enrolled in the MDR service is converted to a Customer, it immediately loses access to the MDR service menu in GravityZone and can no longer access the MDR Portal.
A Customer company that is within the 30-day grace period following MDR service deactivation cannot be converted to a Partner. If such a change is required, contact Bitdefender Enterprise Support.
Country - Select the country in which the company is based.
Industry - Select the main field of activity in which the company operates in.
Management permissions

The company manages endpoint security - Select this option if you want this company and the companies under it to be able to manage endpoint security directly. By default, this option grants the following permissions to the new company:
View the computer network
Install security agents
Create and manage security policies
Run tasks
Manage quarantine.
Note
For Customer companies, these permissions cannot be revoked because the Customer must have access to its own network.
For Partner companies that are MSPs, this option must remain enabled, as they need these permissions to manage security of their clients' networks.
For Partner companies that are resellers only, this option must remain disabled. In this case, the Partner can still create other company accounts, manage subscriptions and view reports.
Contact details for MDR
This section is visible only when editing:
A Partner-type company
A Customer with a yearly MDR license
The information must be valid, as it is used by the MDR SOC team in emergency cases.
Editing a Partner
The information in this section is mandatory for non-MSP or MSP Partners who want to be enrolled in the MDR service and have access to the MDR portal. The MDR contact can either be an existing user account from the company you are editing or a custom contact.
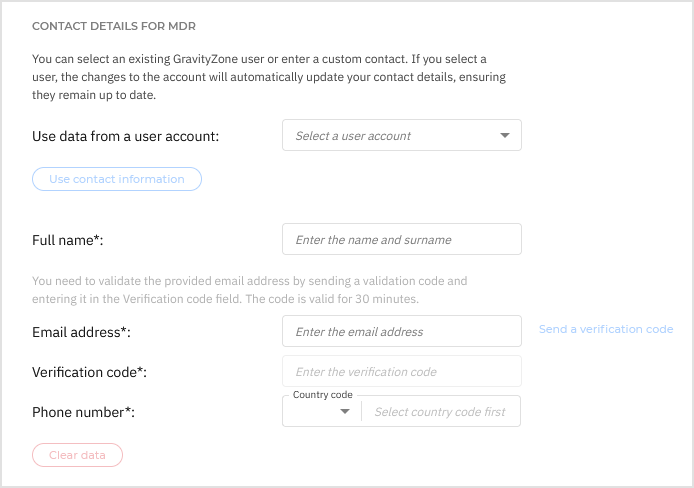
To use information from an existing account:
If this section already contains data, click Clear data to make updates.
Select a user account from the drop-down menu.
Click Use contact information.
The Full name, Email address, and optionally the Phone number will get auto-filled.
If the previously selected contact has never been verified, click Send a verification code.
An email with the verification code will be sent to the provided email address.
The code is valid for 30 minutes.
Enter the verification code received via email.
If no phone number is associated with the selected account, manually provide a valid one. This phone number will be saved to the user account information after you click Save.
Note
Any changes made to the selected account will automatically update the contact details, keeping them up to date.
To use a custom contact:
If this section already contains data, click Clear data to make updates.
Enter the Full name, Email address, and Phone number manually.
Click Send a verification code.
An email with the verification code will be sent to the provided email address.
Enter the verification code received via email.
After saving, the new emergency contact is automatically generated in the MDR portal. Additional contacts can be added later in the portal. For information on emergency contacts, refer to Emergency Contacts.
Important
Once the Partner is enrolled in the MDR service:
Their account and all accounts within the company are automatically migrated to the Login with GravityZone Identity Provider authentication method, which enables access to the MDR portal from GravityZone Control Center.
The Partner can access the MDR service page from GravityZone Control Center. For more information, refer to MDR service.
If the Partner is an MSP with MDR enabled for resale, the Partner can create other Partners with MDR enabled for resale or Customers with MDR enabled for own use.
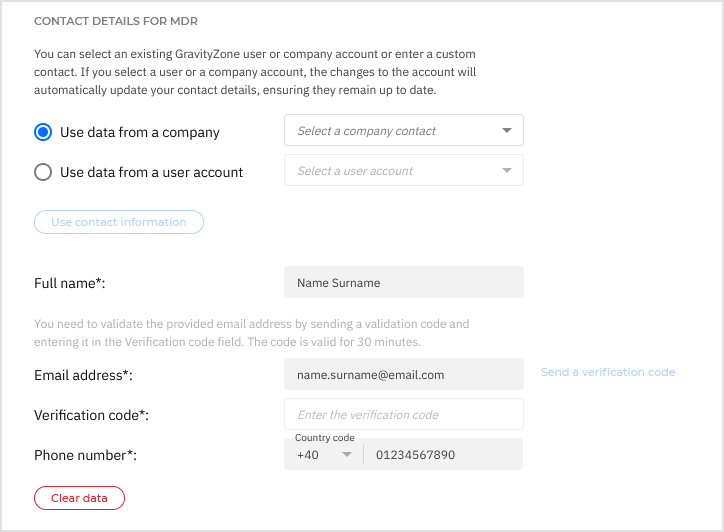
Editing a Customer with a yearly MDR license
The information in this section is mandatory for Customers with a yearly MDR license.
The MDR contact can be:
An existing user account from the Customer's company or any of the companies managing the Customer's company
The company account of an MDR Partner
A custom contact
To use information from an existing account, select Use data from a user account and follow these steps:
If this section already contains data, click Clear data to make updates.
Select a user account from the drop-down menu.
Click Use contact information.
The Full name, Email address, and optionally the Phone number will get auto-filled.
If the previously selected contact has never been verified, click Send a verification code.
An email with the verification code will be sent to the provided email address.
The code is valid for 30 minutes.
Enter the verification code received via email.
If no phone number is associated with the selected account, manually provide a valid one. This phone number will be saved to the user account information after you click Save.
To use information from a company account of an MDR Partner:
If this section already contains data, click Clear data to make updates.
Select Use data from a company.
Select a company contact from the drop-down menu.
Click Use contact information.
The Full name, Email address, and optionally the Phone number will get auto-filled.
If no phone number is associated with the selected account, manually provide a valid one. This phone number will be saved to the company account information after you click Save.
Note
Any changes made to the selected company or user account will automatically update the contact details, keeping them up to date.
To use a custom contact, follow these steps:
If this section already contains data, click Clear data to make updates.
Enter the Full name, Email address, and Phone number manually.
Click Send a verification code.
An email with the verification code will be sent to the provided email address.
The code is valid for 30 minutes.
Enter the verification code received via email.
After saving, the new emergency contact is automatically generated in the MDR portal. Additional contacts can be added later in the portal. For information on emergency contacts, refer to Emergency Contacts.
Additional details
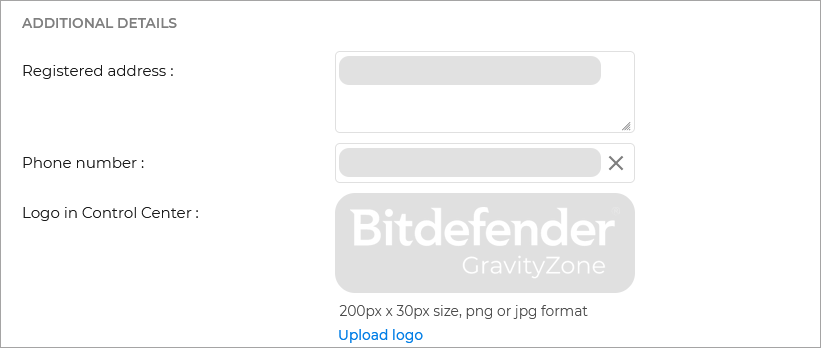
Registered address - Enter the physical address of the company’s office
Phone number - Enter the company's official phone number.
Logo in Control Center. You can add the company's logo image. All reports and email notifications issued for this company will include the logo image.
To add the company’s logo:
Click the Change button.
Browse for the image logo on your computer.
Click Open.
To reset the logo to the image provided by Bitdefender, click the Default button.