Viewing and managing scheduled reports
To view and manage scheduled reports, go to the Reports page from the left side menu.
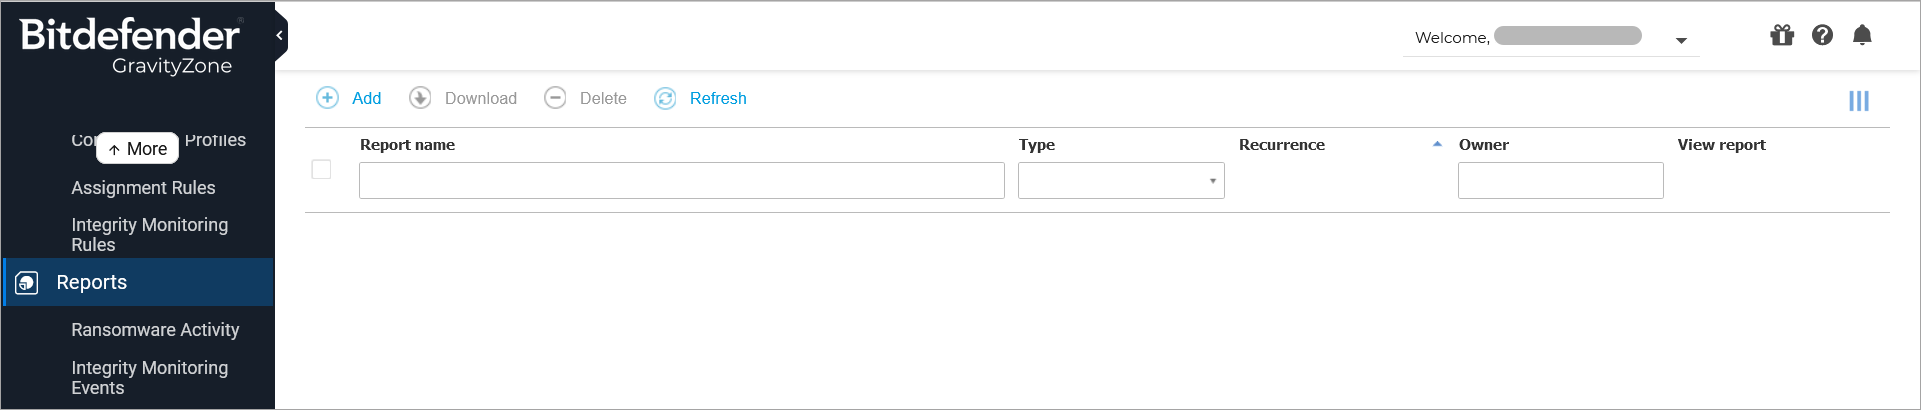
All scheduled reports are displayed in a table together with useful information about them:
Report name and type
Report recurrence
Last generated instance.
Note
Scheduled reports are available only for the user who has created them.
To sort reports by a specific column, simply click the header of that column. Click the column header again to change the sorting order.
To easily find what you are looking for, use the search boxes or the filtering options below the column headers.
To clear a search box, place the cursor over it and click the  Delete icon.
To make sure the latest information is being displayed, click the  Refresh button at the upper side of the table.
Viewing reports
To view a report, follow these steps:
Log in to GravityZone Control Center.
Go to the Reports page from the left side menu.
Sort reports by name, type or recurrence to easily find the report you are looking for.
Click the corresponding link in the View report column to display the report. The most recent report instance will be displayed.
To view all instances of a report, refer to Saving Reports
All reports consist of a summary section (the upper half of the report page) and a details section (the lower half of the report page).
The summary section provides you with statistical data (pie charts and graphics) for all target network objects, as well as general information about the report, such as the reporting period (if applicable), report target etc.
The details section provides you with information on each target network object.
Note
To configure the information displayed by the chart, click the legend entries to show or hide the selected data.
Click the graphic area (pie section, bar) you are interested in to view related details in the table.
Editing scheduled reports
Note
When editing a scheduled report, any updates will be applied starting with the report's next recurrence. Previously generated reports will not be impacted by the editing.
To change the settings of a scheduled report, follow these steps:
Log in to GravityZone Control Center.
Go to the Reports page from the left side menu.
Click the report name.
Change report settings as needed. You can change the following:
Report name. Choose a suggestive name for the report to help easily identify what it is about. When choosing a name, consider the report type and target, and possibly the report options. Reports generated by a scheduled report are named after it.
Report recurrence (schedule). You can schedule the report to be automatically generated hourly (by a certain hour interval), daily (at a certain start time), weekly (on a specific day of the week and start time) or monthly (on a specific day of the month and start time). Depending on the selected schedule, the report will only include data from the last day, week or month, respectively.
Settings.
You can schedule the report to be automatically generated hourly (by a certain hour interval), daily (at a certain start time), weekly (on a specific day of the week and start time) or monthly (on a specific day of the month and start time). Depending on the selected schedule, the report will only include data from the last day, week or month, respectively.
The report will only include data from the selected time interval. You can change the interval starting with the next recurrence.
Most reports provide filtering options to help you easily find the information you are interested in. When you view the report in the console, all information will be available, regardless of the selected options. If you download or email the report however, only the report summary and the selected information will be included in the PDF file. Report details will only be available in CSV format.
You can choose to receive the report by email.
Select target. The selected option indicates the type of the current report target (either groups or individual network objects). Click the corresponding link to view the current report target. To change it, select the groups or network objects to be included in the report.
Click Save to apply changes.
Deleting scheduled reports
When a scheduled report is no longer needed, it is best to delete it. Deleting a scheduled report will delete all the instances it has generated automatically to that point.
To delete a scheduled report, follow these steps:
Log in to GravityZone Control Center.
Go to the Reports page from the left side menu.
Select the report you want to delete.
Click the
 Delete button at the upper side of the table.