Managing risks
Run risk a scan task
Risk Management gathers and analyzes data through risk scan tasks ran on endpoints in your network.
To scan your endpoints for risks, follow your preferred method from the available options:
Run an on-demand Risk scan task from the Network page on the selected endpoints. For more information refer to Using actions.
Run an on-demand scan by using the Scan button available in the top area of the following pages: Findings, Vulnerabilities, Account risks, Resources, and Accounts.
Configure a scheduled risk scan task in the security policy, which runs automatically on target endpoints at a defined interval.
After the risk scan has finished successfully, GravityZone calculates several risk scores based on the indicators of risks:
An overall company risk score
Individual risk scores for vulnerable applications, accounts, and resources such as endpoints and cloud assets.
Note
Risk scan tasks run with all the indicators of risk activated by default. If you decide not to address certain detected risks, you can ignore their corresponding indicators.
The overall company risk score will be recalculated considering the ignored indicators of risk. For more information, refer to Company risk score calculation.
Analyze the risk scan results
GravityZone displays a summary of the results in the Risk Management section of the ASM dashboard. For more information, refer to The Risk Management dashboard.
For a deeper analysis of the results and risk mitigation, go to the Findings, Vulnerabilities, Account risks, Resources and Accounts pages under the Risk management section. The main information is displayed in the page, while additional information for each detection is available in a side panel. For more information, refer to Findings, Vulnerabilities, Account risks, Resources, and Accounts.
As a Partner, you can view the overall risk score of your managed companies in the Companies view page. For more information, refer to Companies view.
Fix risks
Risk mitigation involves taking an action to remediate the source of the detected vulnerability. This may involve actions such as changing settings, updating software, modifying policies, or changing passwords.
You have several options to resolve a risk:
Automatic mitigation - You can use this option to create a task that will automatically make the necessary modifications to fix the issue. This option is available only for findings.
Manual mitigation - This option needs to be performed manually. Specific threats needs actions taken that can not be automated. The steps required to fix the risk can be found in the Additional information side panel, under the Risk mitigation section.
Patch app - This option automatically updates the app to the latest available version that fixes the vulnerability.
For this option to be available, the following requirements must be met:
Your license must include access to the Patch Management feature.
The endpoint where the risk was detected must have the Patch Management module installed.
The endpoint where the risk was detected must have a policy installed that has the Patch Management feature enabled.
An update must be available that includes a fix for the detected vulnerability.
Important
After fixing a risk, a new scan may not immediately reflect the changes. It can take up to an hour for the changes to be accurately detected.
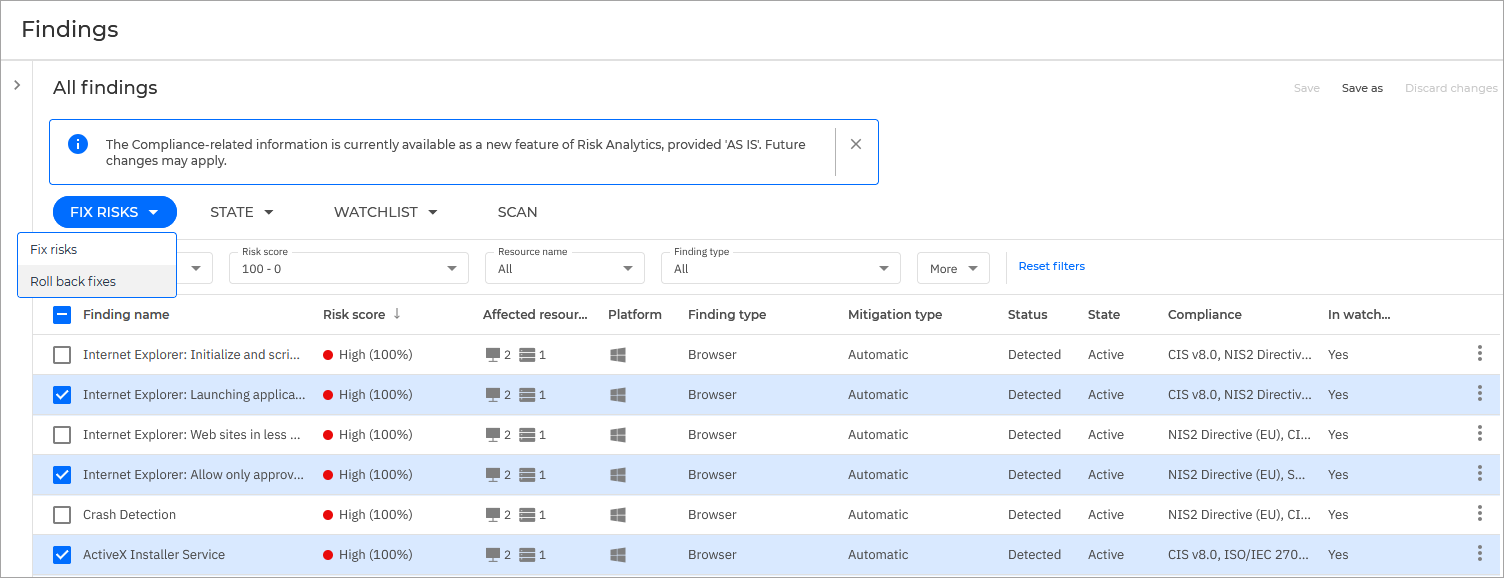
Roll back fixes
Mitigation for specific risks also comes with a reverse option. After applying a fix for a finding or a resource, you can use the Roll back risk option to automatically reverse all changes performed by the Fix risk task.
To perform a roll back fix, follow these steps:
Identify the risk using one of the sections from Risk Management.
Select the corresponding checkbox under the first column on the grid. You can select multiple risks.
Click the Fix risk button on the top of the list and select Roll back fixes.
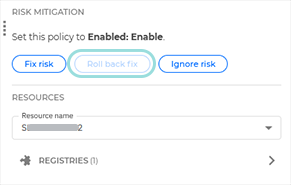
Alternatively, you can click the Roll back fix button located in the Additional information panel, under the Risk mitigation section.
Ignore risks
If there are certain risks that you feel cannot be resolved at the moment, you can temporarily remove them from the list of displayed risks to reduce the clutter. Doing this will also remove from the risk from the data processed by the Risk Management Dashboard.
You can do this using these steps:
Find the risk using one of the Risk Management pages.
Select the corresponding checkbox under the first column on the right side of the page. You can select multiple risks.
Click the State button on the top of the list and select Ignore threat.

Alternatively, you can click the Ignore threat button found in the Additional information panel, under the Risk mitigation section.
Note
You can reverse this action by repeating the process and selecting Restore ignored risks instead.
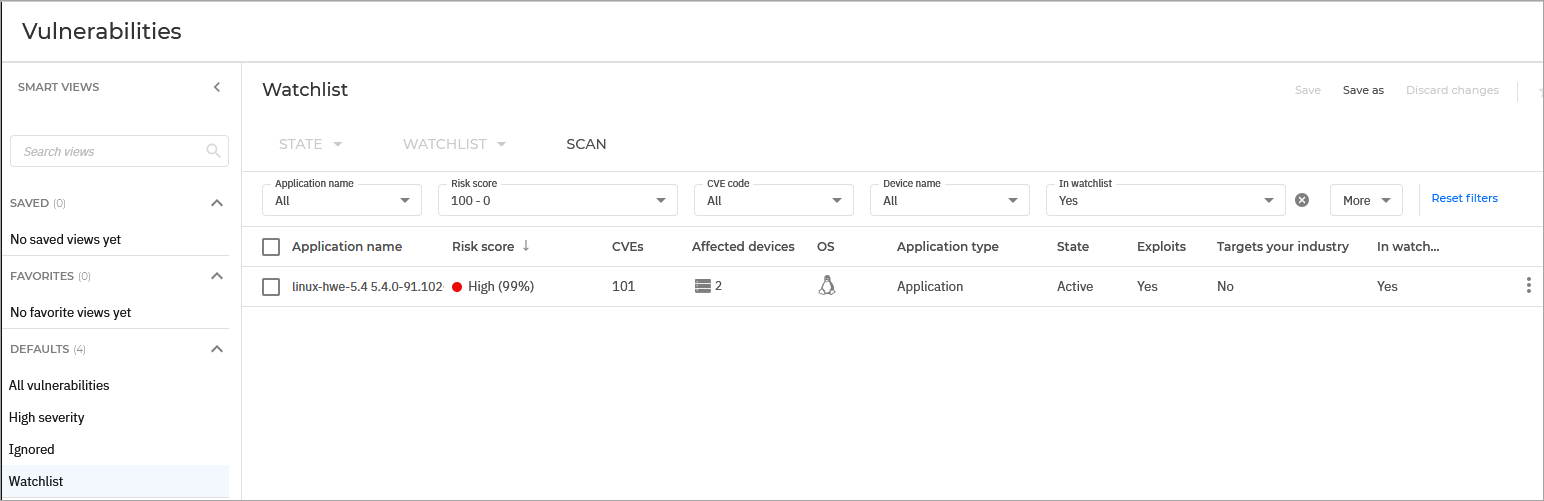
Work with watchlists
Watchlists are default smart views that start off as empty and provide you with a way of tracking high priority risks.The following pages under the Risk Management section have their own watchlist: Findings, Vulnerabilities, Account risks, Resources, and Accounts.
To add one or multiple risks to a watchlist, follow these steps:
Access one of the pages under the Risk Management section.
Find the entry you need and select the corresponding checkbox. You can select multiple entries.
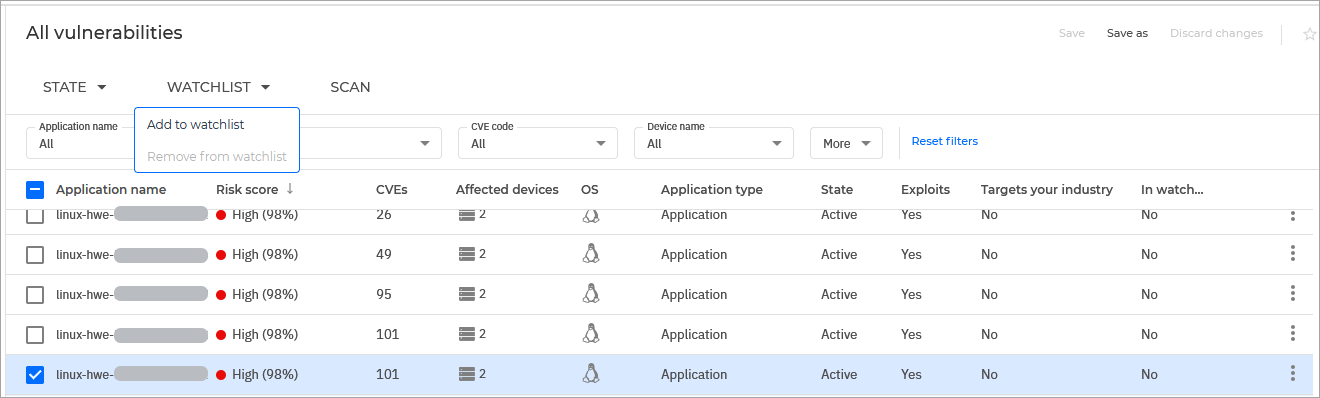
Click the Watchlist button at the top of the list and select Add to watchlist.
Alternatively, you have two other options for an individual risk:
Click the
 Actions menu at the right side of the entry and select Add to watchlist.
Click the Add to watchlist button found in the Additional information panel, under the General section.
To reverse this action, repeat the process and select Remove from watchlist instead.
To view a watchlist, click the Watchlist option under the Default section in the Smart views panel.