Managed Detection and Response
As a Managed Service Provider (MSP) you can choose the Managed Detection and Response (Bitdefender MDR) service for you and your customers, to benefit from outsourced cybersecurity operations 24 hours a day, every day of the year.
The Bitdefender Managed Detection and Response (Bitdefender MDR) service combines cybersecurity for endpoints, network and security analytics with the threat-hunting expertise of a SOC fully staffed by security analysts with expertise from a wide range of environments, including global intelligence agencies.
Start the trial
For the purpose of this guide, these steps are applicable when enrolling a direct client. If that is not the case, steps 2 and 3 need to be performed on the target company's direct Partner.
To start the trial, follow the steps below:
Log in to GravityZone Control Center with a partner account.
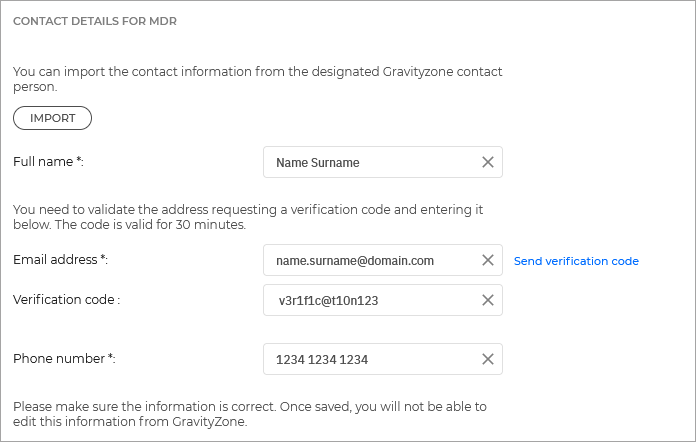
Make sure your company has all information under My Company > Contact Details for MDR filled in, including the email address and phone number.
Important
If this information is not filled in, no companies will be eligible for enlistment in the trial. This requirement does not apply to Partner companies that have had the service enabled for resell and have started the onboarding process prior to April 2024.
Make sure the Your Bitdefender partner can assist with the security management option is enabled.
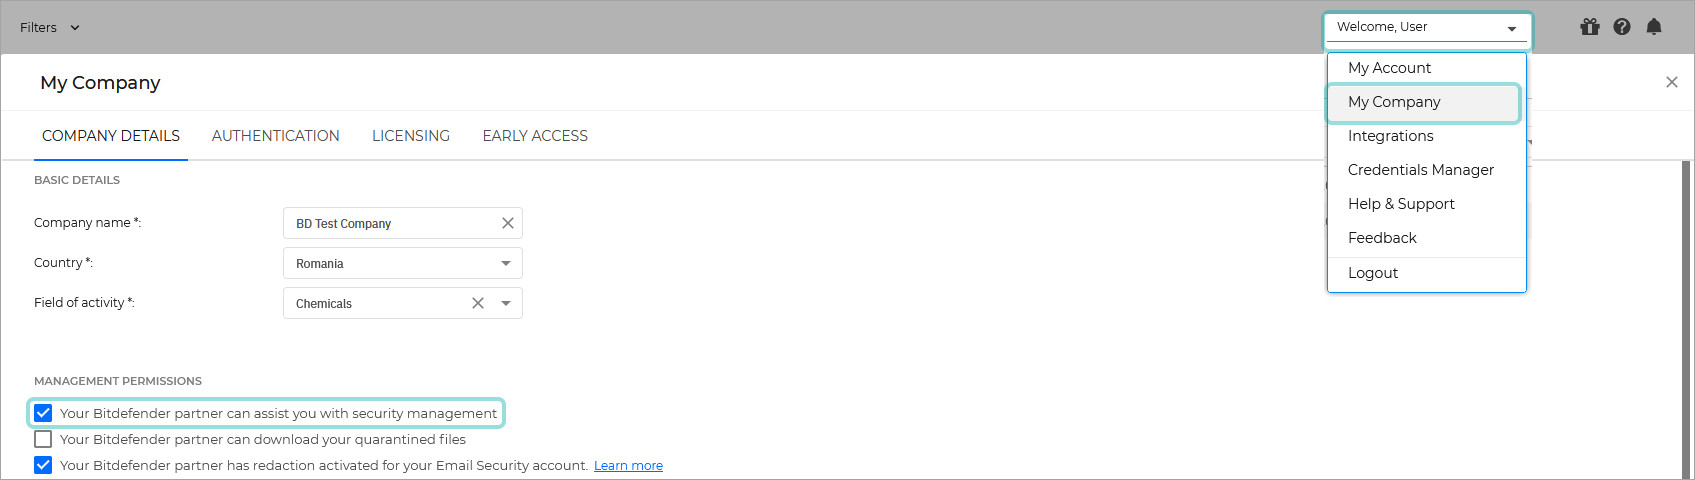
This option needs to be enabled both for your company and the target company while using the MDR service.
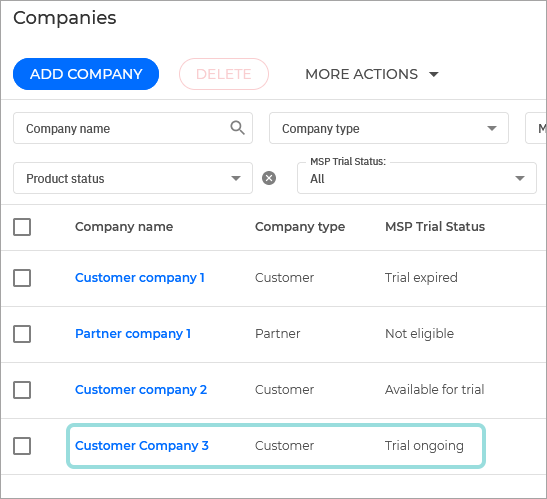
Go to the Companies page from the left side menu.
Click on the name of the client company you want to enroll in the trial.
Important
The company's direct partner must have valid data entered for all the fields in the My Company page, under the Contact Details for MDR section. When onboarded, an Emergency Contact will automatically be created in the MDR console using this information.
This information is used by the MDR Customer Success Team to contact the Partner in the event of a security incident detected for the customer's company.

Tip
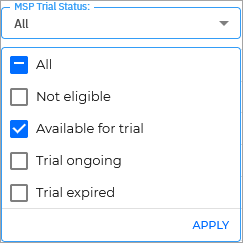
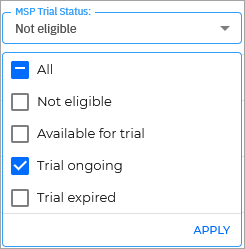
Only eligible companies can be enrolled in a product trial. Check the Product Trial status column to see the companies that are eligible for a trial.
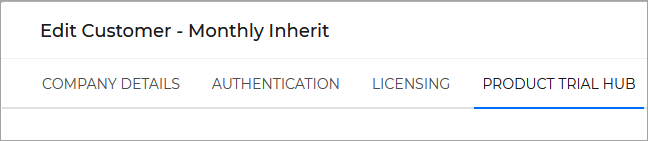
The Edit company window is displayed.
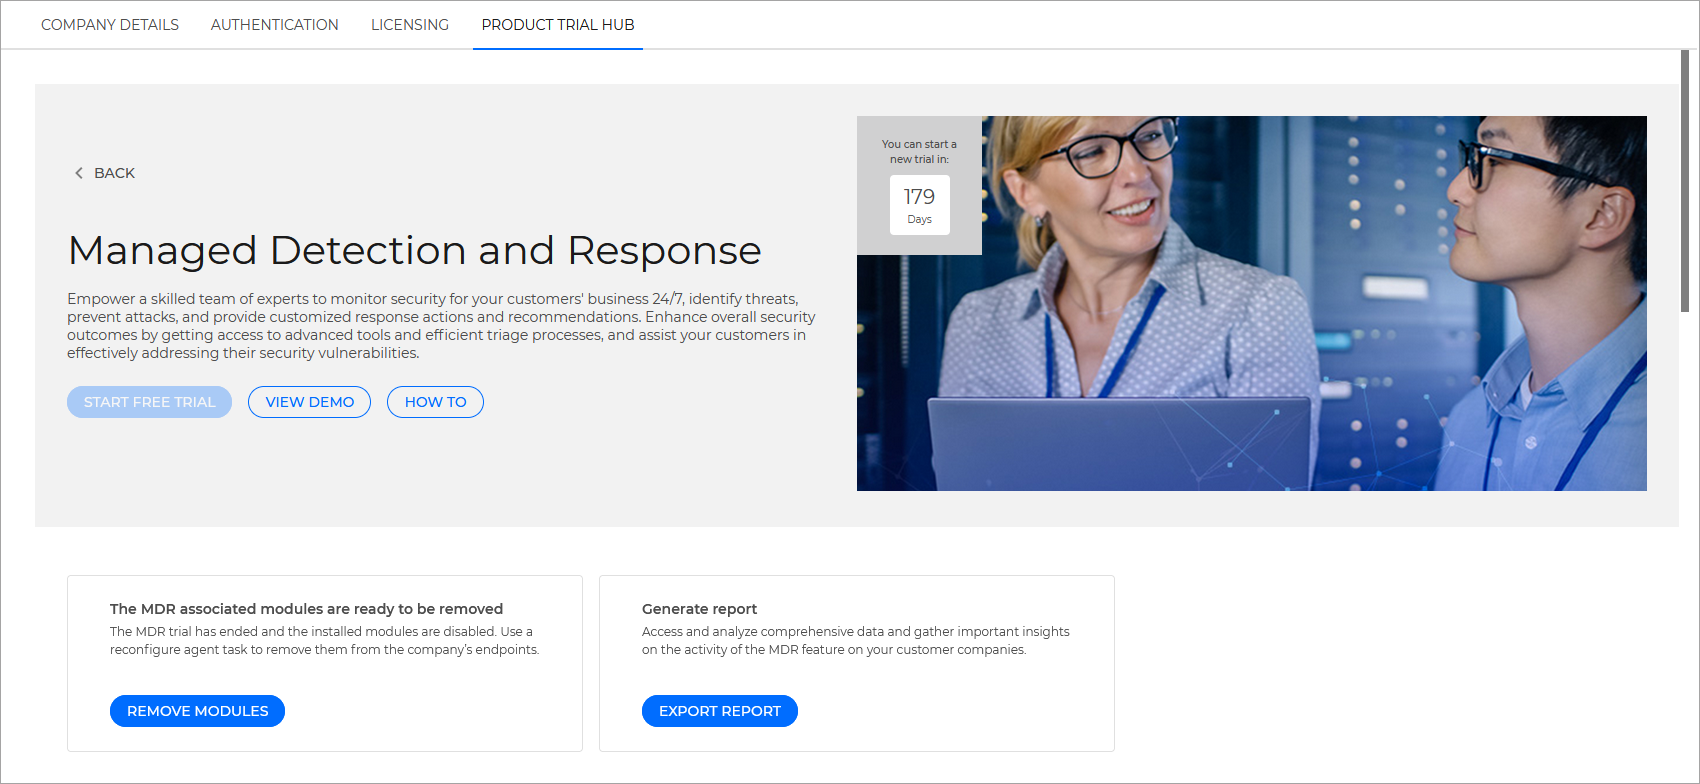
Go to the Product Trials Hub tab.
Select Learn more under the Managed Detection and Response section.
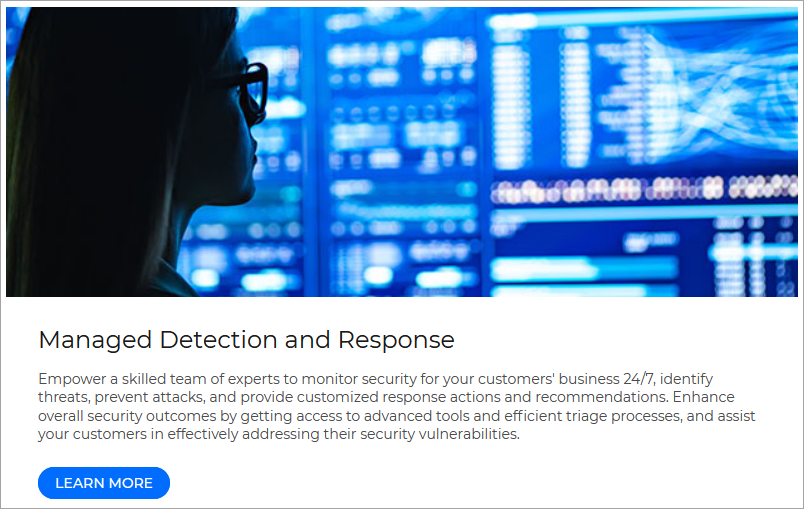
The individual product trial page is displayed.
Select Start free trial.
Note
Companies that enroll in the MDR trial that do not have the ATS or EDR features enabled, will have them enabled for the duration of the trial. No feature included in the trial will result in additional charges or changes in your monthly license usage reports.
A confirmation window is displayed.
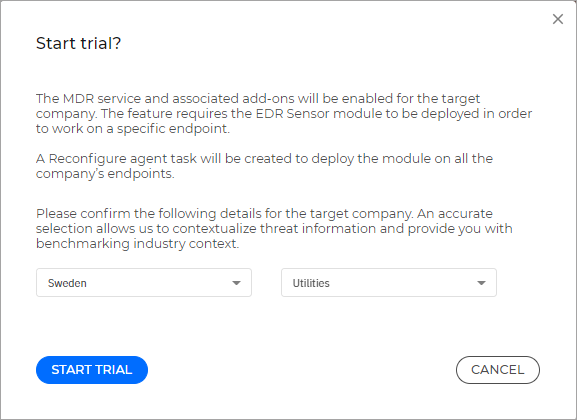
Confirm your company's location and industry and elect Start trial to confirm the enrollment.
The trial has started and the onboarding process will begin soon. The Product Trial Hub tab is displayed, containing updated trial information and buttons.

A Reconfigure Agent task is created for every eligible endpoint on the target company, which will deploy the EDR Sensor module.
The company's trial status is updated:
The features included in the trial are enabled in the company's Licensing page:

First steps
Once all the prerequisites have been met, the following events will trigger:
An email is sent to the Partner company with login instructions for the MDR console:
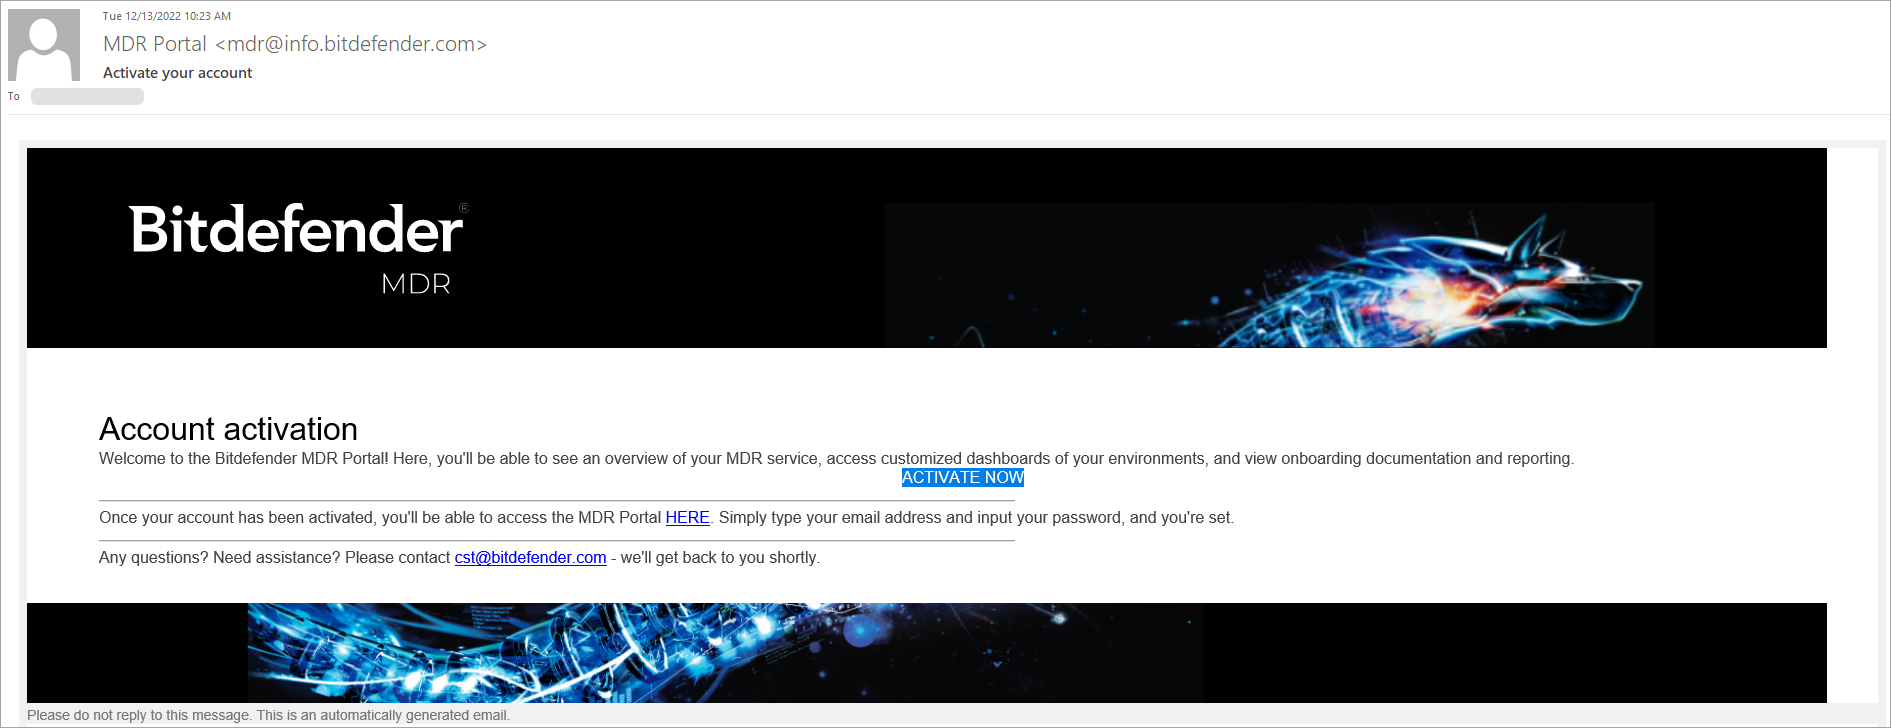
For more information on getting started with the MDR console, refer to this kb article.
Note
If the Partner already has an account on the MSP platform, no email is sent.
The onboarding process will initiate for the Client company. This process is automated.
To get get started using MDR, follow these steps:
Read the requirements for the MDR console.
Open the onboarding email, set up your credentials, and log in to the MDR console.
Familiarize yourself with the MDR console:
Read our MDR Portal Getting Started guide.
Go through the MDR Portal Interface walkthrough.
Learn more about the MDR Portal Dashboards.
Go to the Pre-Approved Actions page to configure what actions the SOC team can take without explicit approval in case of an emergency. These settings apply to all your clients.
Go to the Users page and set up the required accounts for your organization.
Go to the Emergency Contacts page and create one or more contacts.
When faced with an emergency that requires an action that must be handled by your or your client, the SOC team will contact the designated person and communicate the situation.
Tip
We recommend adding multiple decision makes, preferably working in different time zones to have a 24/7 coverage.
Configure and install the feature
If your endpoints already have the BEST agent deployed, a Reconfigure Agent task is created automatically when the trial starts to add the EDR Sensor module to all eligible endpoints on the target company.
Tip
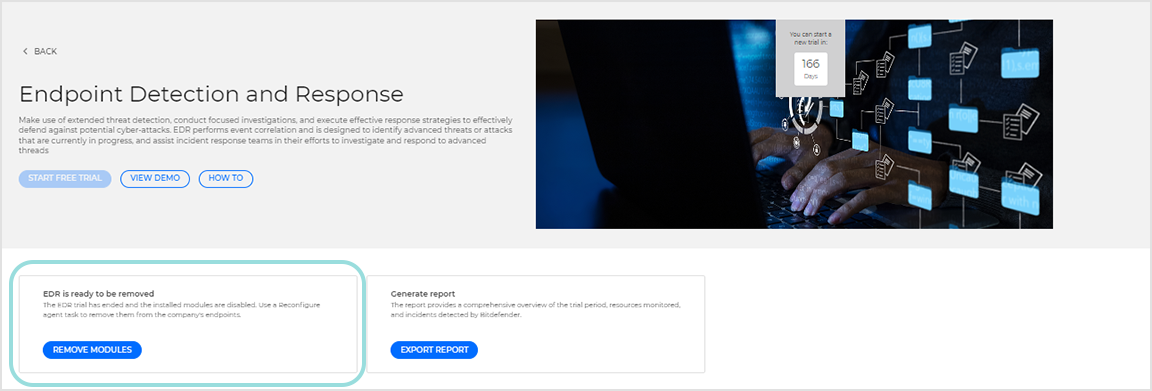
If the reconfigure client task fails, you can go back to the Product Trial Hub page for EDR and click the Add new module button:
If the task fails to add the module to your endpoints, check the task status and try manually creating another one. If the problem persists, contact support.
Tip
You can click the Generate Report button to open the Reports page in the MDR console.
If no agent is installed, you will need to use an installation package to deploy BEST on your endpoints along with all required modules.
To start using this feature, follow the steps below:
Log in to GravityZone Control Center.
Go to the Installation Packages page from the left side menu.
Click the Create button in the upper-right side of the screen.
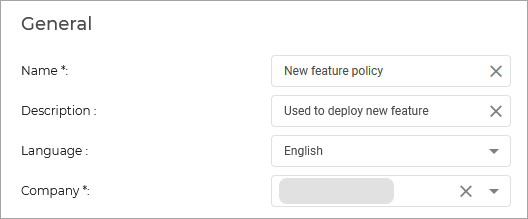
Type in the Name and Description for the new installation package.
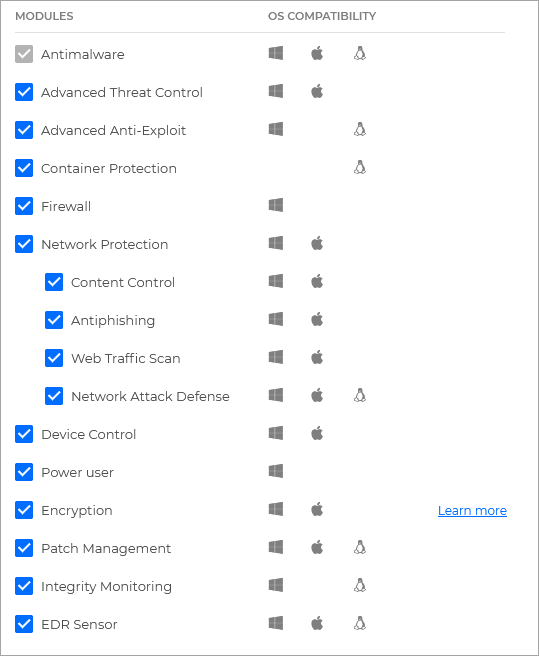
Select the modules you wish to deploy.
Note
Make sure you include the EDR Sensor module.
Click Save.
Select the newly created package from the list of packages and click Send download links.

Enter the email addresses of the recipients and click Send.
Policies are used to enable and configure features both on endpoints and in terms of general functionality. To fully benefit from the technology we recommend having the features enabled on all policies deployed on your clients' endpoitns.
Apply the following changes to the policy of your choice:
Log in to GravityZone Control Center.
Go to the Policies page from the left side menu.
Edit the policy you want applied to the endpoints that use this feature.
Note
Alternatively, you can create a new policy.
Under Incident Sensors , enable the module.
Under Antimalware > Hyperdetect, make sure the feature is enabled.
Under Sandbox Analyzer > Endpoint Sensor section and make sure the Automatic sample submission from managed endpoints check box is selected.
In the same section, configure the available options, such as connection settings, analysis mode, remediation actions, and content prefiltering, which includes exceptions from submission and file size limit.
For details on configuring this feature in policy, refer to Sandbox Analyzer.
Save your policy.
If you created a new policy, apply it on the endpoints where the feature is deployed:
Go to the Network page from the left side menu.
Select the endpoints you want to apply the policy to.
Click the
 Assign Policy button at the upper side of the table.
Select the policy you want to apply.
Click Finish.
Note
For more information, refer to Assigning device policies
If you have edited an existing policy, make sure it is applied to all endpoints where the feature is deployed.
This will ensure that the feature is enabled and configured to best suit your company's needs.
View results
Once the onboarding is complete and the service is fully enabled, you can check the MDR Portal Dashboards to verify if all the company's endpoints are being monitored.
You can also go to the Reports page and view information regarding the activity of the service.
Manually stop the trial
Log in to GravityZone Control Center with a partner account.
Go to the Companies page from the left side menu.
Click on the name of the company you want to remove from the trial.
Tip
You can use the the Product Trial status column to see the companies that are have an ongoing trial.
The Edit company window is displayed.
Go to the Product Trials Hub tab.
Select Learn more under the Endpoint Detection and Response section.
The Endpoint Detection and Response trial page is displayed.
Select Stop trial.
A confirmation window is displayed.

Select the Remove module from endpoints checkbox to automatically create a Reconfigure agent task and remove the EDR Sensor module from all eligible endpoints on the target company.
If requested, a Reconfigure Agent task is created for every eligible endpoint on the target company, which will remove the EDR Sensor module. If you do not remove the modules, they will remain on the company's endpoints, but the feature will no longer be licensed.
Click End trial to confirm the request.
The trial has ended.