Using alerts
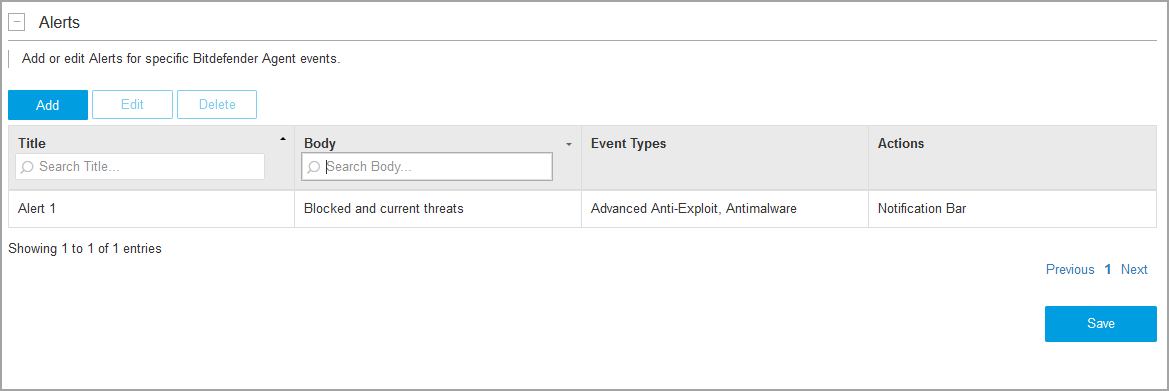
In the Alerts section of the Configuration page, you can create, edit and delete alerts for Bitdefender agent events generated after detecting threats in your synchronized inventory. The section displays alerts by name, description, the event types that triggered them, and the actions taken after the alerts were triggered.
Use the search boxes under the Title and Body columns to find specific alerts. Click the headers of the Name and Description columns to reverse the order of the displayed alerts.
Alerts apply only to synchronized agents under synchronized organizations.
Using alerts requires Event Push Service API enabled for GravityZone API Key.
Creating alerts
To create an alert:
In the Alerts section, click Add.
In the new window, fill in the following details:
Title - a relevant name.
Body - information that can help you easily identify the alert.
Select the events for which you want to trigger the alert by using the corresponding check boxes:
Advanced Anti-Exploit.
Antimalware.
Antiphishing.
Advanced Threat Control (ATC).
Network Attack Defense (NAD).
Ransomware Detection.
Make the selection more granular by using the check boxes under the Blocked threats and Current threats columns. Blocked threats are those against which Bitdefender has already taken actions at the moment when the alert is triggered. Current threats indicate that Bitdefender has detected them, but they are still present on the machine.
You can select check boxes one by one or all at once in the column header. For example, select the check box next to Current threats to get alerts for all threats detected by Bitdefender that are still present on the machine and may require your intervention. Some event types, such as Antiphishing and Ransomware Detection, are automatically managed by Bitdefender and have active check boxes only under Blocked threats.
To learn about Bitdefender modules that generate these events, refer to Policy setup.
Select and configure Alert exclusions to reduce the amount of Network Attack Defense alerts. With this option, the Bitdefender plugin ignores events generated by probing agents when using tools like Kaseya VSA Network Discovery and LAN Watch.
To exclude a probing agent, click to expand Alert exclusions and use the drop-down list next to Network Attack Defense field.
Note
For security reasons, it is recommended to use this option carefully.
Specify what actions to be taken after the alert is triggered:
Create VSA Alarm – the Bitdefender plugin automatically generates a notification in the Monitor > Status > Alarm Summary section of Kaseya VSA.
Create VSA Ticket – the Bitdefender plugin automatically generates a ticket in the Service Desk > Operations > Ticket section of Kaseya VSA.
Send Email – select Kaseya VSA users that you want to receive the alert by email.
Show in Alerts – a notification appears for selected users in Kaseya VSA notification bar, under Alerts.
Show in Info Center – a notification appears for selected users in Kaseya VSA notification bar, under Messages, and in the Info Center > Desktop > Inbox section of the Kaseya console.
Run Agent Procedure - the Kaseya Agent will take an action on the target machine (for example, reboot the system). For more information about agent procedures, refer to Kaseya Agent Procedures.
Click Save.
Editing alerts
To edit an alert:
Click the alert in the table to select it.
Click Edit.
Make the changes that you want in the configuration window.
Click Save to apply the changes.
Deleting alerts
To remove an alert:
Click the alert in the table to select it.
Click Delete.
You can delete only one alert at a time.