Cloud Security API
Introduction
Bitdefender's RESTful (REST) APIs allow developers to automate business workflows. A REST API uses commands to obtain and manipulate resources and data. The state of a resource at any given timestamp is called a resource representation.
The API calls are performed as either GET HTTP or POST HTTP requests with a JSON payload.
A REST API uses existing HTTP methodologies defined by the RFC 2616 protocol. There are two types of REST APIs available for Cloud Security:
GET - you can use this type of API to retrieve a data and resources.
The GET method refers to a HyperText Transfer Protocol (HTTP) method that is applied while requesting information from a particular source. It is also used to get a specific variable derived from a group. The HTTP POST asks for input of information from the supplying browser into the server’s message system. Structures of HyperText Markup Language (HTML) come in either POST method or GET method. The method applied, be it the POST method or the GET method, settles on how form data shall be presented before the server.
POST - you can use this type of API to create resources.
This method allows data to be sent as a package in a separate communication with the processing script. This means that data sent through the POST method will not be visible in the URL, as parameters are not sent along with the URI.
The format of an HTTP POST should have HTTP headers, followed by a blank line, followed by the request body. POST request can be used to submit a web form or upload a file, but it is critical to ensure that the receiving application resonates with the format being used. The Content-Type header indicates the type of body in the POST request.
Each API call targets an endpoint and passes a set of parameters. There are two types of parameters:
required - MUST be always passed to the called method.
optional - has a default value and can be omitted from the parameters list. Any optional parameter can be skipped, regardless its position in the parameters list.
Example:
GET /setting/scans/22f5ae90-f3da-4f57-9d89-0f860e******
API requests
The API calls are performed as HTTP requests with raw JSON messages as payload. There are both GET and POST endpoints requests available.
There are multiple endpoints available, each one targeting distinct areas or functionalities in the product.
The base URL for all APIs is different, based on your console:
Base URL 1:
https://api.e.cs.gravityzone.bitdefender.com/v1/
Base URL 2:
https://api.u.cs.gravityzone.bitdefender.com/v1
Base URL 3:
https://api.a.cs.gravityzone.bitdefender.com/v1
The full URL of the API is obtained by following these steps:
Open a new browser tab and log in to your Cloud Security console.
Copy the part of the URL, starting after
https://apiand up togravityzone.bitdefender.com: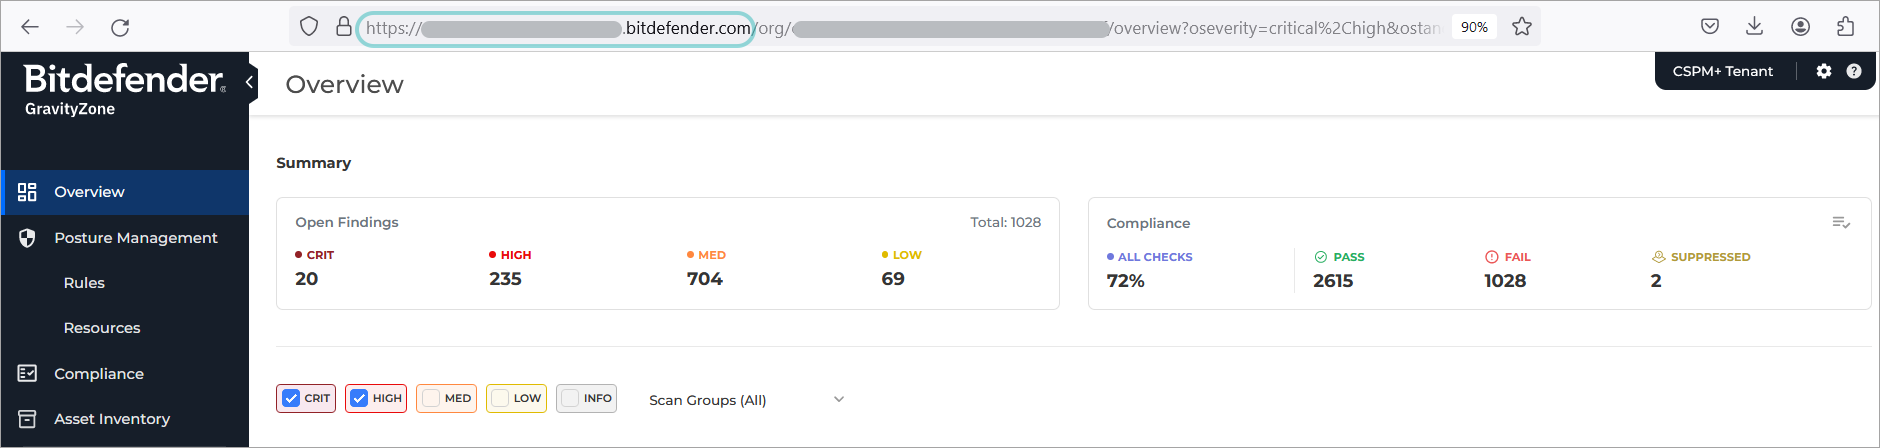
Paste it into this template:
https://api.*.**.gravityzone.bitdefender.com/v1
Currently, the following APIs are available:
Note
Batch requests and notifications are not currently supported by the Cloud Security console.
API Keys
The API key is a unique key that is generated in the Integration page of the Cloud Security console. Each API key allows the application to call methods exposed by one or several APIs. The allowed APIs are selected at the time the API key is generated.
To generate API keys:
Log in to
https://gravityzone.bitdefender.com/using an administrator account.Go to the Cloud Security page and click the Open Console button.
A new browser tab opens and you are logged into the Cloud Security console.
On the upper right side of the page click the Settings button and select Integrations:
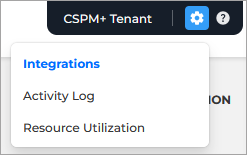
The Integrations page is displayed.
Under the API Integration section, for API Token, click the Create button.
Note
If you already have API keys created, the button is called View API tokens.
The API Token panel is displayed.
Click the Create new API token button on the upper right side of the panel.
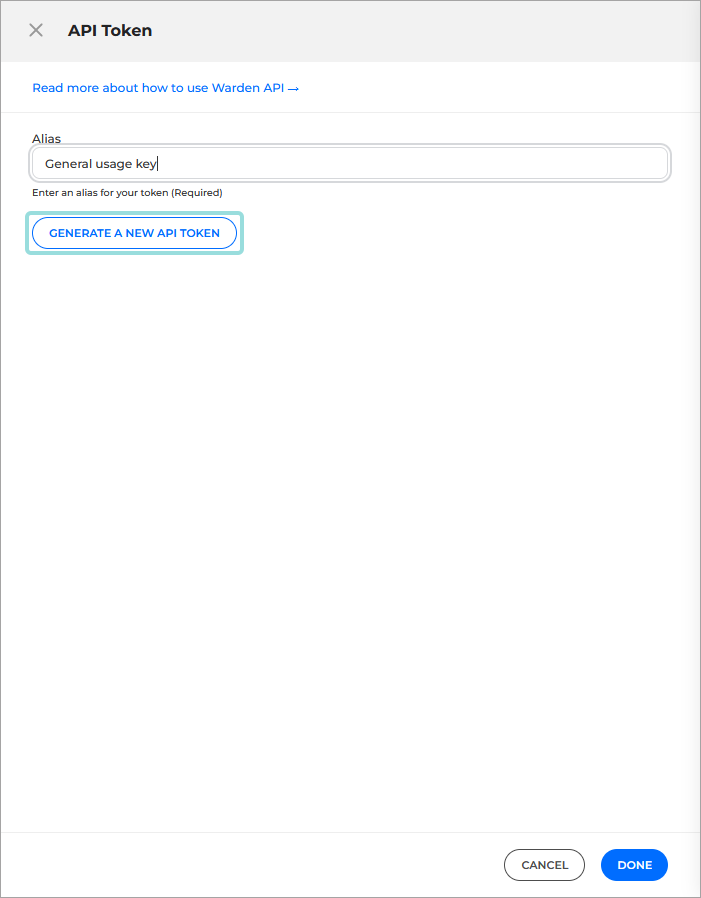
Additional details appear on the panel.
Type in an Alias describing the purpose of the key so you can later identify it, and click the Generate a new API token button:
A new API key is generated and displayed:
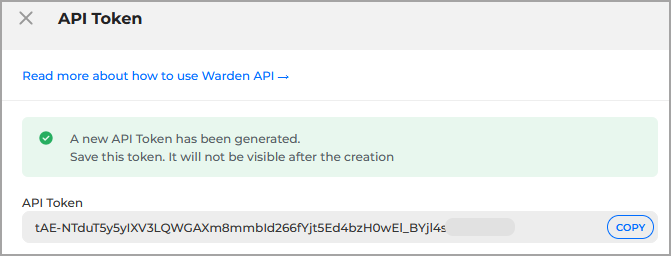
Copy the token somewhere safe.
Important
Once you close this panel you will no longer be able to display the key from the Cloud Security console.
Click Done.
The new key is added under the API token pane in an obfuscated format along with its Alias. The creation date is displayed in the Integrations page, under the Integration date column.
Tip
Only the date for the latest Key is displayed.
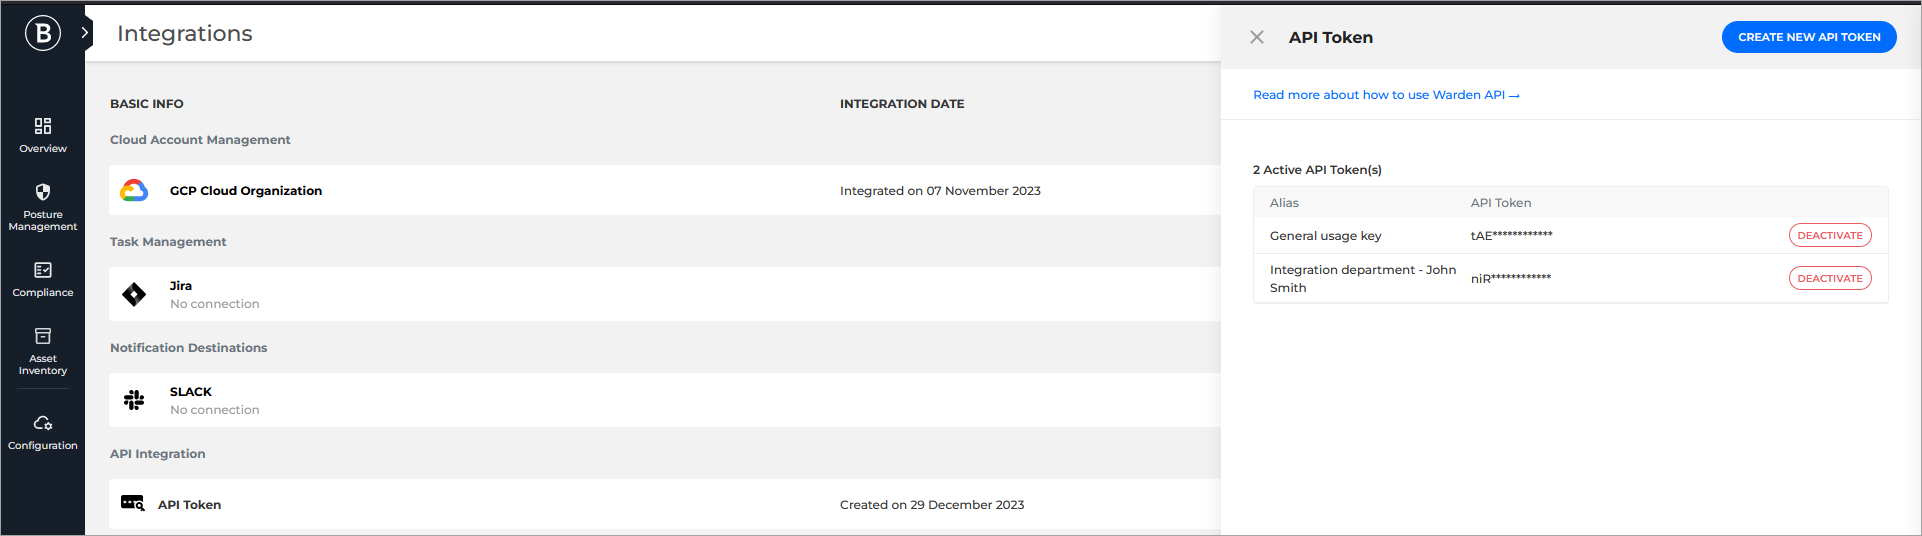
Important
By using the API keys, developers can access sensitive information. Please do not share or distribute your own generated API keys, in order to prevent the leaking of sensitive information!
The Cloud Security console also allows you to deactivate the previously generated API keys if they are no longer needed:
Go to the Integrations page.
Under the API Integration section, for API Token, click the View API tokens button.
Click the Deactivate button for the key you wish to deactivate.
A confirmation window appears.
Select Deactivate to confirm the request.
Warning
You will no longer be able to use the keys and any connections to third party apps using them will be terminated.
Statuses
The following errors are returned when a request fails:
Error | Description |
|---|---|
| Ok |
| Invalid query parameters. |
| API key not granted with the right permissions. |
| Invalid API Key. |
| Wrong resource path. |
| Method not allowed. |
| Throttling limits reached. |
| Internal Server Error. |