Configuring GravityZone Cloud single sign-on with Azure AD
GravityZone Cloud supports single sign-on (SSO) with various Identity Providers (IdP) that use SAML 2.0 as authentication standard.
This topic describes how to configure GravityZone Cloud single sign-on with Azure Active Directory (Azure AD) from Microsoft. For generic information on configuring other Identity Providers, refer to Configuring single sign-on using a 3rd party identity provider.
Configuring SSO with Azure AD involves many small steps, mostly in the Azure portal, so follow the procedure described below carefully.
Prerequisites and requirements
You have a Microsoft Azure account with Azure AD Premium license activated and with Global Administrator or Co-admin role.
You have a GravityZone Cloud administrator account to manage users, your company and other companies.
GravityZone users have Azure AD accounts with the same email addresses.
Important
As GravityZone administrator, you can configure single sign-on for users from your company and from companies under your management. You cannot enable SSO for your own GravityZone account due to security reasons.
Users must be under companies that have SSO enabled. While SSO is active, users cannot log in with GravityZone credentials.
Email addresses are case sensitive with GravityZone SSO. Therefore, username[at]company.domain is different from UserName[at]company.domain and USERNAME[at]company.domain. If the email address from GravityZone does not match the email address from the Identity Provider, the user will receive a login error message when trying to connect to Control Center.
Configure Azure AD
To enable single sign-on with Azure Active Directory, you need to configure a non-gallery application. For generic information about configuring SAML-based single sign-on to non-gallery applications in Azure, you can also refer to this Microsoft KB article.
This is how you create and configure a non-gallery Azure application:
Set up your application
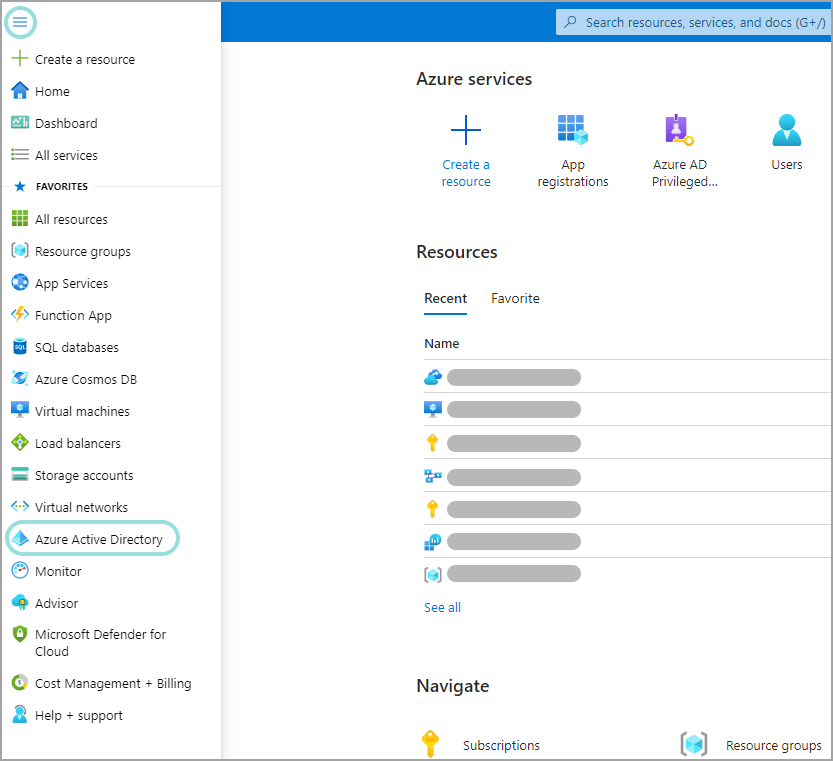
Log in to Azure portal: https://portal.azure.com.
In the left-side menu, go to Azure Active Directory.
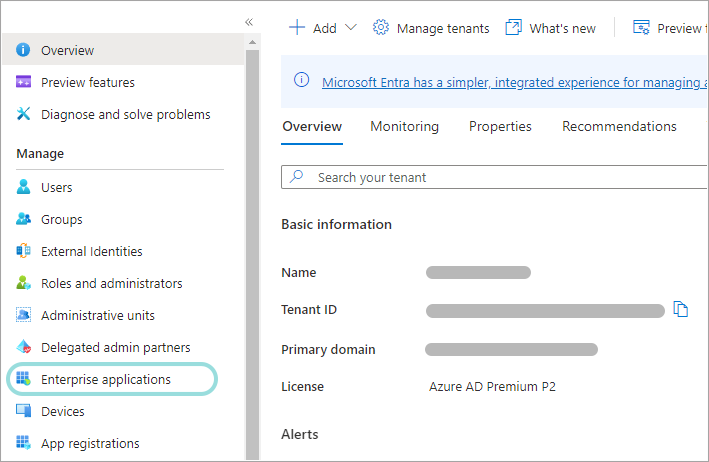
In the new left-side menu, click Enterprise Applications.
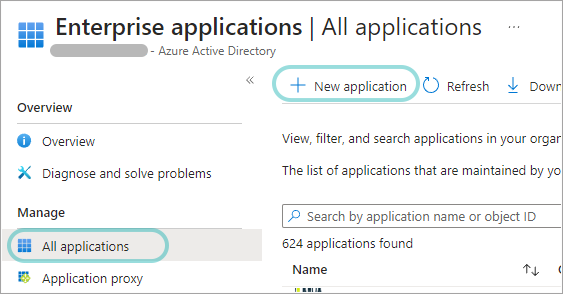
At the upper-side of the page, click + New application.
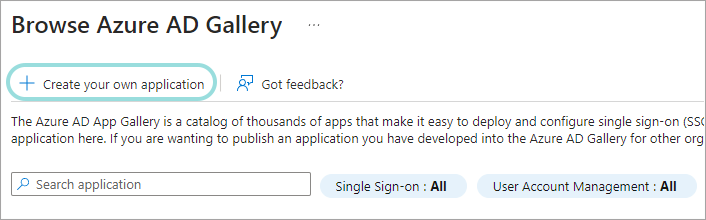
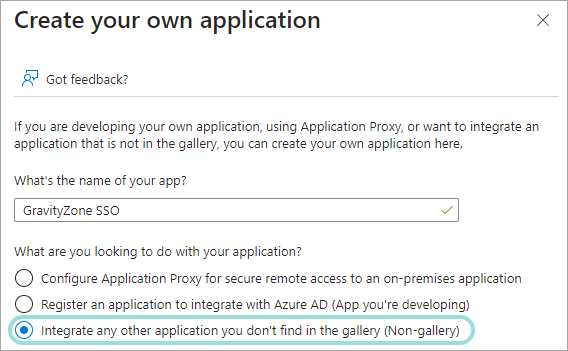
In the Browse Azure AD Gallery section, click Create your own application.
In the Create your own application section, enter a relevant name (for example, GravityZone SSO), select Integrate any other application your don't find in the gallery (Non-gallery), and click Create.
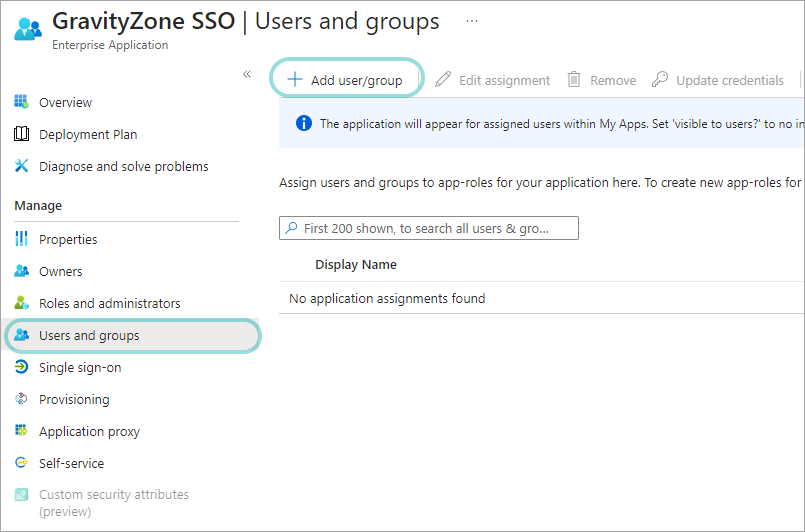
In the Users and groups section, click + Add user/group user to assign users or user groups to this application.
In the Add Assignment page, go to Users and groups and click None Selected.
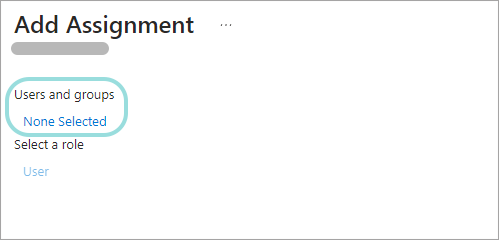
In the right-side panel, select users to assign to the application and click Select.
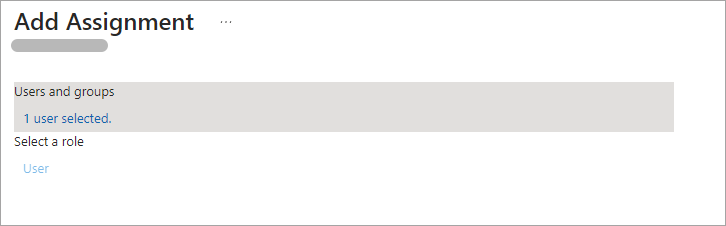
Back in the Add Assignment page, click Assign to confirm the users attached to the application.
Next, in the Single sign-on section, click SAML.
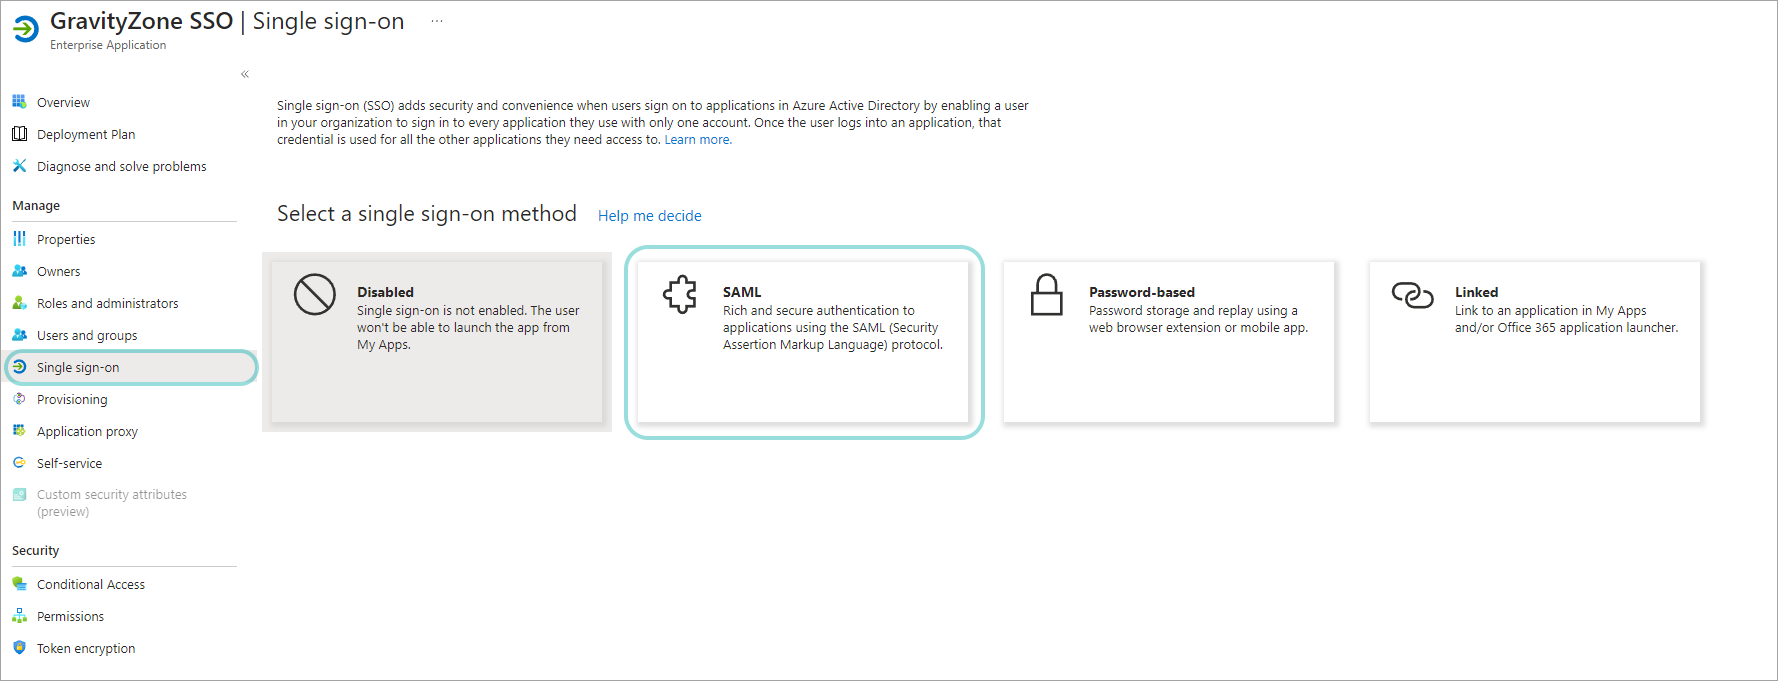
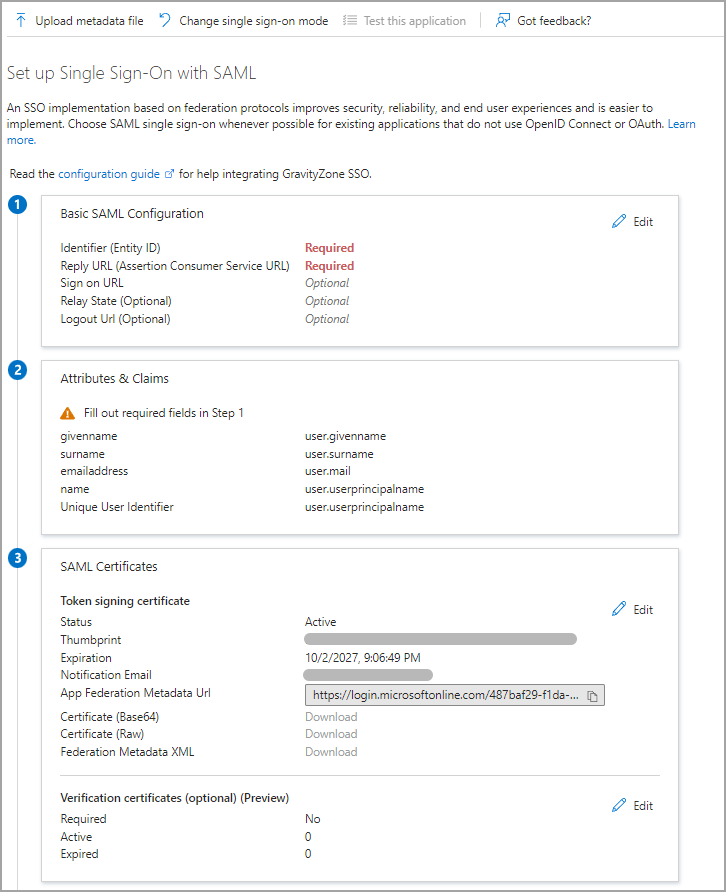
In the Set up Single Sign-On with SAML page, complete the following sections:
Basic SAML Configuration
Users Attributes & Claims
SAML Signing Certificate
Set up application
Options for these sections are detailed below.
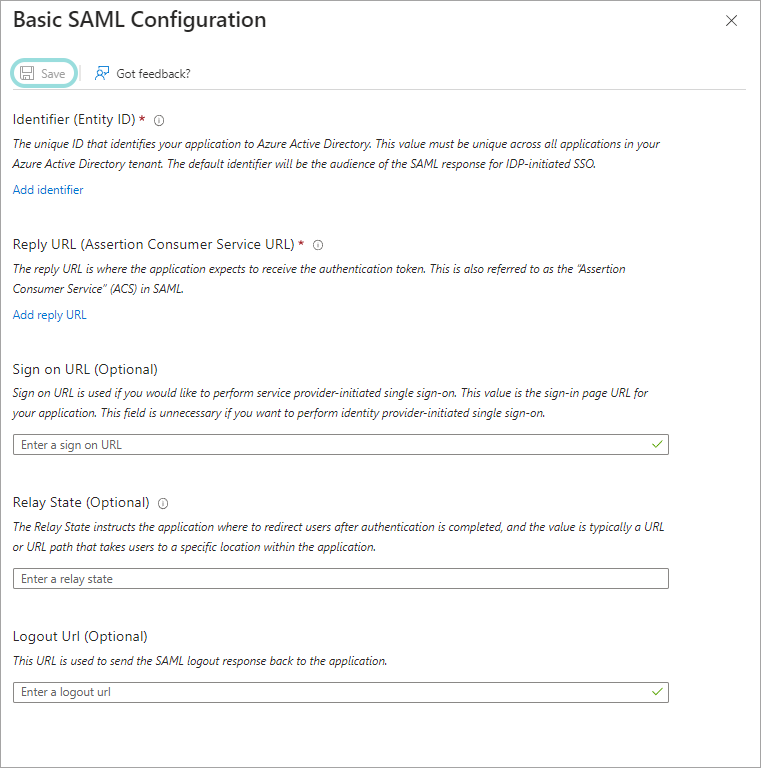
Basic SAML Configuration
Click the pencil icon to edit.
Configure the following fields:
Identifier (Entity ID). Enter
https://gravityzone.bitdefender.com/spReply URL (Assertion Consumer Service URL). Enter
https://gravityzone.bitdefender.com/sp/loginSign on URL. Enter
https://gravityzone.bitdefender.com/sp/loginRelay State. Skip. This is a parameter to specify where the application to redirect the user after the authentication is completed.
Logout URL. Enter
https://gravityzone.bitdefender.com/sp/logout
Click Save.
Return to the setup page.
User Attributes & Claims
Click the pencil icon to edit.
In the new page, click the + Add new claim option.
Configure the following fields:
Name. Enter a username.
Source. Select Attribute.
Source attribute. From the drop-down menu, select user.mail.
Click Save.
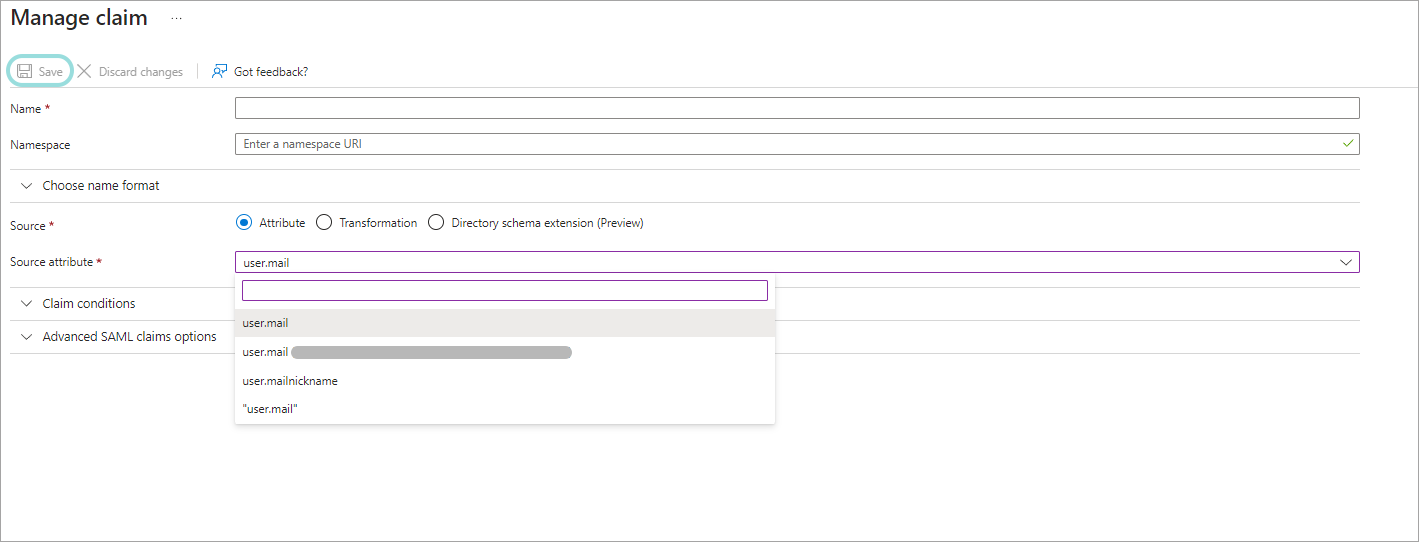
Return to the setup page.
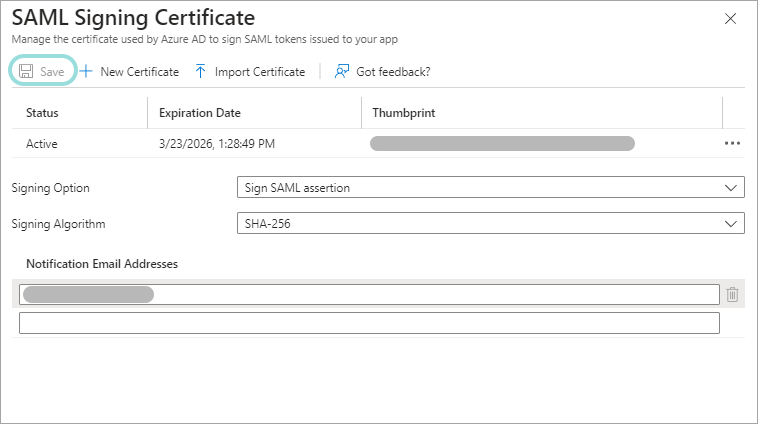
SAML Signing Certificate
Click the pencil icon to edit.
In the configuration page, enter an email address for certificate expiry reminders.
Click Save.
Return to the setup page.
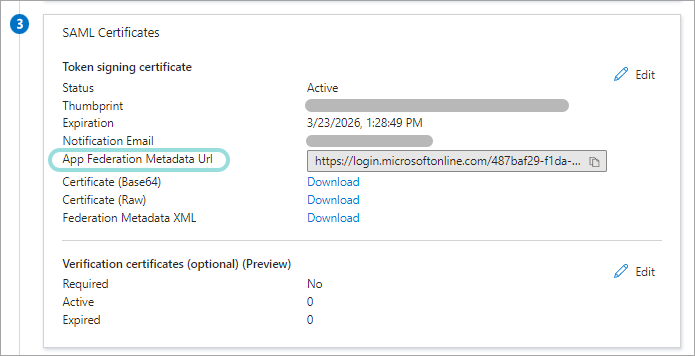
The SAML Signing Certificate section also displays the App Federation Metadata URL. This is the Identity Provider metadata URL, which you need to add in GravityZone Control Center when configuring single sign-on for your company or a company under your management. Click Copy to clipboard button to copy and paste the URL somewhere at hand or keep this window open in your browser.
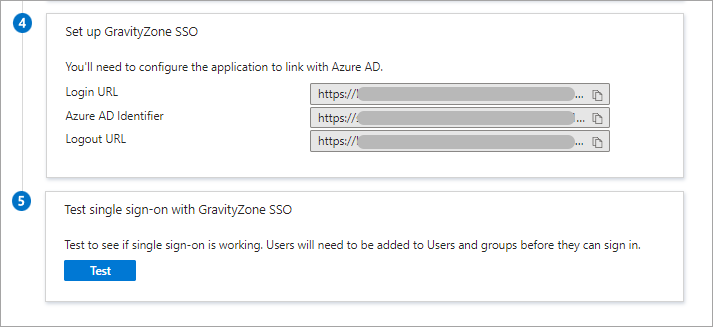
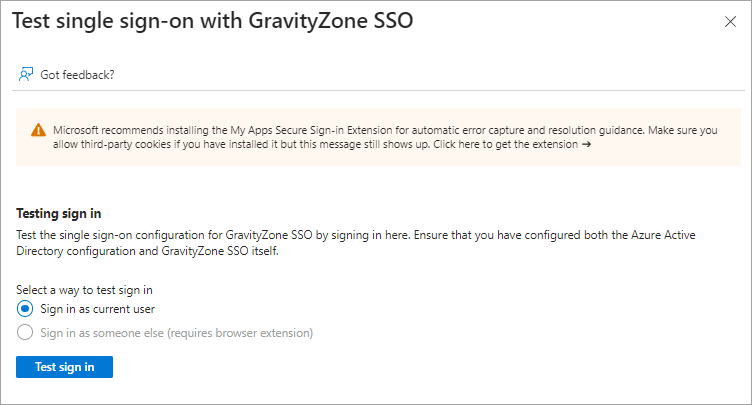
Set up application
Click the Test button to test the single sign on configuration for GravityZone SSO.
Enable SSO in GravityZone
After configuring your application in Azure, go to GravityZone Control Center to enable SSO for companies and users. You cannot enable single sign-on for users under companies that do not have SSO enabled.
Enable SSO for your company
This is how you enable SSO for your company:
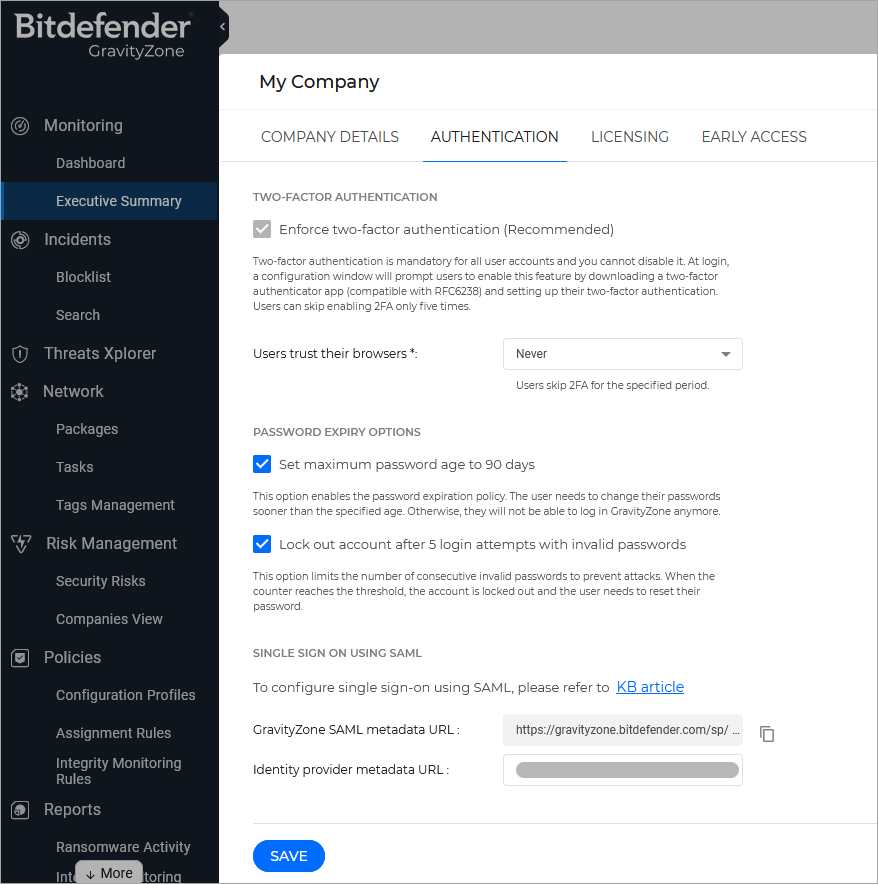
In the upper-right corner of Control Center, click the
 user icon and then select My Company.
In the Authentication tab, under Single Sign on using SAML, enter the identity provider metadata URL in the corresponding field. The other field, reserved for the GravityZone metadata URL, is non-editable.
If you have saved the URL already, copy it here. If not, go to Azure Portal > Azure Active Directory > Enterprise application > [your application] > Set up single sign on. The App Federation Metadata URL is available in the SAML Signing Certificate section. Click the Copy to clipboard button to copy the URL and paste it in GravityZone.
Click Save.
Enable SSO for managed companies
This is how you enable single sign-on for a company under your management:
Log in to GravityZone Control Center.
Go to the Companies page from the left side menu.
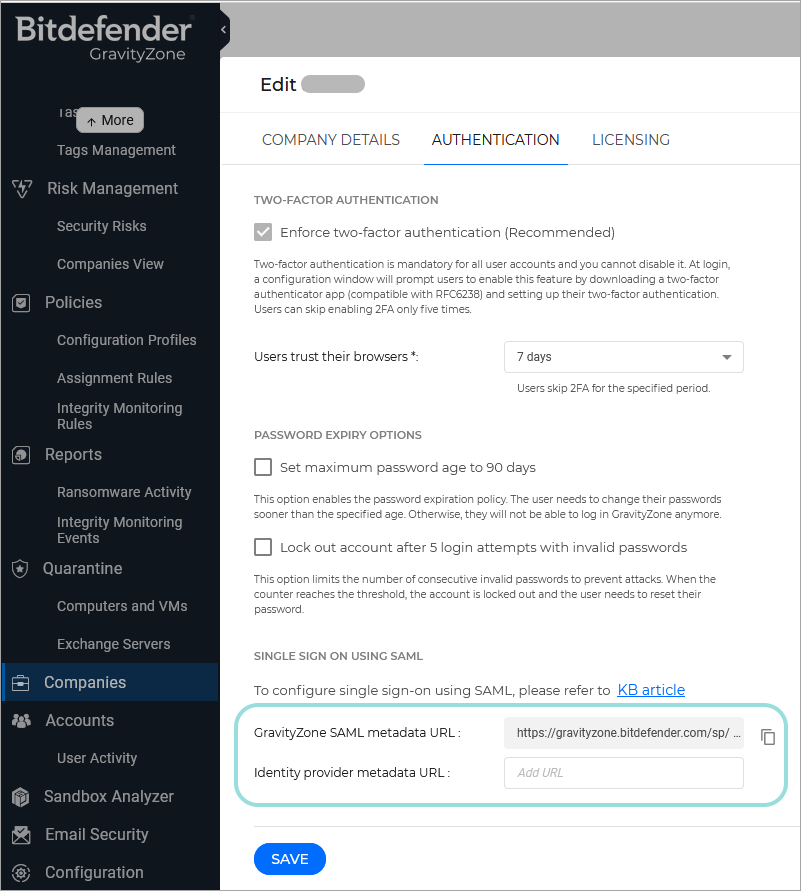
In the table, click the company’s name.
Under Configure Single Sign-on using SAML, enter the identity provider metadata URL in the corresponding field. The other field, reserved for the GravityZone metadata URL, is non-editable.
If you have saved the URL already, copy it here. If not, go to Azure Portal > Azure Active Directory > Enterprise application > [your application] > Set up single sign on. The App Federation Metadata URL is available in the SAML Signing Certificate section. Click the Copy to clipboard button to copy the URL and paste it in GravityZone.
Click Save.
Change the authentication method for users
After enabling SSO for a company, GravityZone user accounts under that company become available for changing their authentication method.
You can change the authentication method for users one by one, as follows:
Log in to GravityZone Control Center.
Go to the Accounts page from the left side menu.
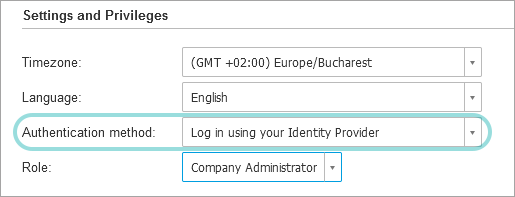
In the table, click the user’s name.
Under Login Security, go to Authentication method and select Login using your Identity Provider.
Click Save.
You can enable SSO for as many GravityZone users as you want, but not for your own administrator account.
Note
If the configuration page of a GravityZone user account does not display the Settings and Privileges section, then probably the company has not SSO enabled.
Test GravityZone SSO
After configuring both the identity provider and GravityZone, you can test single sign-on as follows:
Log out from GravityZone.
Log out from Azure.
Enter a valid email address created for testing (other than the one of your GravityZone administrator account).
Click Next.
You should be redirected to the Identity Provider's authentication page.
Authenticate with your identity provider.
You will be redirected back to GravityZone and, in a few moments, you should automatically log in to Control Center.
Disable GravityZone SSO
To disable single sign-on for your company or for a company under your management:
Delete the Identity Provider metadata URL from the configuration page of that company.
Click Save and confirm the action.
Users can obtain new passwords by clicking the Reset my password option on the Control Center login page and following the instructions.
To re-enable GravityZone SSO for a company, enter again the identity provider in the configuration page and click Save.
After re-enabling SSO, users under that company will continue to log in to Control Center with GravityZone credentials. You have to manually configure each account, one by one, to log in with the identity provider again.