Best practices
Creating custom MAC address pools in Hyper-V
This section describes how to create custom MAC address pools in Hyper-V.
Using Hyper-V Dynamic MAC Address Regeneration can change the MAC address of a virtual machine which can lead to duplicate machines in the Control Center.
To avoid this issue, a custom MAC address pool can be created by following these steps:
Open the Fabric workspace.
On the Fabric pane, select Networking and click on MAC Address Pools.
On the Home tab, click on Fabric Resources.
On the Home tab, Create group, click on Create MAC Pool.
In Name and Host Group, populate the fields and click Next.
In MAC Address Range, specify the beginning and ending MAC address.
On the Summary page, confirm the settings and click Finish. Close the dialog box, after the status has changed to Completed.
Understanding network discovery
GravityZone uses automatic and manual network discovery to identify endpoints in your network, including those in workgroups or domains, across Windows, Linux, and macOS platforms.
On Windows, network discovery relies on sources such as Function Discovery and Active Directory, when the endpoint is joined to a domain.
On Linux, network discovery relies on the ARP protocol to discover entities in a Local Area Network and on port scanning to reliably identify machines.
Note
Domain-joined Linux systems do not use Active Directory as a source of information.
By contrast, macOS systems do no actively participate in network discovery, but they allow to be identified.
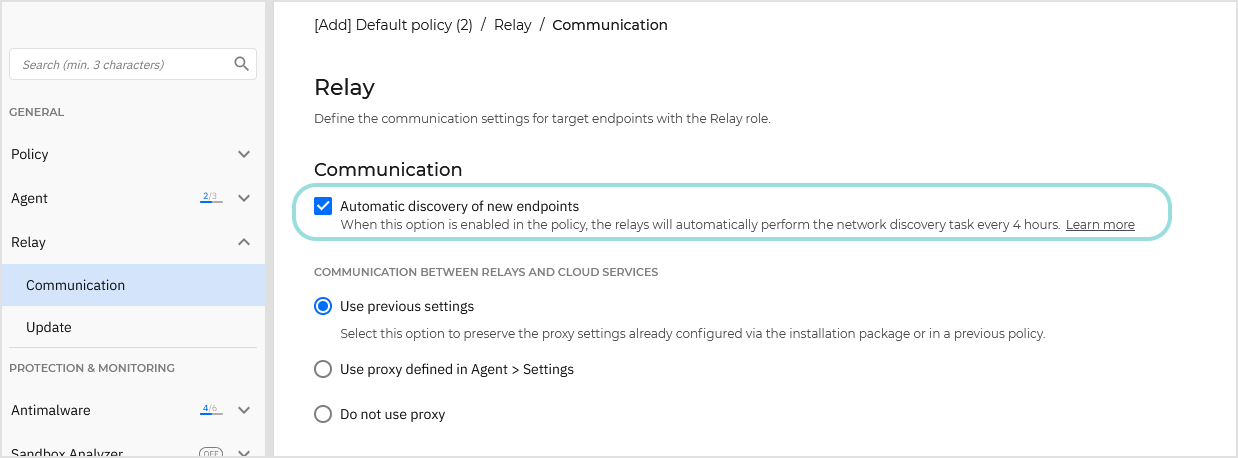
To enable automatic network discovery, Bitdefender Endpoint Security Tools (BEST) Relay must be already installed on at least one Windows or Linux endpoint in the network. That endpoint must have a policy applied with the Automatic discovery of new endpoints option selected under General > Relay > Communication.
This Relay will scan the network every 4 hours.
In addition to automatic discovery, you can also perform manual network discovery:
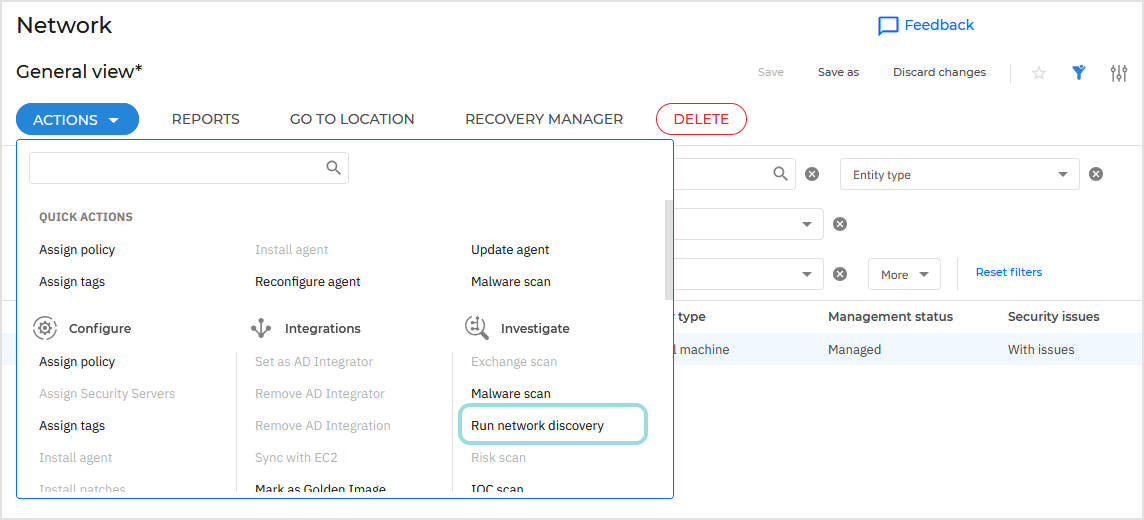
Go to the Network page and select any managed Windows or Linux endpoint in the inventory. In this case, BEST does not necessarily require the Relay role.
Open the Actions menu or right-click the endpoint and select Run network discovery.
The task may take a few minutes to complete. When finished, any new endpoints will be added to the inventory.
You can monitor the task's progress on the Network > Tasks page.
Note
macOS endpoints cannot act as Relays and do not perform network scanning.
For more information about the network discovery flows and requirements, refer to Install security agents - standard procedure > How network discovery works.
Delete stale endpoints in GravityZone Control Center
This topic describes how to delete stale endpoints in GravityZone Control Center.
Log in to GravityZone Control Center.
Go to Network > Filters.
Under Entity type, select the Physical machines and Virtual Machines checkboxes.
Select All items recursively.
Click Save.
The Network page will display all available endpoints.
Note
The endpoints that have not performed a security update in the past 24 hours or more appear as having issues. This happens because the endpoints are offline.
Click the Last Seen column header to view the endpoints in descending order. The endpoints that have been offline the longest are displayed at the top of the list.
Select the checkboxes corresponding to the endpoints you want to delete.
Click Delete at the top of the page. Following this action, the following will happen:
For endpoints that are not part of any integrated infrastructure (Active Directory, Amazon EC2, vCenter, Xen etc.):
The endpoint is moved to the Deleted folder.
An uninstall task is created for managed endpoints only. Unmanaged ones are moved to the Deleted folder. Use the Managed endpoints smart view to filter accordingly.
You can view the task in the Network > Tasks page.
The task will be pending for 72 hours, after which it will expire if the endpoint does not receive it (for example, if the endpoint does not come back online).
You can delete the task in the Network > Tasks page.
A license seat is released. If the endpoint comes online again, it will remain in the Deleted folder with the modules of the security agent expired.
You can check the licensing information in the My Company page.
For endpoints that are part of Active Directory or other integrated infrastructure:
The endpoint is not moved to the Deleted folder, but becomes unmanaged in the Network inventory.
An uninstall task is not created.
A license seat is released.
If the endpoint comes back online, it will be licensed again.
Using smart views in Network
Smart Views allow you to create persistent, filtered views of network inventory data based on selected parameters. These views can be saved for reuse, eliminating the need to manually reapply filters each time.
You can update existing views, save new ones, and organize them for quick access using the Saved and Favorites sections. The search function supports partial name matching to help locate specific views quickly, though wildcard characters are not supported.
This feature is useful for maintaining visibility into specific subsets of endpoints or configurations in complex environments.
Smart views are displayed in the left-side panel on the Network page, under the tree view.
To create a customized smart view, follow these steps:
In the table, select the filters you need, then click Apply on each one to activate them. For example, filter by: Entity type, Security issues, Role, Endpoint type and Management status.

Note
Any change brought to a specific smart view allows you to save, overwriting the existing view excepting default views, or save as which offers you the possibility to save a new custom view.
To view data based on a specific column, click on
 Settings. This will show all the columns available.
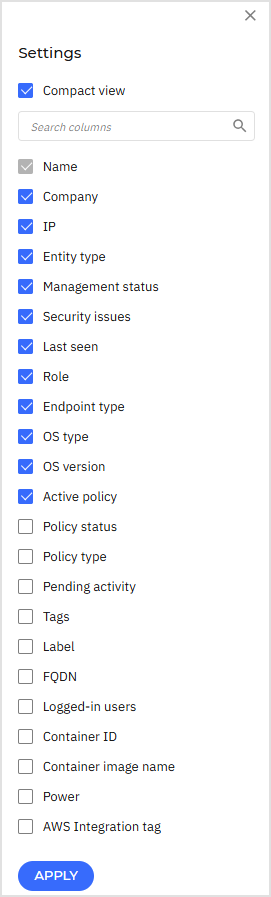
Once the table updates with the filtered data, click Save as in the top right of the page.

Enter a clear name for the view — e.g., “My smart view”.
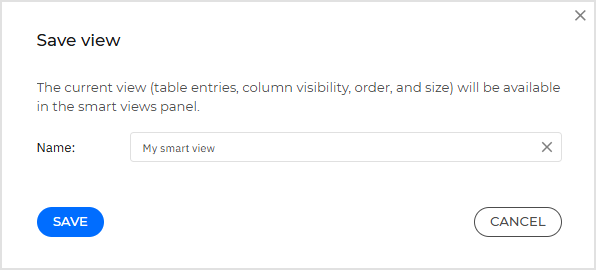
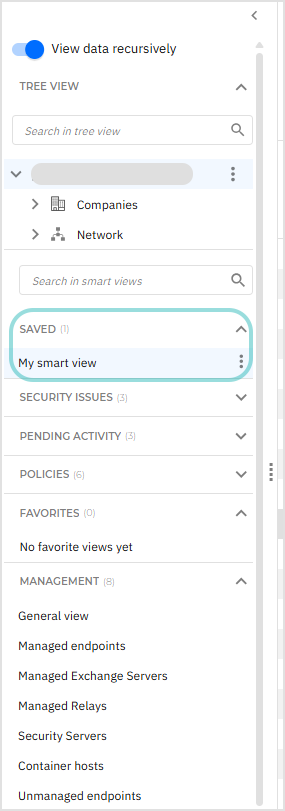
Save your view. Your view will be visible on the left side panel, in the Saved category.
Note
If you want to overwrite certain settings created on a specific smart view, click Save in the top right of the page.
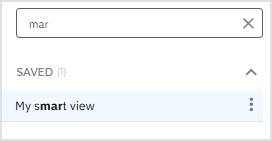
The search in Smart views is dynamic, meaning that you can search for an item only by typing any string of characters contained in its name. For example, type gen or era to find a smart view named General view.
Note
Search in Smart views does not support wildcards.
Smart views can be found under the Tree view in the Saved section.
Finding endpoints with active security issues using smart views
To identify all endpoints in your network that are currently having security issues and prioritize them for investigation or remediation, follow these steps:
Use the smart views located in the left-side panel under the tree view.
Under Saved, in the Security issues category, select the With security issues smart view.
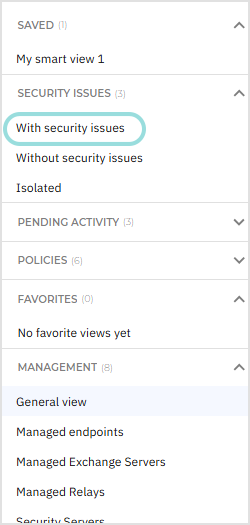
All entities having security issues are now shown in the network table.
Note
Creating a view with the entire root structure is not recommended. The data may be extensive depending on the number of entities, so it might take time to populate the table.
To drill down further, use the filters and select the specific entity type you're interested in, such as "Virtual machines".
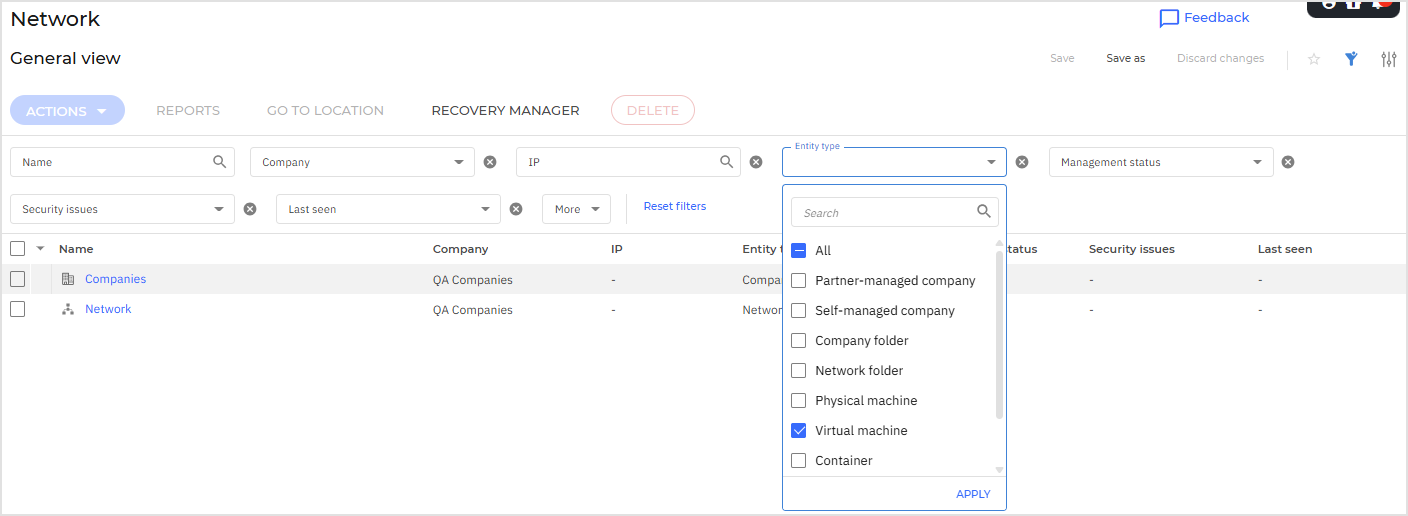
Click Apply to update the table with filtered results.
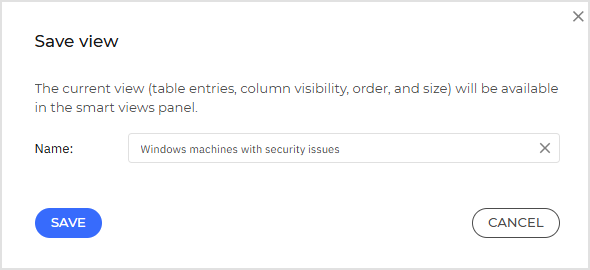
Once the table updates with the filtered data, click Save as in the top right of the page.
Enter a clear name for the view, for example “Windows machines with security issues”.