Microsoft Azure Sentinel integration guide
The Microsoft Azure Sentinel is a cloud-based security information event management (SIEM) and security orchestration automated response (SOAR) solution that is designed to be scalable. Azure Sentinel enables organizations to:
Collect data at cloud scale
Detect previously undetected threats
Investigate threats with artificial intelligence
Respond to incidents rapidly
About Azure Sentinel and the Mobile Security console communication
The configuration of the Mobile Security console enables the sharing of mobile threat data with Microsoft Azure Sentinel via API access. In the event that a device reports a threat to the console, the details of said threat will be transmitted to the Microsoft Azure Sentinel integration that has been configured, provided that the severity of the threat meets or surpasses the minimum threshold that was established during the setup process. The details of a threat encompass user information (if accessible), device information, operating system, and threat forensics. Upon resolution of a threat on a mobile device, the updates pertaining to the threat status are automatically transmitted to Microsoft Azure Sentinel. The Microsoft Azure Sentinel integration is configured to receive threat details for both MDM managed and non-managed devices. All Mobile Security console MDM vendor integrations are capable of sending threat events to Microsoft Azure Sentinel.
Configuration steps
Perform the following steps to set up the the Mobile Security console Integration:
Login to the Mobile Security console.
In the Navigation panel, select Manage.
When the Manage page opens, select the Integrations tab, select the Threat Reporting tab, and the following window opens:
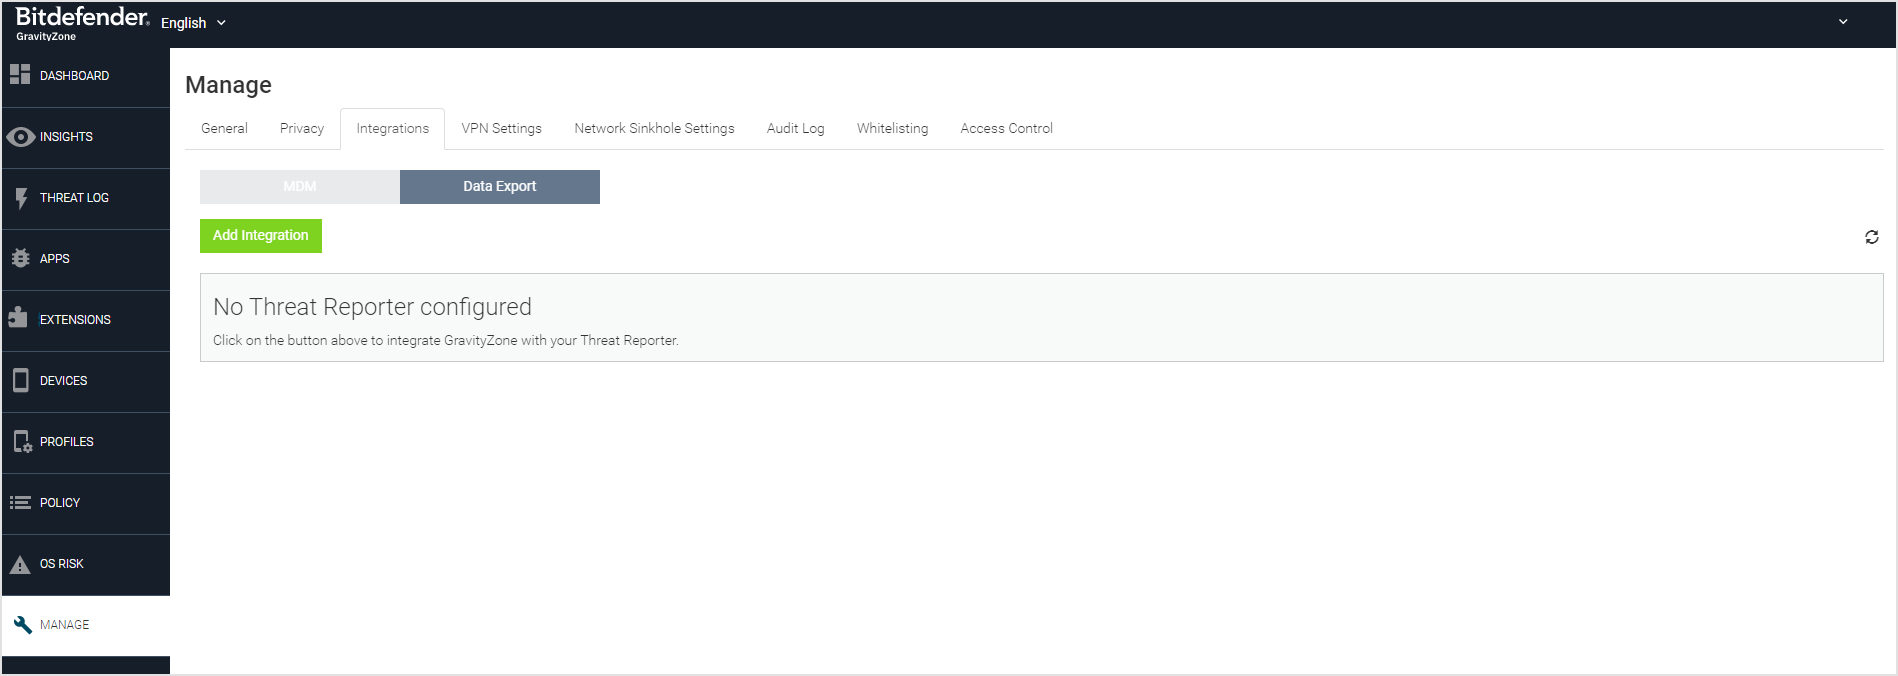
Click on the green Add Integration button, and the following window opens which shows a listing of the integration partners to select.
Select the desired integration.
In the window that opens fill in the required information and click the Go On button.
Another window opens to finish setting up the integration. Enter the following information on this window.
Name – Enter a unique name for this Integration for Microsoft Azure Sentinel environment
Filter Level – Select the severity level from the drop-down menu which is reported from:
Critical – shows only Critical severity levels.
Elevated and Above – shows Elevated and Critical Severity Levels
Low and Above – shows Low, Elevated and Critical Severity Levels
Normal and Above – shows all Levels of severity.
Click on the Finish button and when it is configured and saved correctly, the Main Threat reporting window opens showing the integration is successful.