Editing companies
You can adjust a company account settings at any time.
To edit a company account:
Log in to GravityZone Control Center.
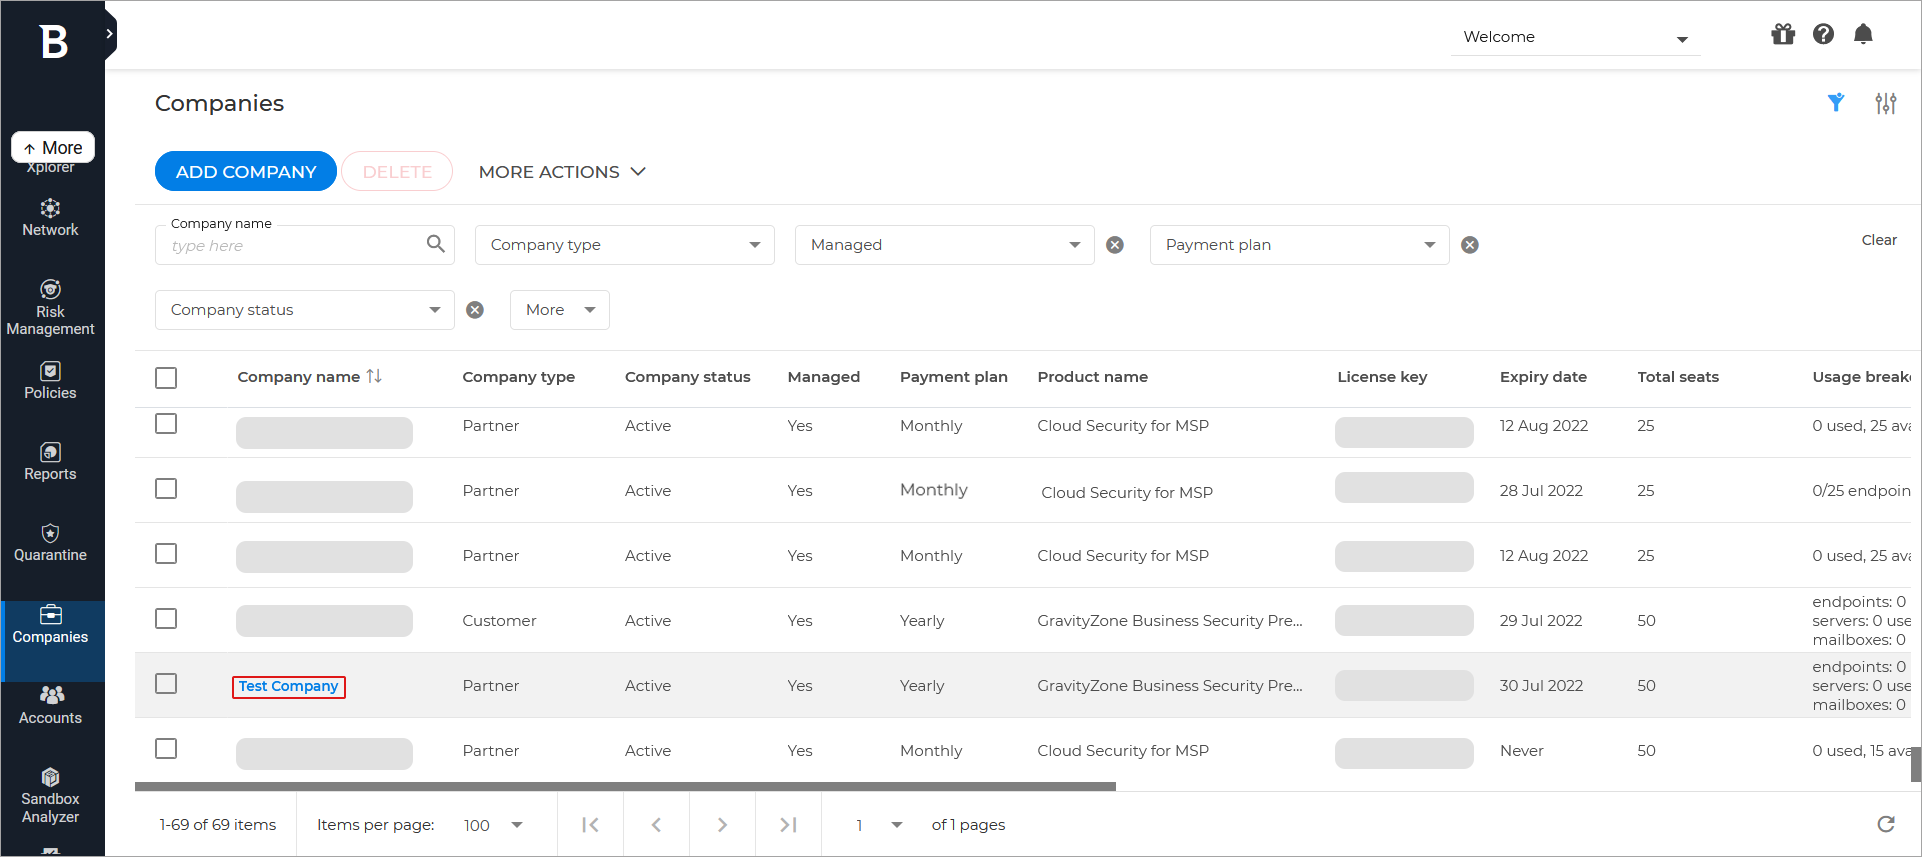
Go to the Companies page from the left side menu.
Click on the name of the company you want to edit.
The Edit Company window is be displayed. The information is organized into three tabs:
In each tab, make the changes you want and Save. You need to save your changes before switching between tabs.
Note
If the selected company has not enabled the The Company's Partner can assist with the security management option, you will not able to modify specific settings and information.
Close the Edit company window by clicking the X button on the upper right side of the screen.