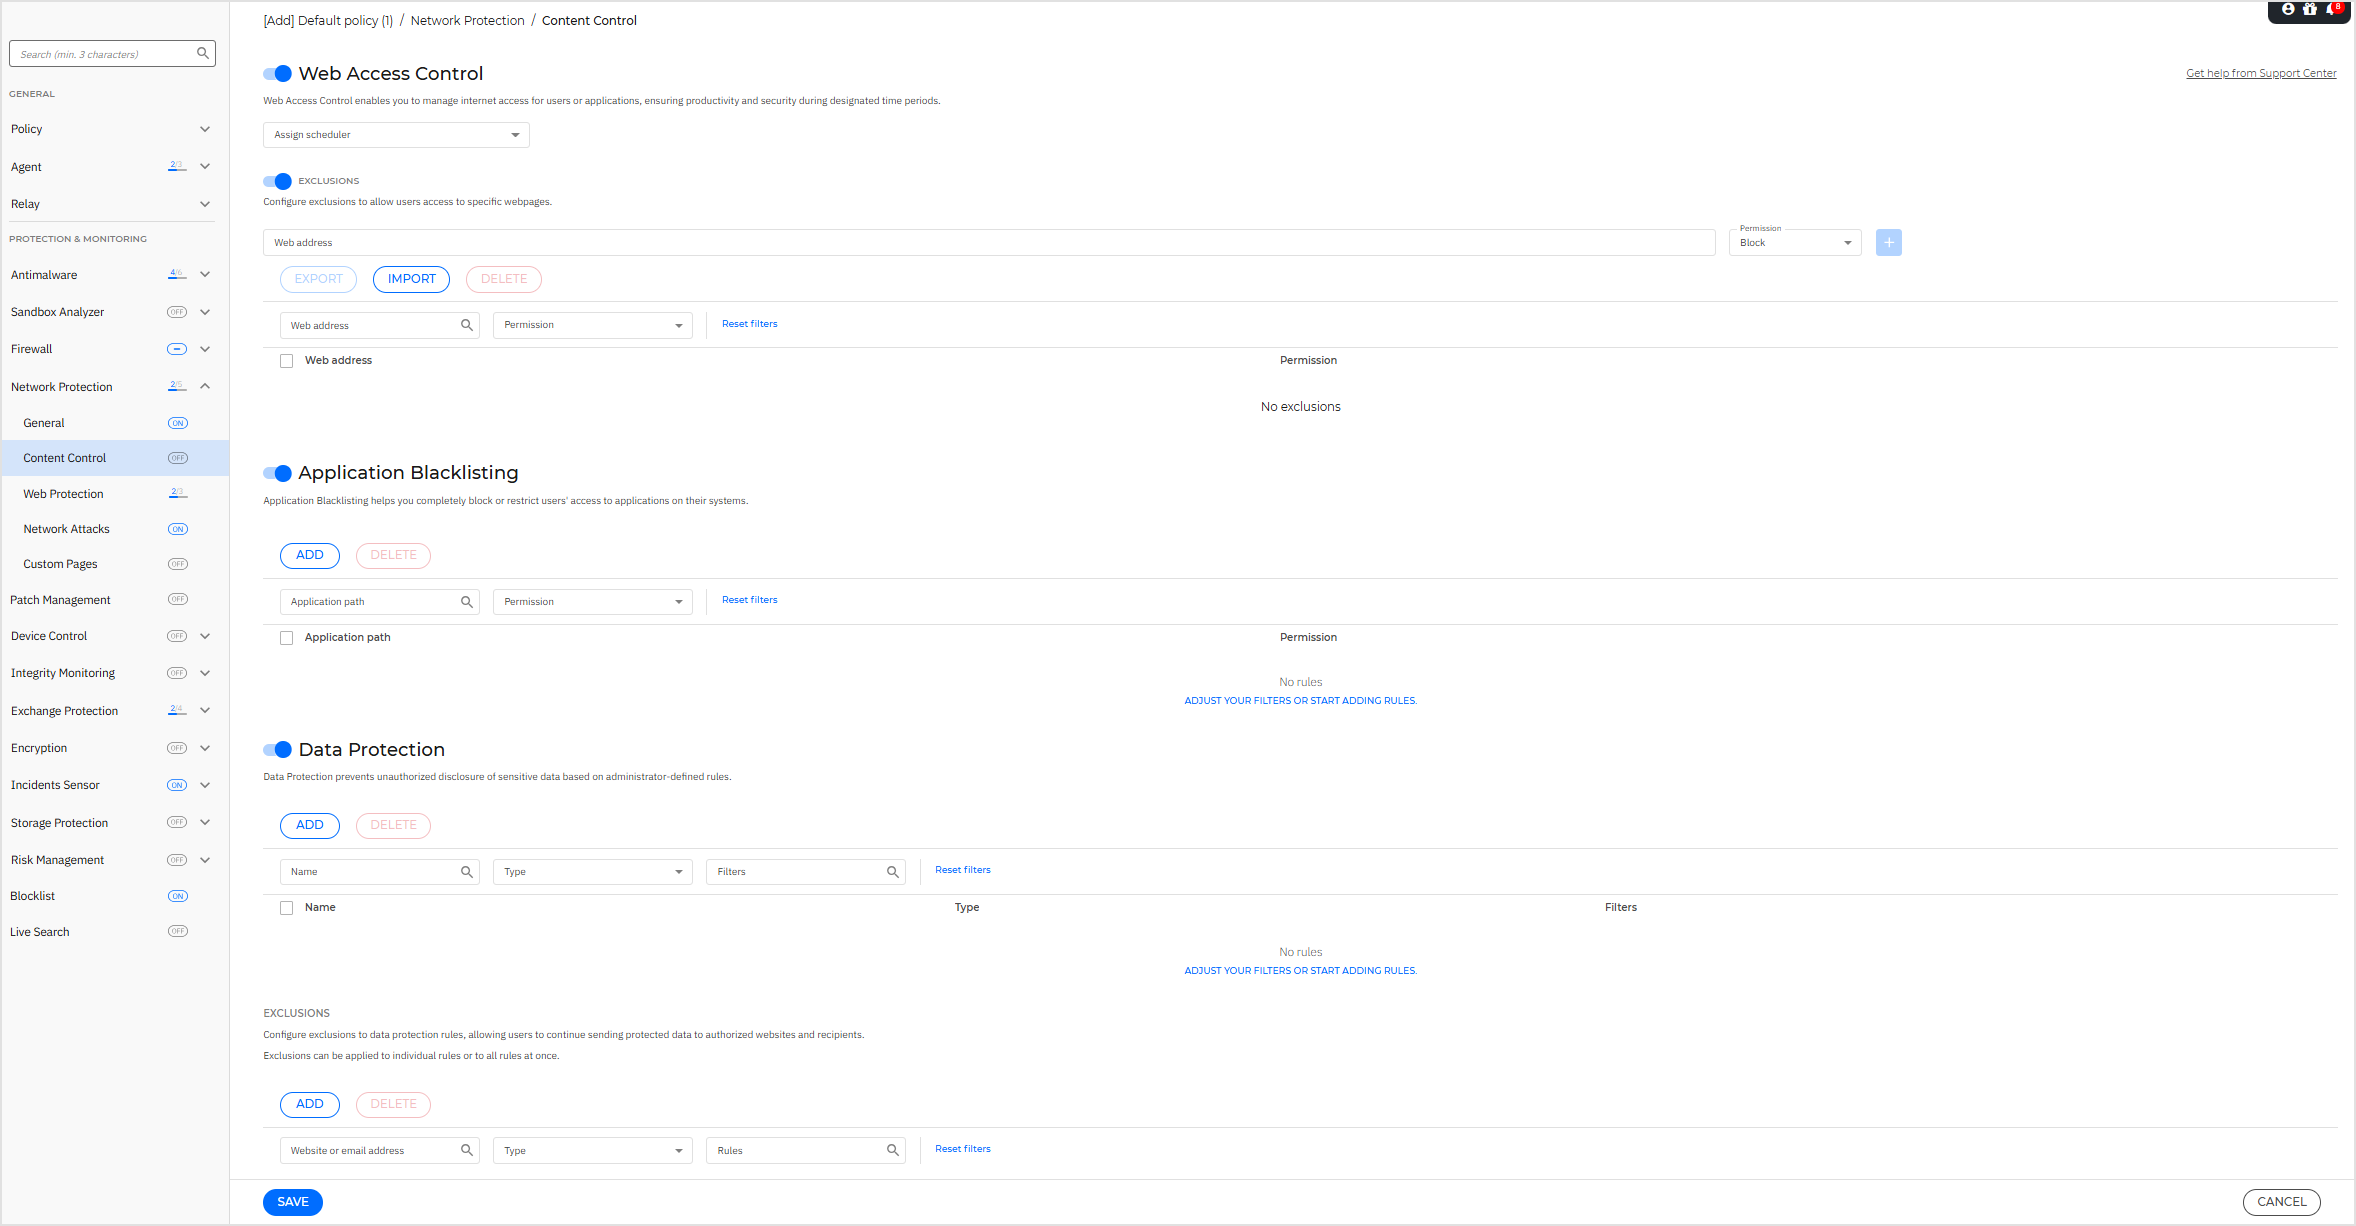
Content Control
The Content Control settings are organized into the following sections in the policy:
Note
The Content Control module is available for:
Windows for workstations
Windows for servers
macOS
On Linux systems, only Application Blacklisting is available. This functionality is supported only with specific kernels. For more information, refer to Linux kernels supported by Blocklist, Application Blacklisting, and PHASR.
Important
On macOS endpoints, Content Control relies on a system extension. Installing the Bitdefender extension requires your approval on macOS High Sierra (10.13) and later. The system notifies the user that a system extension from Bitdefender was blocked. You can allow it from Security & Privacy preferences. Until the user approves the Bitdefender system extension, this module will not work and the Endpoint Security for Mac user interface will show a critical issue prompting for approval.
To eliminate user intervention, you can pre-approve the Bitdefender extension by whitelisting it using a Mobile Device Management tool. For details about Bitdefender extensions, refer to Bitdefender system extension blocked in macOS .
Web Access Control
Web Access Control enables you to allow or block web access for users or applications during specified time intervals.
The web pages blocked by Web Access Control are not displayed in the browser. Instead, a default web page is displayed informing the user that the requested web page has been blocked by Web Access Control.
Use the toggle button to enable Web Access Control.
To start using the Web Access Control feature you first must create a scheduler, by following the below procedure:
Log in to GravityZone Control Center.
In the Configuration Profiles page from the left side menu, go to WAC Schedulers.
Click Add Scheduler.
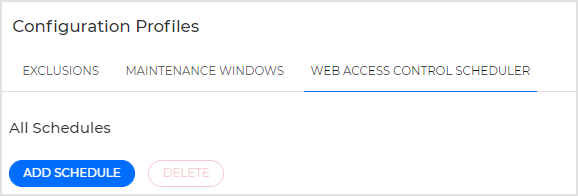
Add a suggestive Scheduler Name.
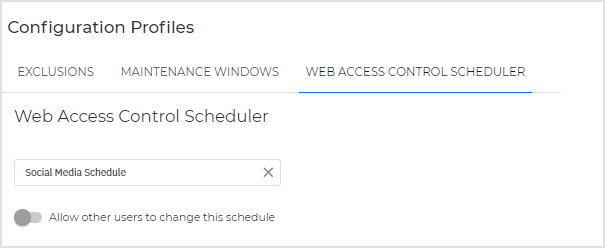
If any other users should be able to edit the schedule set the toggle to the Allow other users to change this scheduler position.
In the Web category schedule field add a new category scheduler and set it up.
Add a name for your scheduler in the Schedule name field.
In the Categories section choose the categories.
In the Action section choose the action you want taken.
Select the timeframe for the selected action from the Starting with and Between.
Note
Make sure the start time occurs before the end time.
Add the new schedules to the scheduler by using the Add new schedule button.
Note
The scheduling sequence is essential since the first match rule will determine whether or not a web page is permitted. The rules will be executed sequentially. Access to web pages will be determined by the action specified in the first match.
Save the scheduler.

Note
Existing users of GravityZone before version 6.45.0-1 have their Web Access Control settings automatically migrated from their previous location in Network Protection to the new dedicated section in Configuration Profiles.
You can also define web rules to explicitly block or allow certain web addresses, overriding the existing Web Access Control settings.
To create an exclusion:
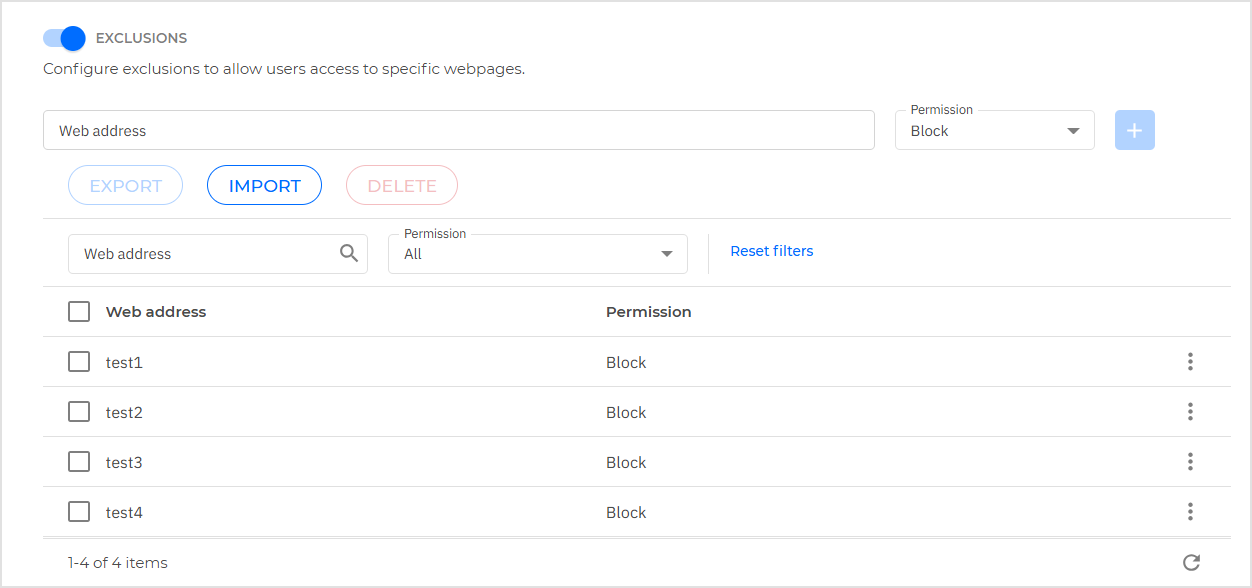
Use the toggle button to enable Exclusions.
In the Web address field, enter the address you want to allow or block.
From the Permission drop-down list, select Allow or Block.
Click the
 Add button to add the exclusion.
Note
You can use wildcards to define web address patterns:
Asterisk (*) substitutes for zero or more characters.
Question mark (
?) substitutes for exactly one character. You can use several question marks to define any combination of a specific number of characters. For example,???substitutes for any combination of exactly three characters.
In the following table, you can find several syntax samples for specifying web addresses (URLs).
Syntax
Exception Applicability
www.example*Any URL starting with
www.example(regardless of the domain extension).The exclusion will not apply to the subdomains of the specified website, such as
subdomain.example.com.*example.comAny URL ending in
example.com, including subdomains thereof.*example.com*Any URL that contains the specified string.
*.comAny website having the
.comdomain extension, including subdomains thereof. Use this syntax to exclude from scanning the entire top-level domains.www.example?.comAny web address starting with
www.example?.com, where?can be replaced with any single character.Such websites might include:
www.example1.comorwww.exampleA.com.
To edit an exclusion:
Click the
 More icon in the table.
In the menu, click Edit.
Make the necessary changes.
Click the confirmation button to save the changes.
Alternatively, click the cancel button to exit the editing mode without any changes.
To remove an exclusion from the list:
Click the
More icon in the table.In the menu, click Delete.
The exclusion is removed from the table.
To remove multiple exclusions at the same time:
Select the checkboxes corresponding to the exclusions you want to delete.
Click the Delete button at the upper side of the table.
The target exclusions are removed from the table.
You can simplify policy management by reusing exclusion rules across multiple policies. This is achieved by exporting and importing exclusions in CSV format.
To export exclusions:
Click the Export button located above the exclusions table.
Note
The Export button is available only for saved policies. To ensure you export the most recent rules, save the policy after making any changes.
In the confirmation window, click Export.
The exclusions will be saved locally in your default download folder as a CSV file.
To import exclusions:
Click the Import button above the exclusions table to open the upload window.
Click Browse and select the desired CSV file.
Click Import.
If an exclusion already exists in the table, regardless of the Block or Allow permission, it will not be imported. If an exclusion is invalid, it will not be imported.
Note
If an exclusion already exists in the table, regardless of its Block or Allow permission, it will not be imported.
Invalid exclusions will also not be imported.
Each row in the CSV file represents a single rule and includes the following fields in order:
<webpage> | <permission>
Permissions are indicated by the following numbers:
1for Block2for Allow
For example, a CSV file containing Web Access Control exclusions may look like this:
www.test.com      1
www.test-1.com     2
www.test-2.com     1
www.test-3.com     2
In this example:
The webpages
www.test.comandwww.test-2.comare blocked.The webpages
www.test-1.comandwww.test-3.comare allowed.
Application Blacklisting
In this section, you can configure Application Blacklisting, which helps you completely block or restrict users' access to executables on their computers. Games, media, and messaging software, as well as other categories of software and malware, can be blocked in this way.
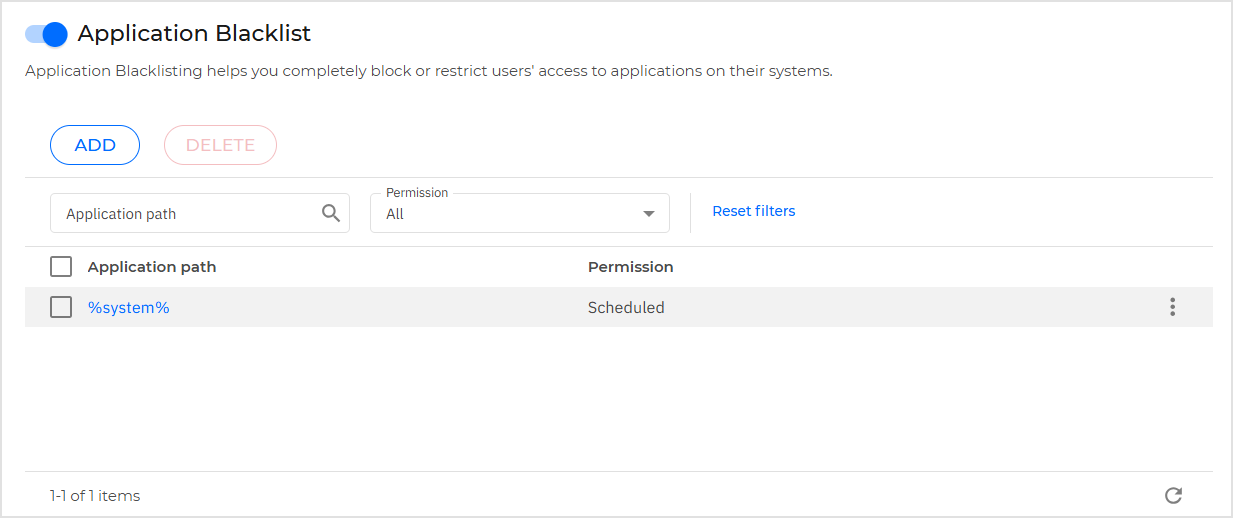
To configure Application Blacklisting:
Enable the Application Blacklisting option.
Specify the applications you want to restrict access to. To restrict access to an application:
Click the Add button at the upper side of the table. A configuration window is displayed.
You must specify the path to the application executable file, process name or process name with wildcards. There are two ways to do this:
Choose from the menu a predefined location and complete the path as needed in the edit field. For example, for an application installed in the
Program Filesfolder, select%ProgramFiles%and complete the path by adding a backslash (\) and the name of the application folder.Enter the full path in the edit field. It is advisable to use system variables (where appropriate) to make sure the path is valid on all target computers.
Important
Wildcards defined in Application Blacklisting are supported on Windows endpoints using BEST 7.9.24.x or later and on macOS endpoints using BEST 7.20.52.200073 or later.
Be careful with applications that have a different name for the binary file. For example, the name of the binary file for Visual Studio Code.app is Electron. In this case, the full path would be:
/Applications/Visual Studio Code.app/Contents/MacOS/Electron.Paths on macOS systems must not contain application extensions. For example, the valid path for Firefox.app would be:
/Applications/Firefox.app/Contents/MacOS/firefox.
Access scheduler. Schedule the applications access during certain times of day on a weekly basis:
Select from the table the time intervals during which you want to block access to the application. You can click individual cells, or you can click and drag to cover longer periods. Click again in the cell to reverse the selection.
To start a new selection, click Allow All or Block All, depending on the type of restriction you wish to implement.
Click Save. The new rule will be added to the list.
Important
Any application rule applied to Linux containers will be ignored. Applications on the container host can be blocked by path.
On Linux endpoints, the Content Control module is not required in the installation package.
To remove a rule from the list:
Click the
More icon in the table.In the menu, click Delete.
The exclusion is removed from the table.
To remove multiple rules at the same time:
Select the checkboxes corresponding to the rules you want to delete.
Select the checkboxes corresponding to the rules you want to delete.
The target rules are removed from the table.
Data Protection
Data Protection prevents unauthorized disclosure of sensitive data based on administrator-defined rules.
Note
This feature is not available for macOS.
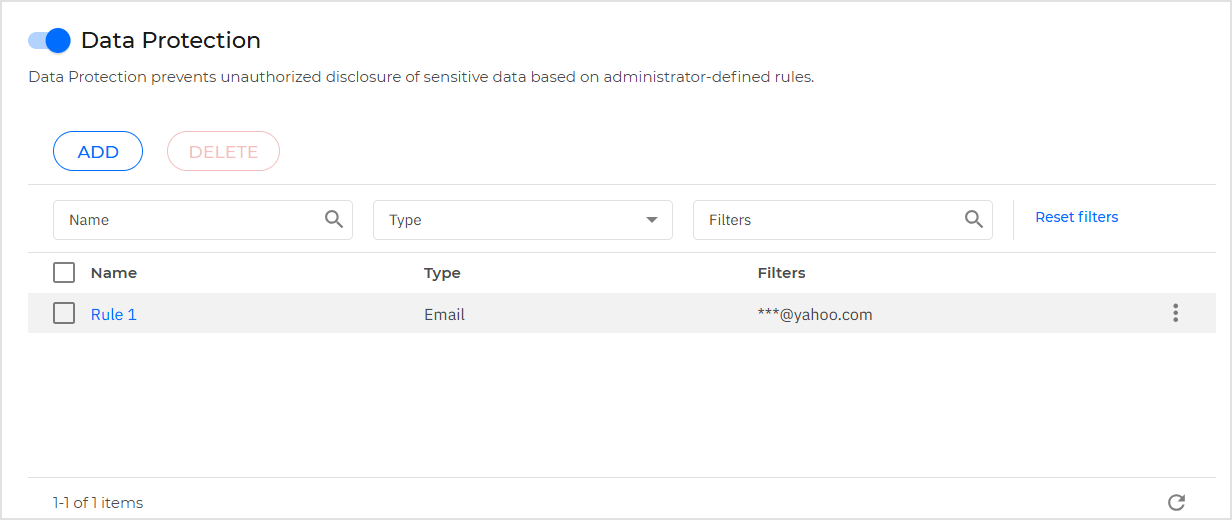
You can create rules to protect any piece of personal or confidential information, such as:
Customer personal information
Names and key details of in-development products and technologies
Contact information of company executives
Protected information might include names, phone numbers, credit card and bank account information, email addresses and so on.
Based on the data protection rules you create, Bitdefender Endpoint Security Tools scans the web and outgoing email traffic for specific character strings (for example, a credit card number). If there is a match, the respective web page or email message is blocked in order to prevent protected data from being sent.
The functionality of Content Control exclusions is not applicable to internal traffic, therefore, the exclusion based on IP and hostname will not be effective.
The user is immediately informed about the action taken by Bitdefender Endpoint Security Tools through an alert web page or email.
To configure Data Protection:
Enable Data Protection.
Create data protection rules for all of the sensitive data you want to protect.
To create a rule:
Click the Add button at the upper side of the table.
A configuration window is displayed.
Enter the name under which the rule will be listed in the rules table.
Choose a suggestive name so that you or other administrator can easily identify what the rule is about.
Select the type of data you want to protect.
Enter the data you want to protect (for example, the phone number of a company executive or the internal name of a new product the company is working on).
Any combination of words, numbers or strings consisting of alphanumerical and special characters (such as @, # or $) is accepted.
Make sure to enter at least five characters in order to avoid the mistaken blocking of email messages and web pages.
Important
Provided data is stored in encrypted form on protected endpoints, but it can be seen on your Control Center account.
For extra safety, do not enter all of the data you want to protect.
In this case, you must clear the Match whole words option.
Configure the traffic scan options as needed.
Scan web (HTTP) traffic - scans the HTTP (web) traffic and blocks the outgoing data that matches the rule data.
Note
If Intercept Encrypted Traffic is enabled, HTTPS traffic will be scanned as well.
Scan email (SMTP traffic) - scans the SMTP (mail) traffic and blocks the outgoing email messages that contain the rule data.
You can choose to apply the rule only if the rule data matches whole words or if the rule data and the detected string case match.
Click Save.
The new rule will be added to the list.
Configure exclusions to data protection rules so that users can still send protected data to authorized websites and recipients.
Exclusions can be applied globally (to all rules) or to specific rules only.
To add an exclusion:
Click the Add button at the upper side of the table.
A configuration window is displayed.
Enter the web or email address that users are authorized to disclose protected data to.
Select the type of exclusion (web or email address).
From the Rules table, select the data protection rules(s) on which this exclusion should be applied.
Click Save. The new exclusion rule will be added to the list.
Note
If an email containing blocked data is addressed to multiple recipients, those for which exclusions have been defined will receive it.
To remove an exclusion from the list:
Click the
More icon in the table.In the menu, click Delete.
The exclusion is removed from the table.
To remove multiple exclusions at the same time:
Select the checkboxes corresponding to the exclusions you want to delete.
Click the Delete button at the upper side of the table.
The target exclusions are removed from the table.