Network Protection
The Network Protection section allows you to set your preferences for content filtering, safeguard user activity across web browsing, email, and software applications, as well as identify network attack techniques aimed at gaining access to specific endpoints. It is possible to manage web access and application usage by implementing restrictions or allowances, as well as configuring traffic scanning, antiphishing measures, and data protection protocols.
Note
Availability and functioning of this feature may differ depending on the license included in your current plan.
Component
Network Protection is dependent on the following components:
GravityZoneControl Center
Security agent (Bitdefender Endpoint Security Tools installed on Windows, Linux, & Mac endpoints)
Install and configure Network Protection
To start using this feature, follow the steps below:
Log in to GravityZone Control Center.
Go to the Installation Packages page from the left side menu.
Click the Create button in the upper-right side of the screen.
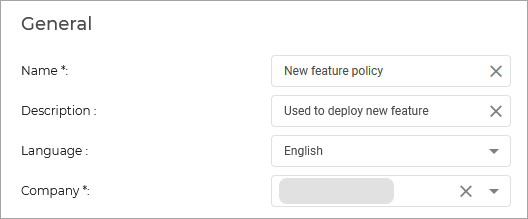
Type in the Name and Description for the new installation package.
Select the modules you want to deploy.

Note
Make sure you include the Network Protection option.
Click Save.
Select the newly created package from the list of packages and click Send download links.

Enter the email addresses of the recipients and click Send.
Test out the Network Protection features
Test out the Content Control feature
Content control has three main components:
Web Access Control - This feature allows you to block access to specific types of websites on your devices either between certain hours or permanently.
Application Blacklisting - You can use this feature to completely block or restrict users' access to applications on all endpoints where the policy is assigned. You can block games, media and messaging software, as well as other categories of software and malware.
Data Protection - Data Protection allows you to set up filters for web pages and outgoing emails that search for specific sensitive information: names, card numbers, addresses, and more.
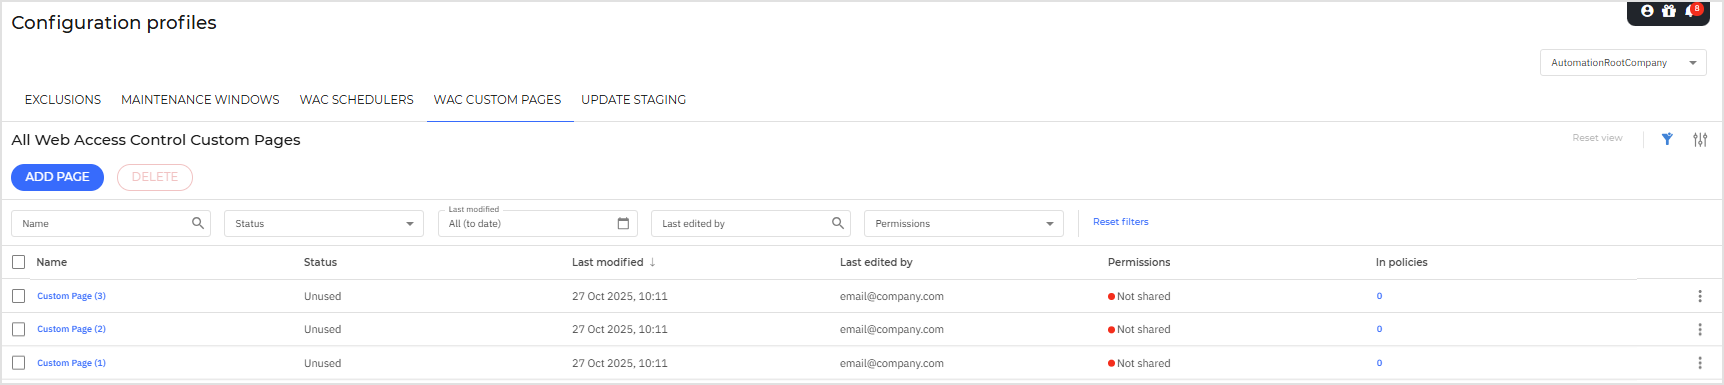
Create a custom page
In the GravityZone left side menu, go to Configuration profiles > WAC custom pages.
Use the selector in the upper-right corner of the page to choose a company.
Click Add page.
Add a suggestive Page name.
If any other users should be able to edit the custom page set the toggle to the Allow other users to make updates position.
To include branding, we recommend uploading a square logo with a size of 100 × 100 px. Alternatively, you can enable the Use logo uploaded in My company option.
In the Block page section, define the message displayed when users try to access a restricted website. You can include explanatory text, contact details, or custom formatting.
Use the full-page preview
 to see how the page will appear to end users. It will closely resemble the version displayed on the endpoint.
In the Warning page section, define the message shown when a user receives a warning rather than a full block. You can include explanatory text, contact details, or custom formatting.
Use the full-page preview
to see how the page will appear to end users. It will closely resemble the version displayed on the endpoint.Note
Select Use the same message as for Block page to reuse the same content, or customize a different message.
After configuring both pages, click Save to add the custom page to the profile.
In the Configuration profiles page from the left side menu, go to WAC custom pages.
In the table click on the value shown in the In policies column. This value indicates the number of policies to which the selected custom page is assigned. Alternatively, you can edit the custom page assignment from the More
 menu.
menu.The Edit custom page assignment window opens.
In the Edit custom page assignment window, select the policies to which you want to assign the custom page from the Policies drop-down list.
Note
A policy can have only one custom page assigned.
Check your policies selection in the In the Policies preview field and click Save.
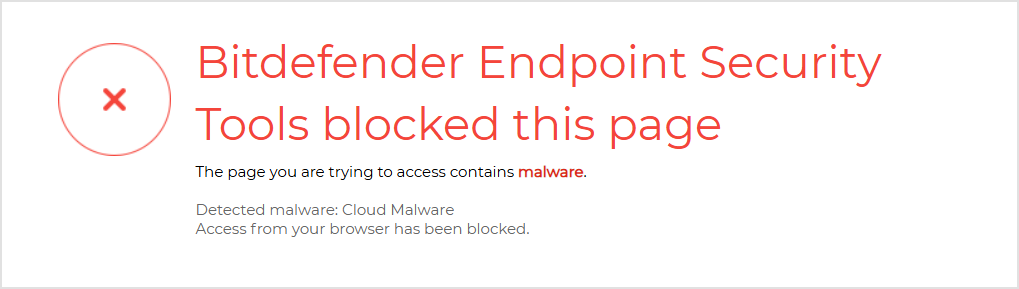
When a user attempts to open a webpage blocked by Content Control, Bitdefender displays the custom page content alongside its standard block message.
Test out the Web Protection feature
For this scenario we will configure the Network Protection feature to exclude specific traffic from malware scanning.
We recommend duplicating your main policy, making these modifications, and applying it to a single endpoint for the purpose of testing the feature:
Go to the Policies page from the left side menu.
Select the policy you want to use to test, duplicate it, and start editing it.
Go to the Network Protection > Web Protection page.
Enable the Web Traffic Scan option.
Apply the policy to one of your endpoints where you want to test the feature
Note
If you created a new policy, apply it on the endpoints where the feature is deployed.
Go to the Network page from the left side menu.
Select the endpoints you want to apply the policy to.
Click the
 Assign Policy button at the upper side of the table.
Select the policy you want to apply.
Click Finish.
Open the browser on one of the selected endpoints and type in the following:
https://secure.eicar.org/eicar.com.txt.
The selected URL's will be scanned and a error message will appear on the screen.
View Network Attack Defense activity
You can use this feature to protect your network against specific network attack techniques, such as Initial Access, Block Credential Access, Block Discovery, Block Lateral Movement, or Block Crimeware.
You can configure the feature to take one of two actions once such an attack is detected:
Block - Network Attack Defense stops the attack attempt once detected.
Report Only - Network Attack Defense informs you about the detected attack attempt, but it will not try to stop it.