Setting up the integration
To set up the HaloPSA integration, you must create in your HaloPSA tenant a Bitdefender application with a Client ID. Your HaloPSA and generated Client ID will be used to link your HaloPSA tenant to your GravityZone tenant via a GravityZone API key or user token.
Generate the HaloPSA Client ID
In your HaloPSA tenant, under Configuration > Integrations > HaloPSA API, create a new application named Bitdefender.
To add the new application, select under Applications > View Applications and then add the new application.
Application Name:
BitdefenderAuthentication Method:
Authorization CodeClient Secret: Do not use
Login Redirect:
https://halopsa.psa.bitdefender.com/api/login/callbackUnder Permissions, please enable:
all
all:teams
Notice
Your HaloPSA Agent must have a HaloPSA Administrator permission. If not sure, check your HaloPSA role permissions.
Notice
After the integration is configured, Bitdefender will create in HaloPSA:
A system Bitdefender Halo Service Application used for background tasks purposes.
A Bitdefender Integration Agent needed for the Bitdefender Halo Service Application. The agent will have access to modify all tickets in all Departments and view Tickets that are assigned to other Agents, ensuring that Bitdefender integration tickets reassigned to other HaloPSA Agents can still be updated.
Caution
If the HaloPSA admin disables the Bitdefender Integration Agent, it remains disabled even if the integration is configured again after being removed.
If tickets created by the Bitdefender integration are reassigned to other HaloPSA Agents, check the additional permissions required for the integration to continue updating those tickets. For configuration details, refer to HaloPSA integration cannot update tickets after reassignment.
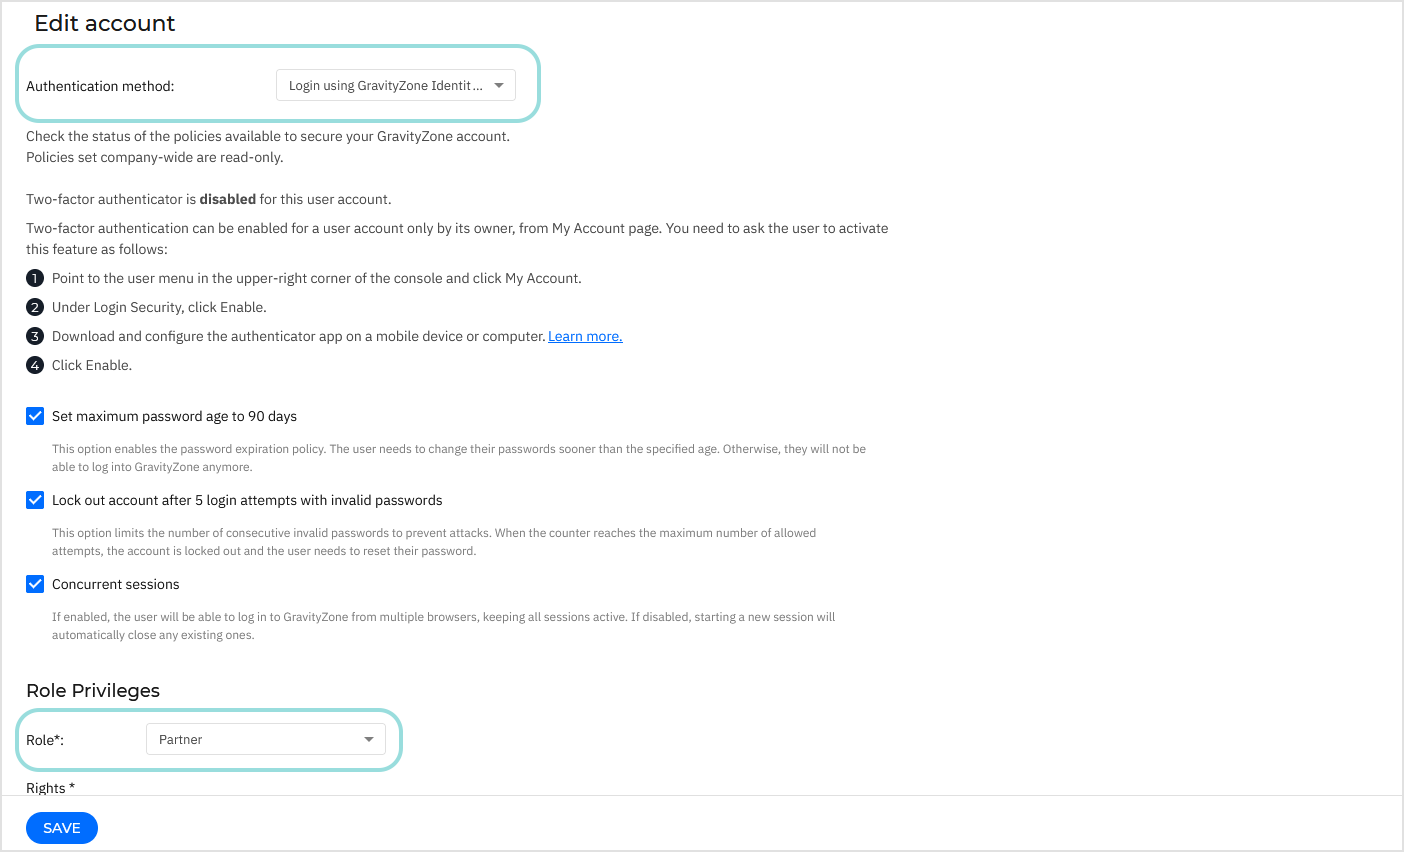
Activate login with GravityZone Identity Provider
The HaloPSA app can be set up using a GravityZone API Key or user account token if:
The user has a GravityZone Partner role with access to all Targets.
Authentication method is Login using GravityZone Identity Provider
The user is not part of a third party IdP.
Generate the API key and access URL
To generate the API key, follow these steps:
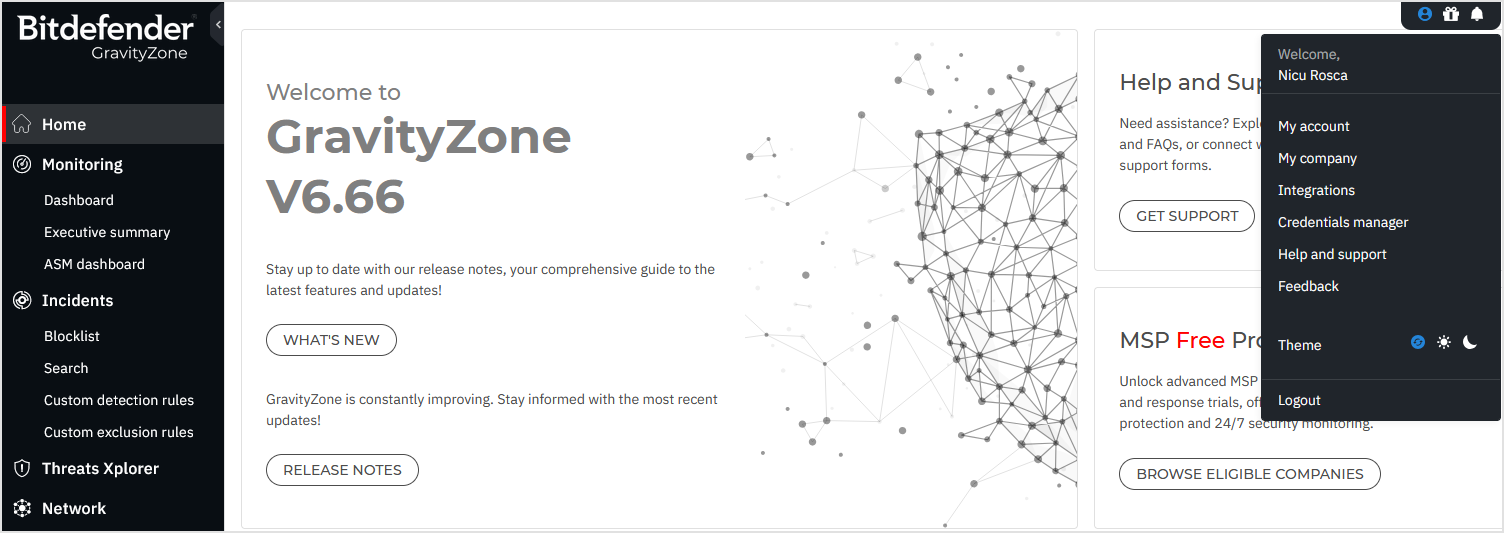
Log in to GravityZone console.
In the upper right-corner on the page, click the welcome menu and go to My Account.
In the API keys section of the account details, click Add.
On the API key configuration page, enter a description and select the following APIs:
Companies
Licensing
Network
Quarantine
Accounts
Event Push Service
Click Generate.
On the new page, copy your API key and save it in a safe location. After you close the window, the key will no longer be visible.
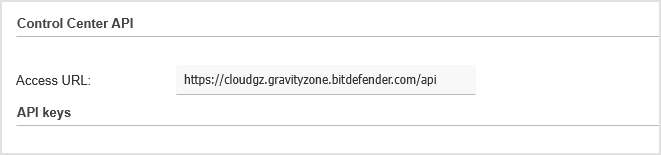
To obtain the API access URL, follow these steps:
On the My Account page, go to the Control Center API section.
Copy the access URL and keep it handy or leave this page open for later use when configuring the integration.
The access URL may vary depending on the GravityZone cloud instance you are connected to. Refer to the image below for guidance.
HaloPSA app registration
To register in the HaloPSA app, follow these steps:
Go to the HaloPSA login page:
https://halopsa.psa.bitdefender.com/Log in using either:
Your GravityZone account if your user is a GravityZone Identity Provider account.
Your HaloPSA URL and generated ClientID.
After a successful login, the HaloPSA app wizard will guide you through the needed configuration steps.
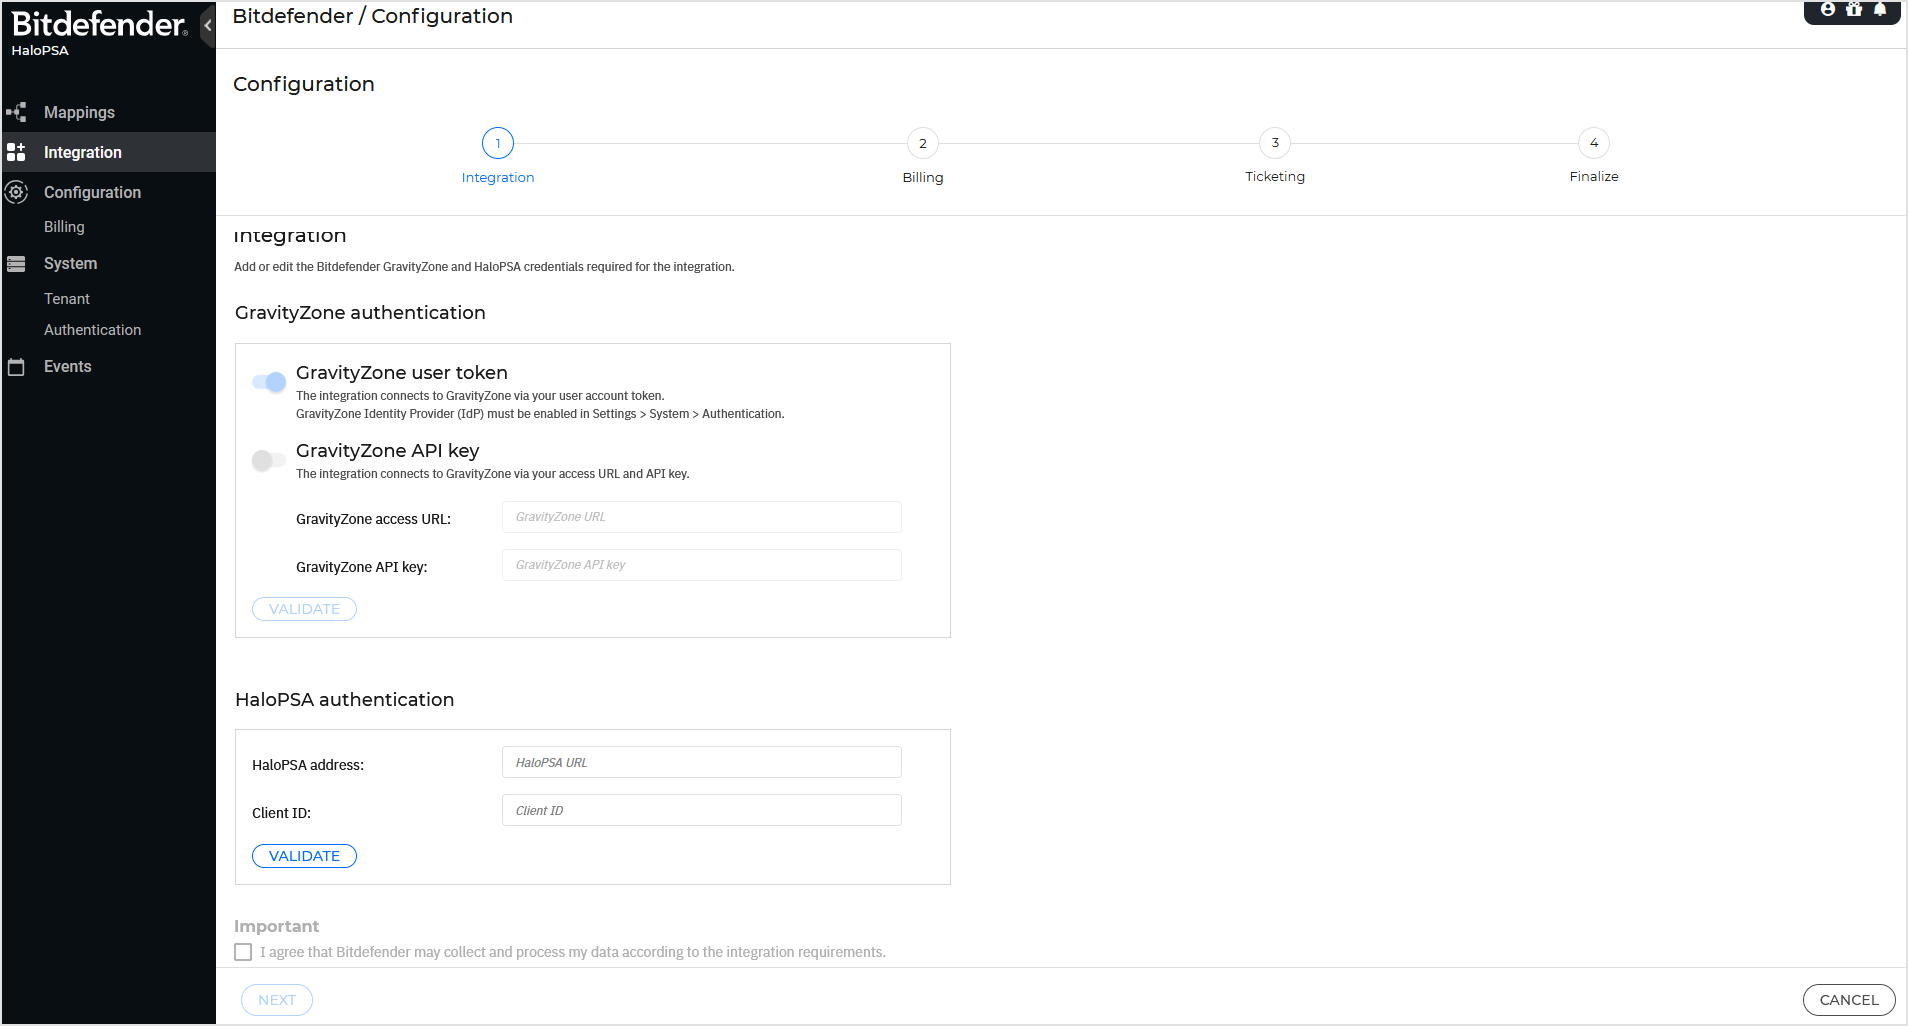
Integration
If the Log in with GravityZone method was used to log in, you need to provide your HaloPSA server URL and ClientID.
Click Validate. You will be forwarded to your HaloPSA tenant to log in.
If the HaloPSA credentials method was used to log in, you need to provide a valid user token or a valid GravityZone API key.
Click Validate.
For the GravityZone user token option, you will be forwarded to GravityZone IdP to log in.
For the GravityZone API key, follow the instruction on Generating the API key and access URL.
You need to enable the checkbox to agree to collect and process the information from your HaloPSA tenant needed for the integration to work.
Click Next.
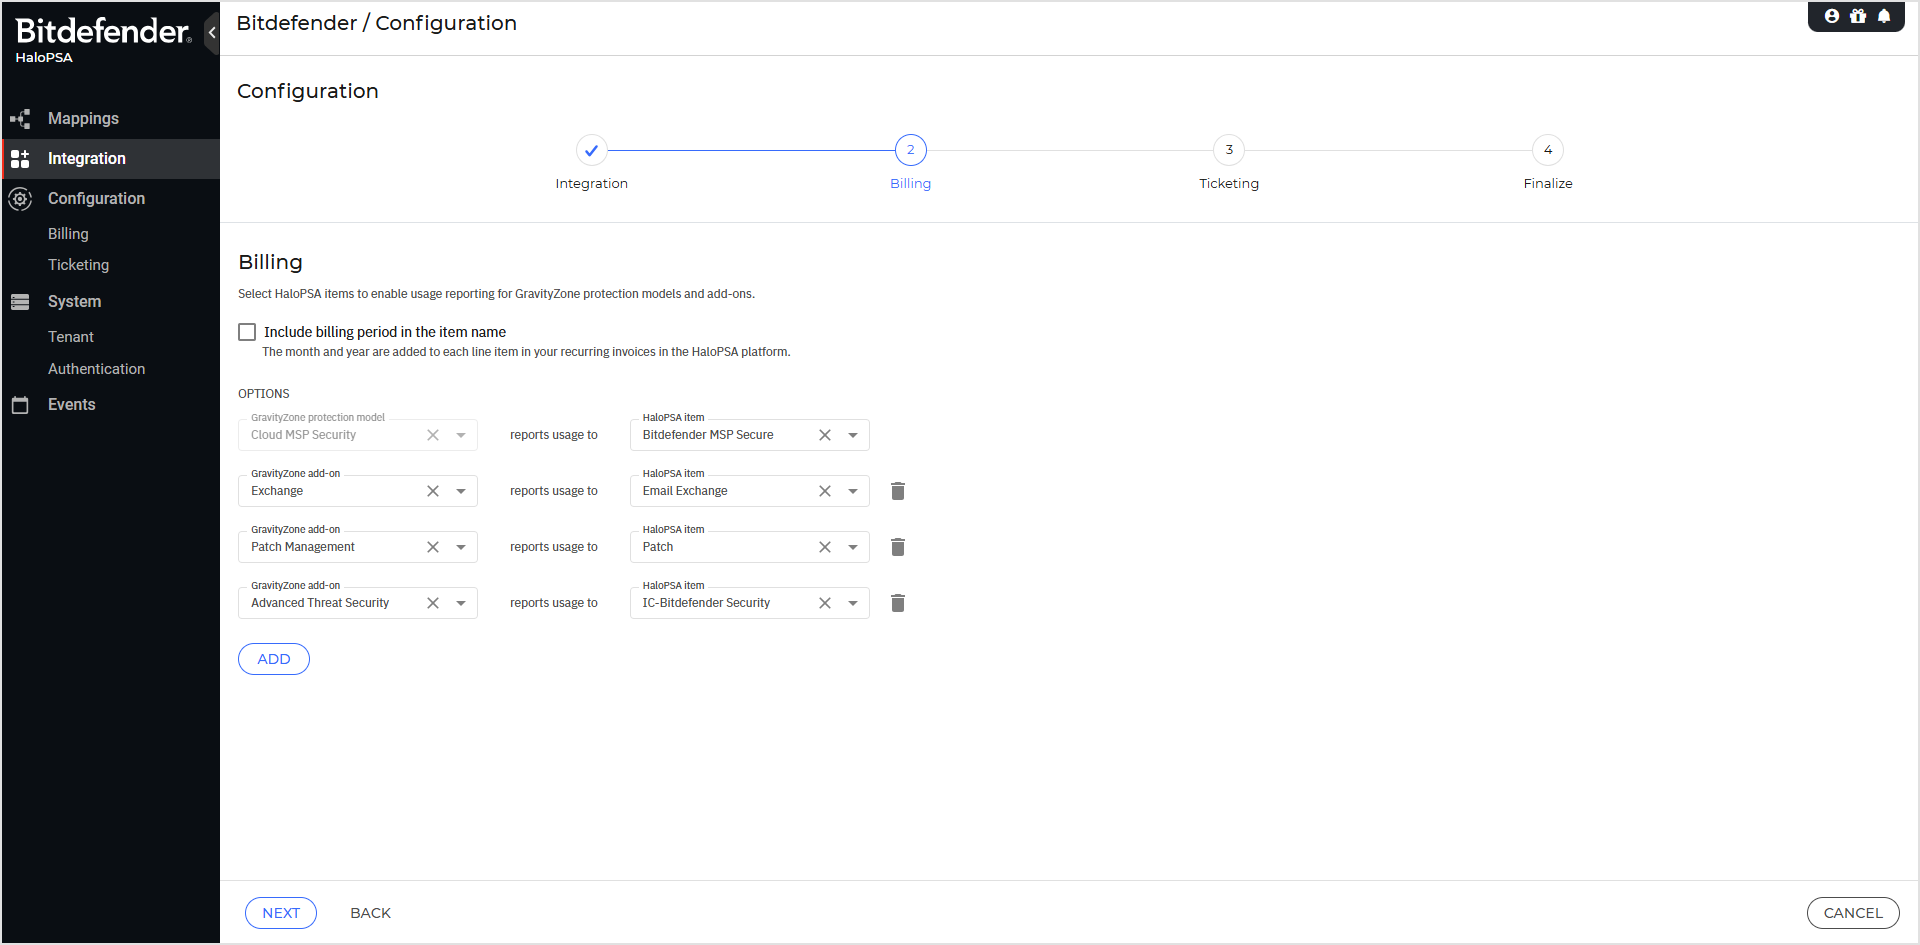
Billing
It is mandatory to configure the Billing service in the integration’s configuration wizard. This configuration will serve as a template for any HaloPSA client for which the billing service needs to be active.
Billing in HaloPSA is performed by using recurrent invoices templates that are created by the Bitdefender integration. Depending on your available GravityZone license, these will be shown to you in order to be mapped to their corresponding HaloPSA item.
By enabling the Include billing period in the item name, the integration will add the month and year details in the recurring invoice item name, for each line. If for more than a month no invoices have been generated, or the usage could not be calculated, the quantity will be accumulated.
Note
The GravityZone protection models are mandatory for Billing configuration. A HaloPSA item must be available for each protection model as his is needed to cover billing for any specific license configuration.
GravityZone add-ons are optional, they are depending on your GravityZone MSP license.
Any configuration performed at this step will have no effect on your HaloPSA billing process as it depends on the Mapping feature.
Click Next.
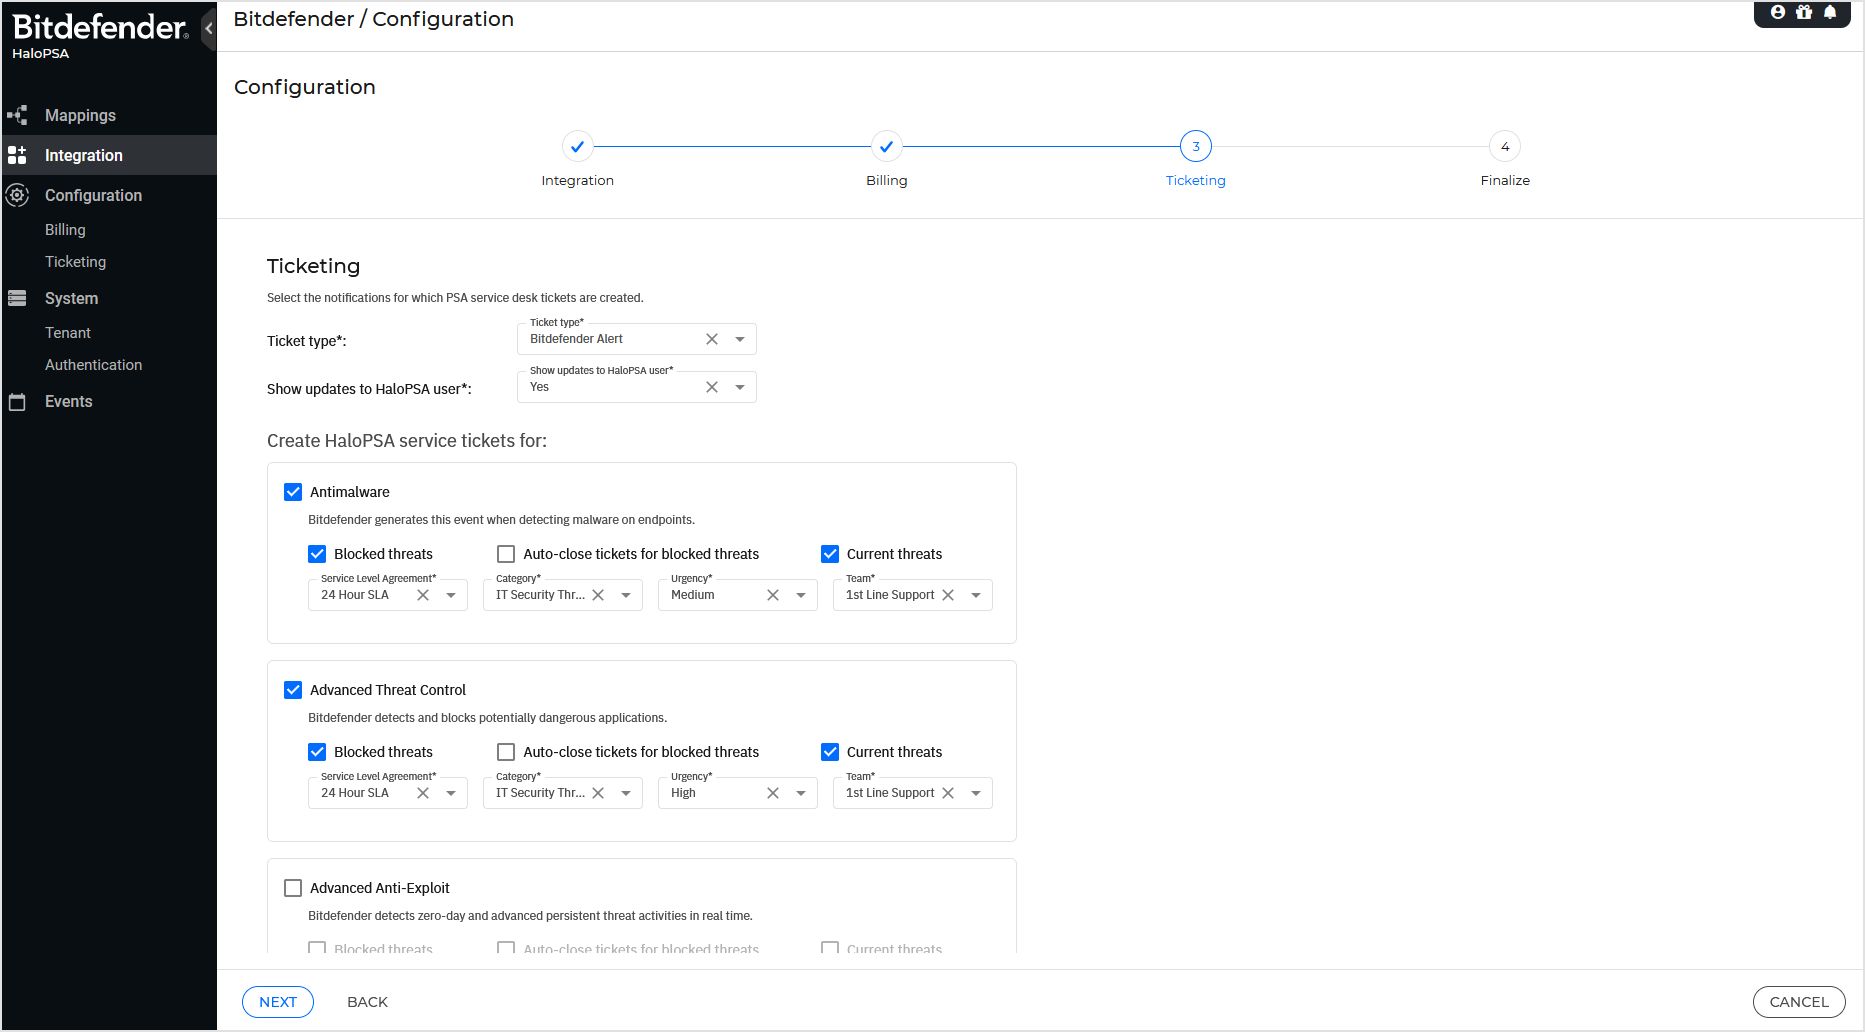
Ticketing
It is mandatory to also configure the Ticketing Service settings in the integration configuration's wizard. When enabled for your HaloPSA clients, Bitdefender will create HaloPSA service desk tickets if enabled Bitdefender alerts are detected by the Bitdefender Agent.
Note
The Ticket type and Show updates to HaloPSA user options are mandatory.
When enabling a Bitdefender alert option, valid Service Level Agreement, Category, Urgency and Team options must be selected. If available as defaults on your HaloPSA ticket type, they will be automatically added, but you can still select different options for each alert.
Any configuration performed at this step will have no effect on your HaloPSA ticketing process as it depends on the Mapping feature.
Click Next.
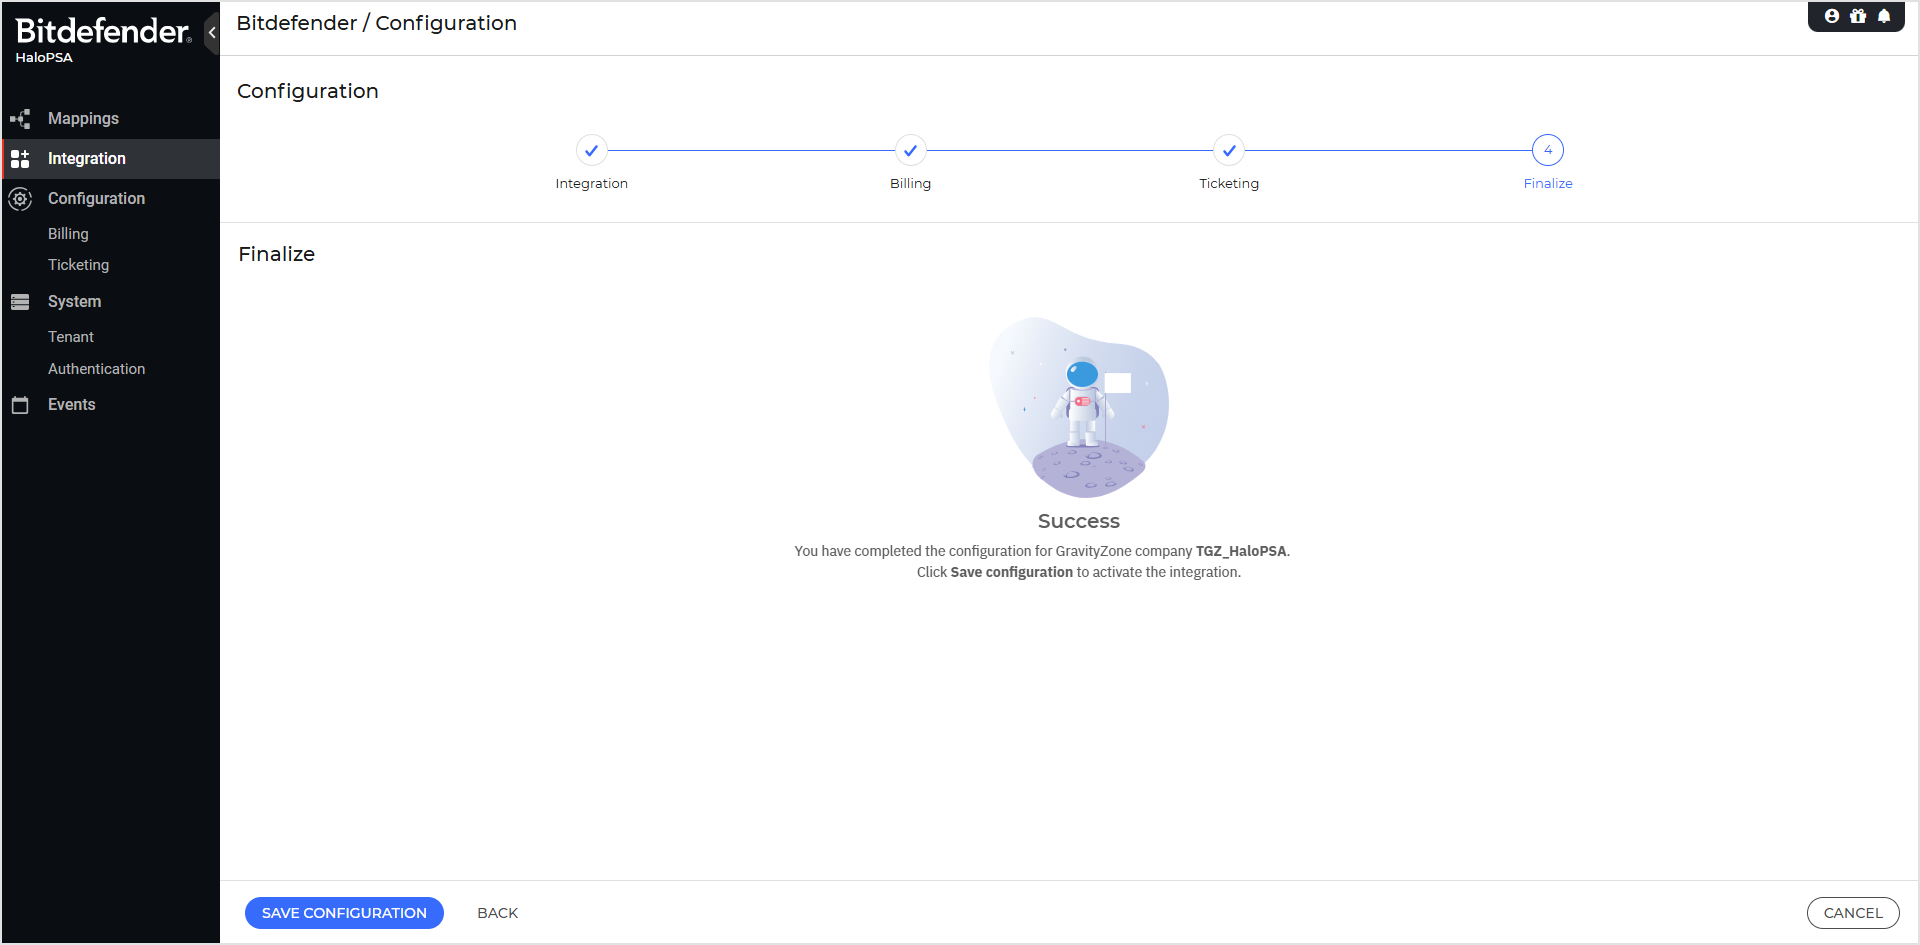
Finalize
Click Save configuration to activate the integration.
After activating the integration, all sections in the HaloPSA app are accessible.