Creating Team Members
This guide explains how to create a team member manually.
When you create an NFR account and synchronize mailboxes from Azure, the accounts are populated at both customer level on the Users page and MSP level on the Team Members page. However, these accounts do not have team member roles until you edit each account and assign the required roles and permissions.
Open the Team Members page
Go to the Team Members page in the sidebar.
Create a team member
Select New + in the upper-right corner.
Enter the team member details
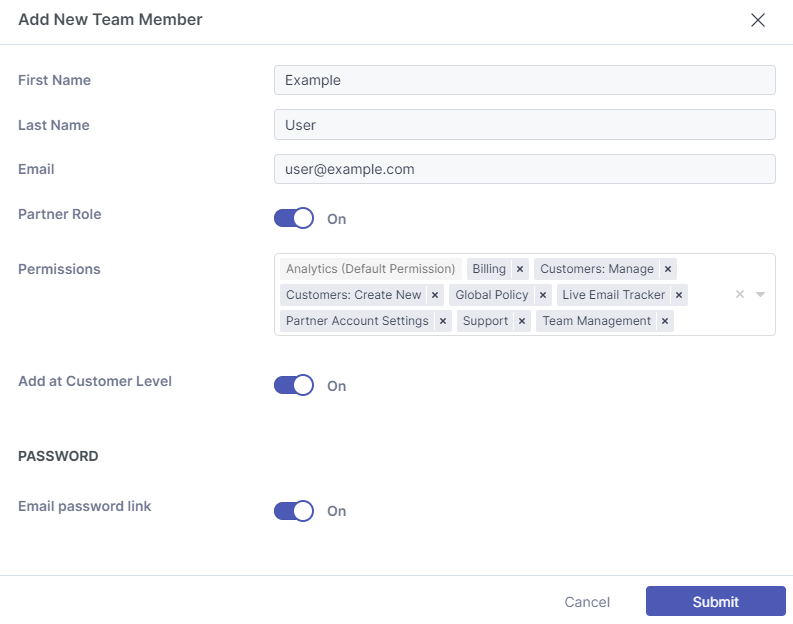
Complete the First Name, Last Name, and Email fields.
Enable the Partner role (optional)
To assign management permissions to the team member, enable the Partner role. The available roles are described in the table below.
Add the team member at customer level (optional)
To also add the team member as an end user, enable Add at Customer Level.
Tip
Add at Customer Level allows team members to log in at customer level in the NFR account, create allow and block rules, and receive quarantine digests.
Set the password
Send a password setup email or create a password for the team member.
Save the team member
Select Submit to save the details.