AT&T AlienVault integration guide
The AT&T AlienVault is a comprehensive platform that provides preventive protection, post-breach detection, automated investigation, and response capabilities. The system possesses sophisticated endpoint detection and response (EDR) functionalities that cater to conventional operating systems such as Windows, Linux, and MacOS.
The aforementioned capabilities offer attack detections that are almost instantaneous and can be acted upon promptly. By utilizing effective security analysis techniques, analysts can prioritize alerts in an efficient manner. This allows for increased visibility into the entirety of a breach, enabling analysts to take appropriate response actions to remediate any potential threats.
About AT&T AlienVault and the Mobile Security console communication
The console has been set up to enable the sharing of alerts with AT&T AlienVault via API access.
In the event of a reported threat from a device to the Mobile Security console, the AT&T AlienVault integration configured to receive such information is notified of the threat details, provided that the severity of the threat meets or surpasses the minimum threshold established during the setup process.
The console is configured to send only the critical severity threats to AT&T AlienVault by default. The details of a threat typically consist of user information, if obtainable, device information, operating system, and threat forensics.
Configuration steps
Perform the following steps to set up the Mobile Security console Integration:
Login to the Mobile Security console.
In the Navigation panel, select Manage.
When the Manage page opens, select the Integrations tab, select the Threat Reporting tab, and the following window opens:
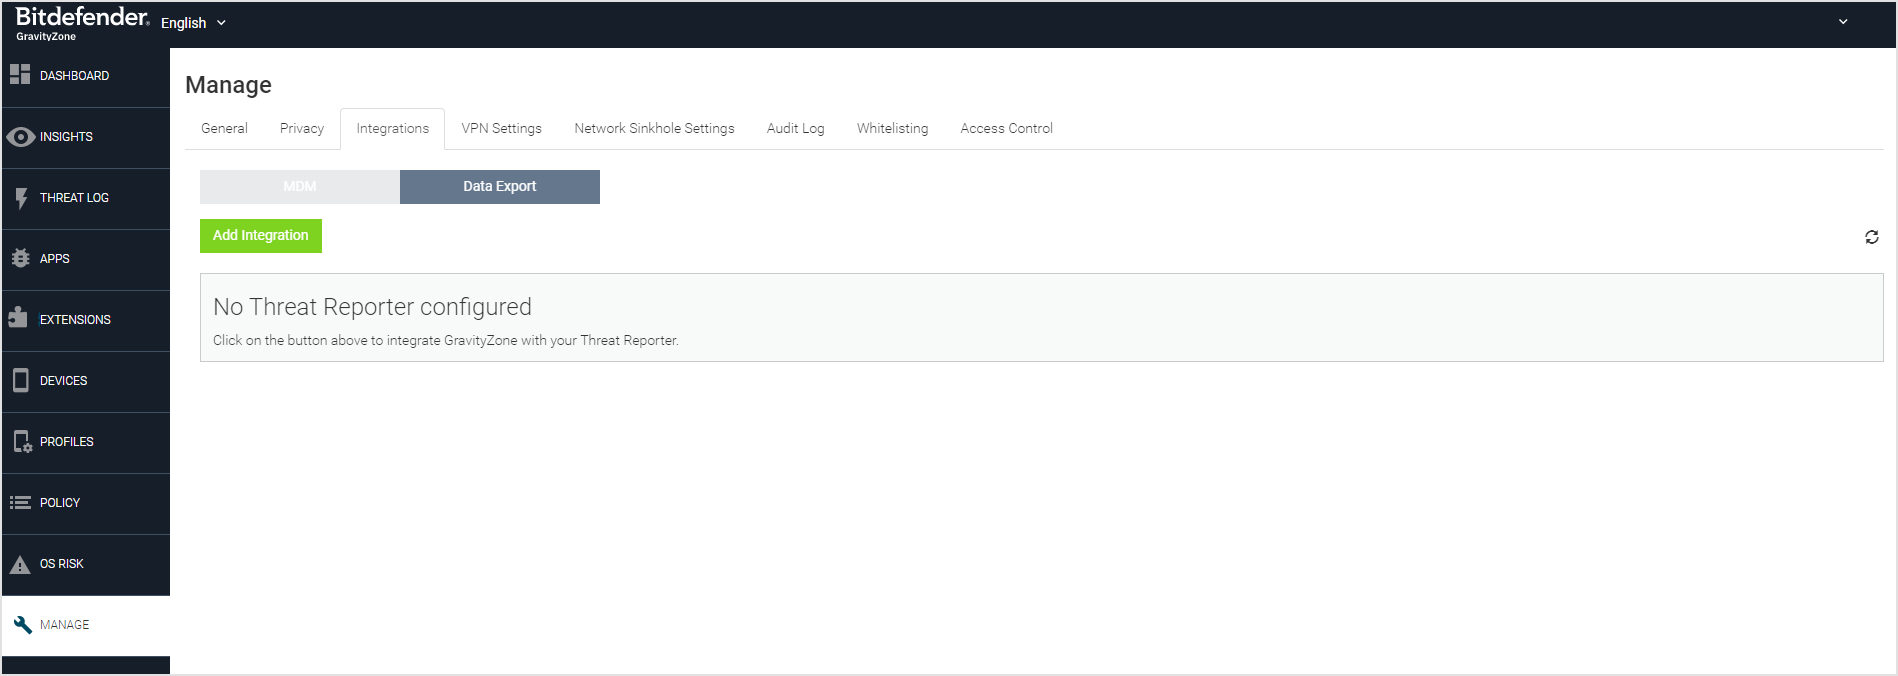
Click on the green Add Integration button, and the following window opens which shows a listing of the integration partners to select.
Select the desired integration.
In the window that opens fill in the required information and click the Go On button.
Another window opens to finish setting up the integration. Enter the following information on this window.
Name – Enter a unique name for this Integration for Microsoft Azure Sentinel environment
Filter Level – Select the severity level from the drop-down menu which is reported from:
Critical – shows only Critical severity levels.
Elevated and Above – shows Elevated and Critical Severity Levels
Low and Above – shows Low, Elevated and Critical Severity Levels
Normal and Above – shows all Levels of severity.
Click on the Finish button and when it is configured and saved correctly, the Main Threat reporting window opens showing the integration is successful.