Products
GravityZone Security for Email
The Email Security section contains links to all the configuration pages where the functionality of the product can be customized. Each page has been documented here.
Use the Product Configuration screen to configure and customize your GravityZone Security for Email installation.
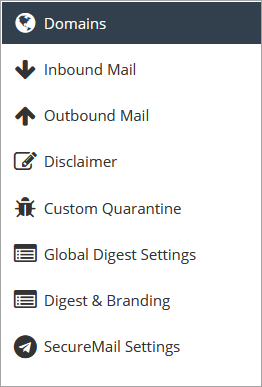
Use the Domains tab to specify which domains will be protected by GravityZone Security for Email. Unless a domain is configured here, emails sent to and from mailboxes belonging to it will not be filtered through GravityZone Security for Email.
Note
Adding a new domain also creates in Inbound Mail route.
For more information on this page refer to Domains.
The Inbound Mail tab lists all of the inbound mail delivery routes that GravityZone Security for Email is aware of. Multiple inbound routes with different costs associated can be used to prioritize a specific route over others.
For more information on this page refer to Inbound Mail.
The Outbound Mail tab lists all of the outbound mail delivery routes that GravityZone Security for Email is aware of. Multiple outbound can be used to prioritize or condition specific routes.
For more information on this page refer to Outbound Mail.
Use the Disclaimer tab to set up a template to attach to every email that originates from your domain. You can set up a disclaimer for each of your configured domains, for both html and plain text emails.
Domain - select the domain you want to create the disclaimer for. The default will apply for all domains that have a specific disclaimer created.
Apply Changes - save the changes made to the disclaimer
Activate this disclaimer - checking this box will add the disclaimer to all outbound emails on the selected domain.
For more information on this page refer to Disclaimer.
You can add additional quarantine statuses in the Custom Quarantine tab. GravityZone Security for Email comes with two default quarantine states of Spam and Virus. These can not be deleted or edited.
Name - Displays the name of all existing quarantine statuses.
User access - indicates if users can access the quarantine through Personal Quarantine.
Add button - create a new custom quarantine status.
Remove domain button - deletes the custom quarantine status on that row.
For more information on this page refer to Custom Quarantine.
Use this tab to control the frequency with which GravityZone Security for Email sends reports with recent activity. You can establish the frequency, time slot and specific days of the week in which to send reports.
Note
Checking the Never Send box will stop sending reports.
For more information on this page refer to Global Digest Settings.
In the Digest and Branding tab you can edit the appearance of digest emails sent by GravityZone Security for Email.
For more information on this page refer to Digest and Branding.
Settings
The Administrators section allows you to view and manage a list of users that have access to the SecureMail end user portal.

Import button - import multiple accounts from a .CSV file.
Add button - manually create a new user.
Search field - search for an already existing account.
Column descriptions - provides information on the data contained in each column. These include:
Full Name - the name of the person who the user belongs to.
Email(username) - the email address the user is assigned to.
Verified - shows if the user has activated their account and created a login password.
Role - the role assigned to each user.
Suspended - indicates if a user has been suspended. A suspended user can perform no actions within GravityZone Security for Email.
Redact - indicates whether sensitive information within reports should be redacted for this specific user.
MFA Enabled - indicates whether this user has enabled Multi-Factor Authentication for access to GravityZone Security for Email.
Delete button - permanently removes the user.