Using Smart Views
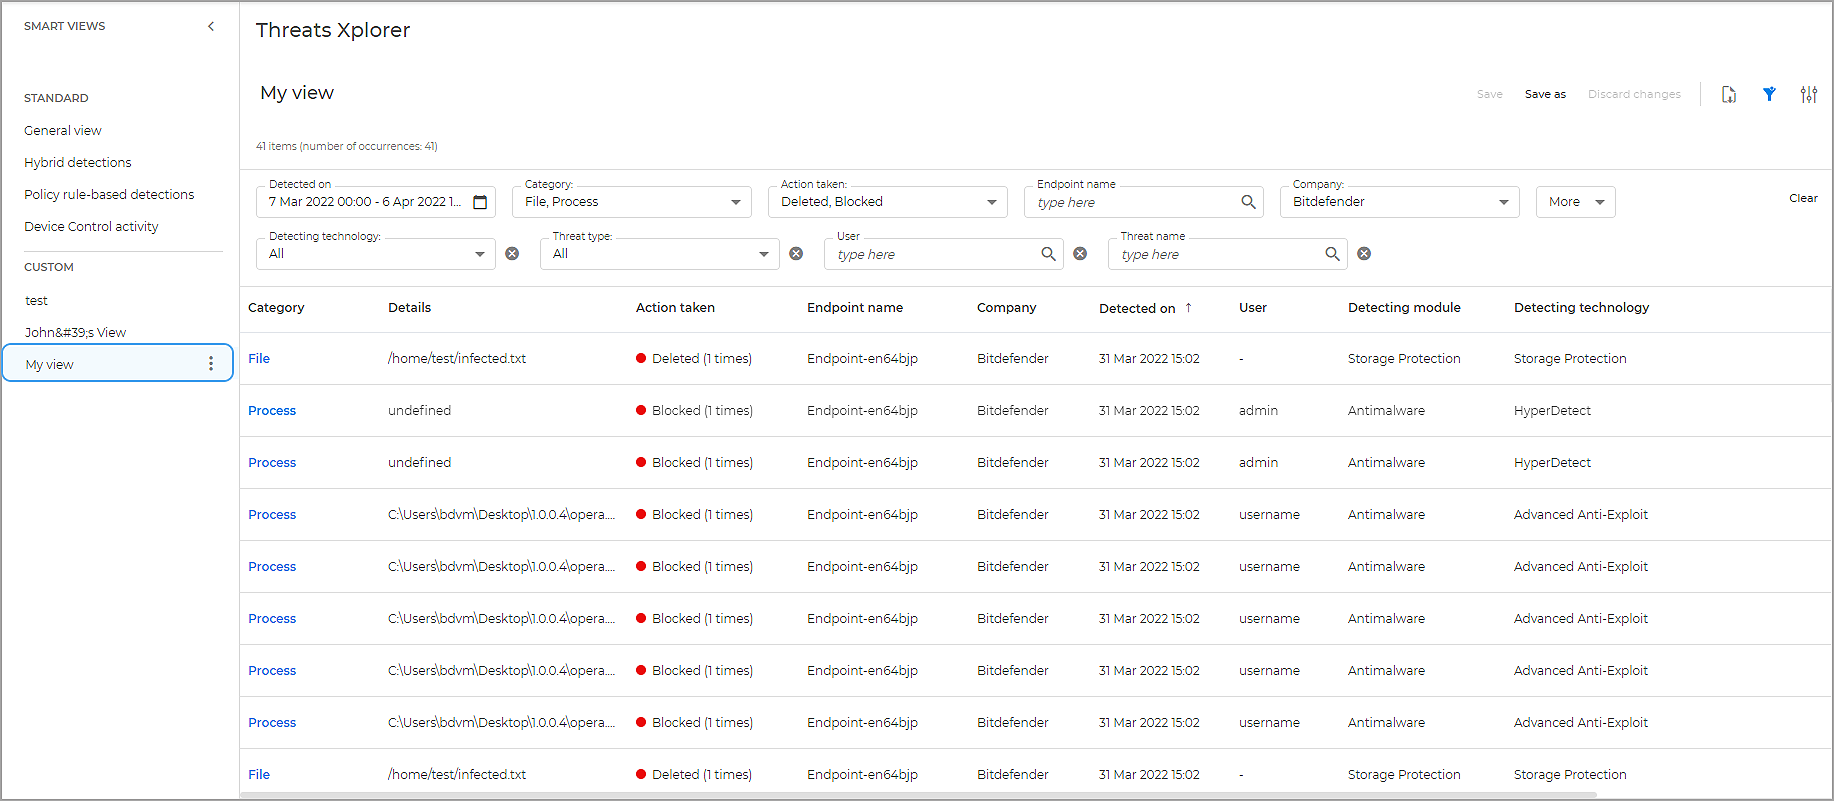
Smart Views is focused on adding a new level of personalization in Threats Xplorer. You can now create your own customized views or use predefined ones and quickly switch between them as needed.
In a single view, you can customize filters, and different time intervals, add or remove columns and scale their size.
Smart Views provides you with a set of useful standard views with predefined filters, columns, and time intervals:
General view provides you with the default filters and columns.
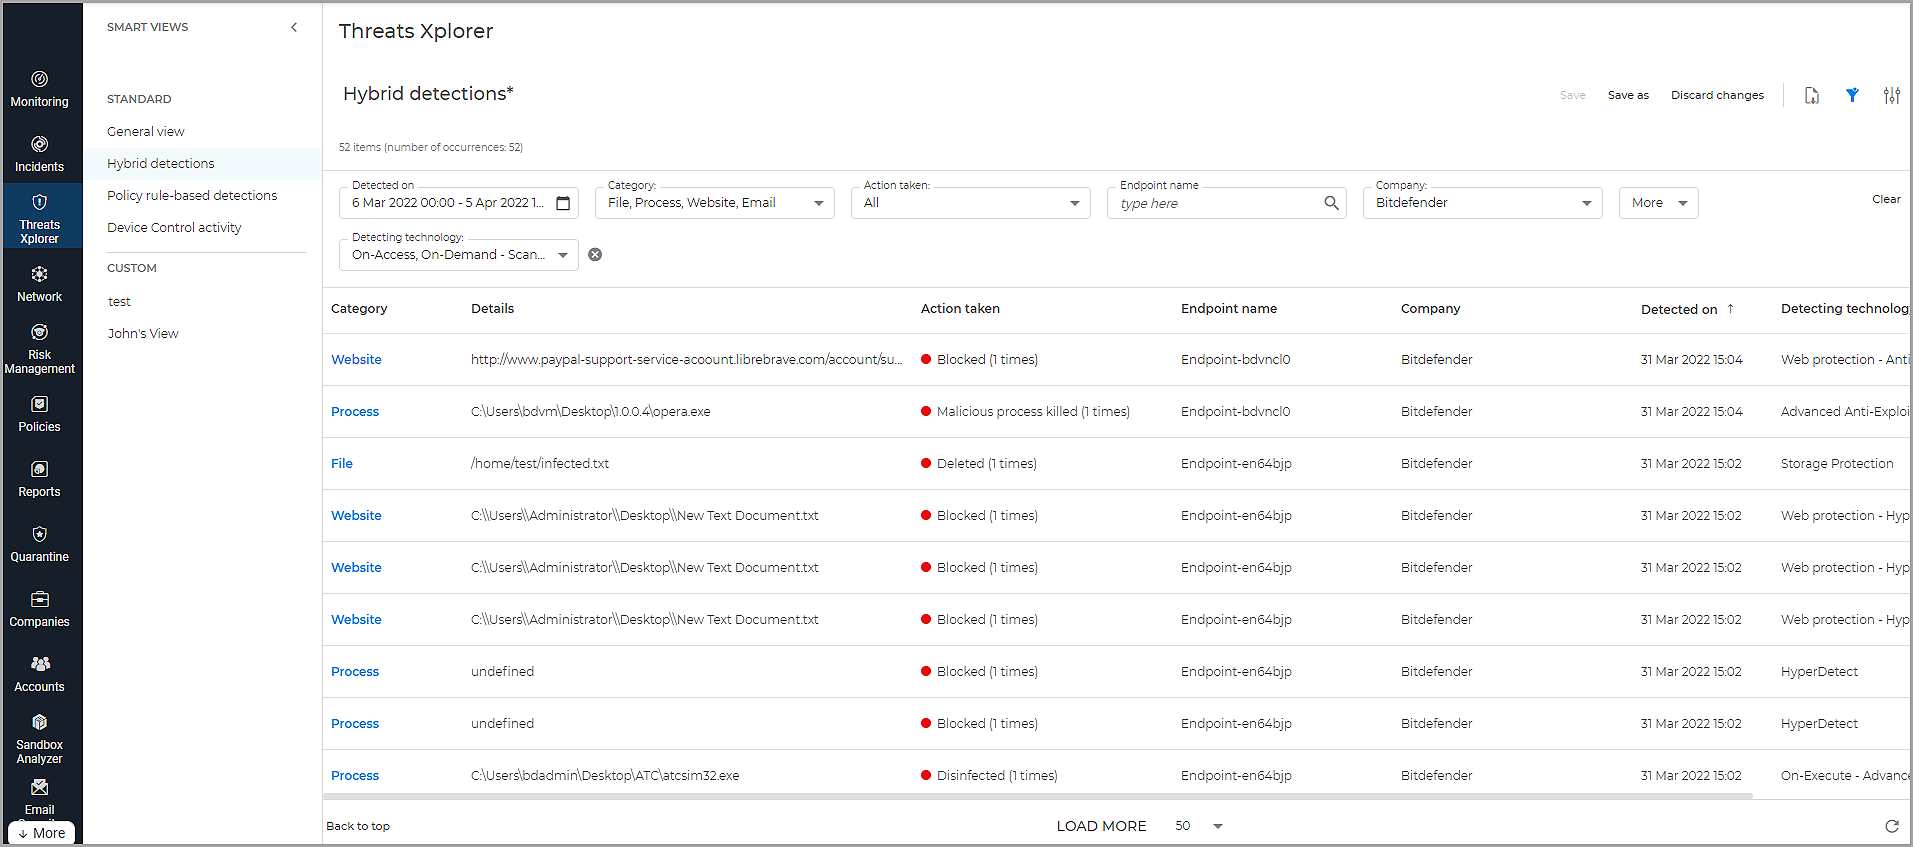
Hybrid detections view filters different threats proactively detected by multiple GravityZone technologies.
Policy rule-based detections view organizes all events triggered by policy rule violations.
Device Control activity view shows threats proactively detected by the Device Control module.
You can use any standard view as is or temporarily modify it to suit your needs. You can also clone a view or use it as a template to create your own.
Note
Standard views and their changes can be saved only as new views.
GravityZone console retains the selected view even if you leave the section or log out until you change it yourself with another view. This way, you can always pick up from where you left and analyze the security events of interest.
Creating custom views
Choose a standard view.
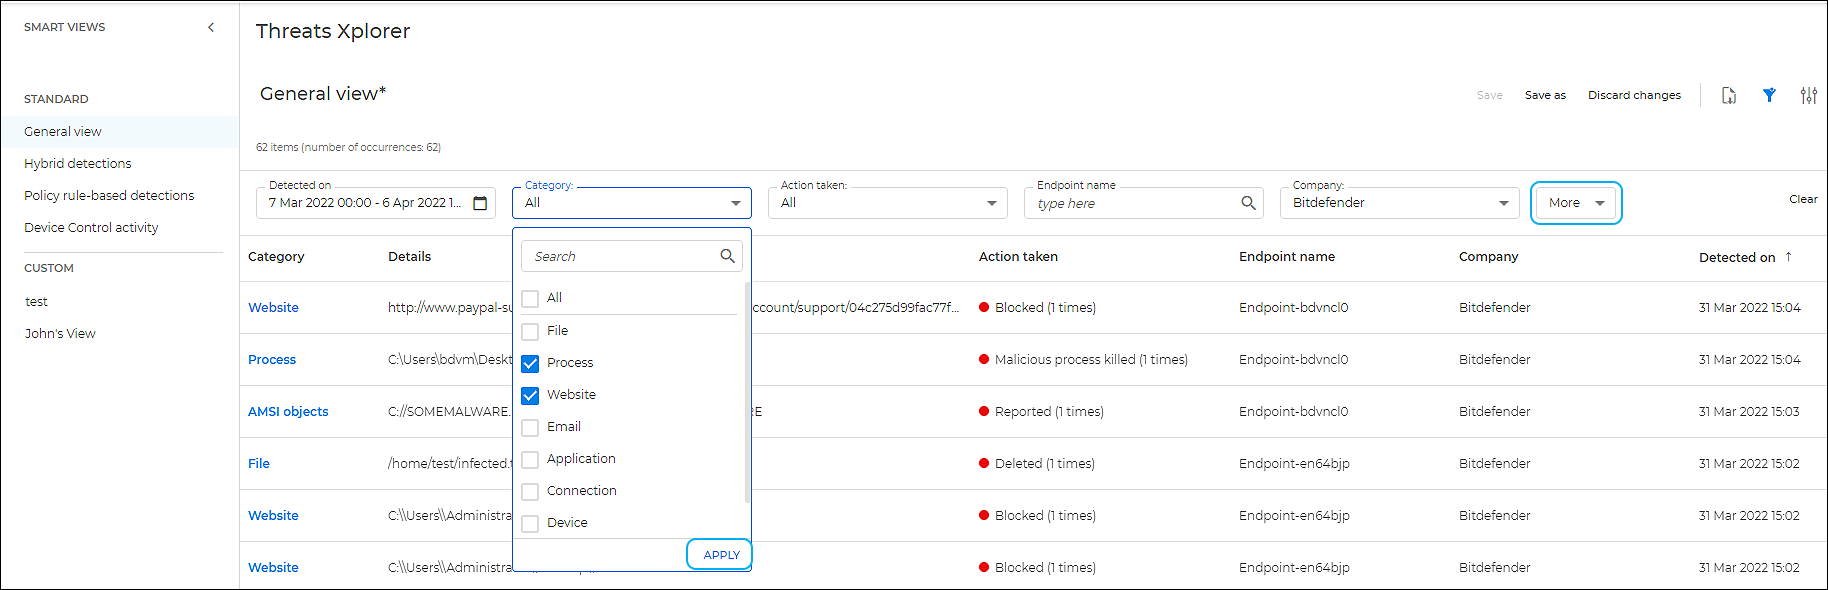
Personalize according to your needs:
Select, apply and add different filters
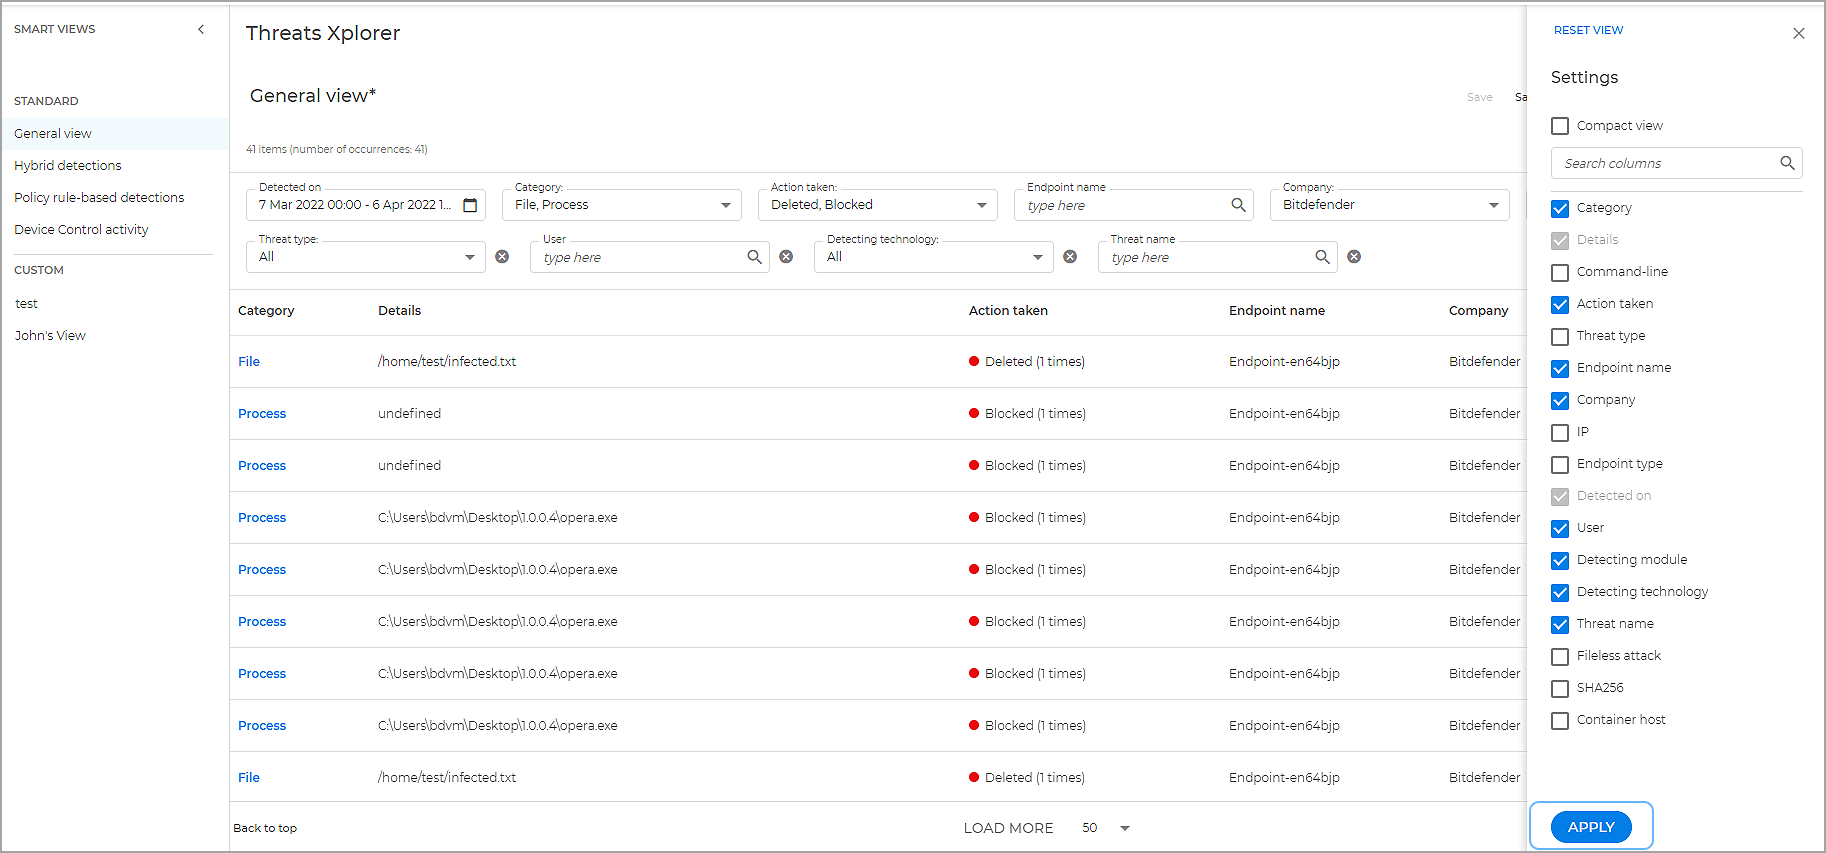
Add or remove columns from the right-side panel
Use the Discard changes button from the upper right corner of the page to undo your selections if necessary.
Save your changes using the Save as button from the upper right corner of the page.
Enter a name for the view and click Save. You can find the new view in the Custom section.
Editing custom views
You can edit a custom view anytime, however, please note that you need to save your changes after applying them.
To edit a custom view:
Choose a custom view.
Personalize according to your needs. Use the Discard changes button to undo your selections if necessary.
Save your changes using the Save button from the upper right corner of the page.
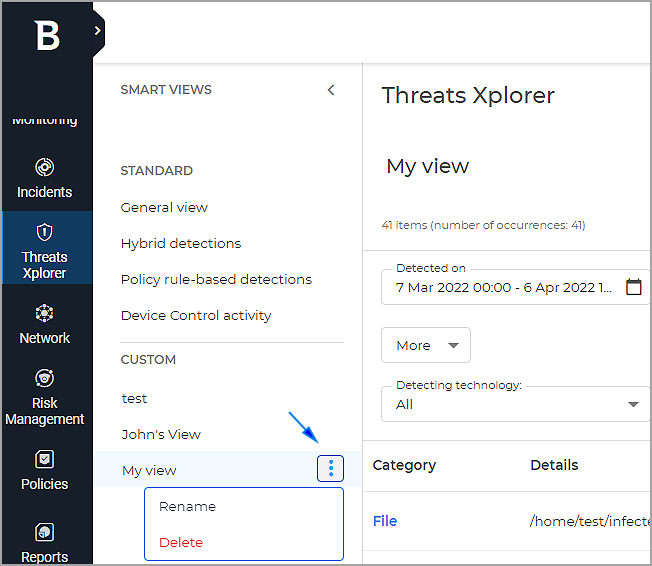
Renaming and deleting custom views
To delete or rename a custom view click the corresponding vertical ellipses from the views panel and select the action.