PHASR
PHASR (Proactive Hardening and Attack Surface Reduction) analyzes user and system behavior to reduce an organization’s internal attack surface. Its learning phase lasts a minimum of 30 days and can extend up to 60 days depending on the rule, but recommendations may also be generated instantly if sufficient EDR historical data is available. Based on observed behavior per user-device pair, PHASR delivers targeted hardening recommendations to mitigate risks such as Living off the Land Binaries, Crypto miners, Piracy tools, Tampering tools, and Remote admin utilities based on observed behavior per user-device pair.
Note
Although PHASR uses the EDR historical data to reduce the learning period, it is not guaranteed that data for the past 30–60 days will be available, even if that period has already passed. The cache has a fixed size, and in some cases, data from fewer days may completely fill the available cache space
Components
For the PHASR feature to operate on an endpoint, the following prerequisites need to be met:
GravityZoneControl Center
Bitdefender Endpoint Security Tools installed on Windows, Linux, and macOS endpoints
EDR module installed and enabled
The following features are enabled in the policy: EDR and Risk Management
Feature compatibility
PHASR is supported on Windows 10 and later, Linux, and macOS. For more details, refer to Requirements > PHASR.
Install and configure PHASR
There are three possible scenarios for installing this feature on your endpoints:
An endpoint does not have the BEST agent installed. In this case, use the Create an installation package procedure.
An endpoint has the BEST agent installed, but PHASR is not included in the modules list. In this case, use the Add PHASR using a Reconfigure agent task procedure.
An endpoint has the BEST agent installed, and the PHASR module is included. In this case, go directly to the Configure and enable PHASR section.
Log in to GravityZone Control Center.
Go to the Installation Packages page from the left side menu.
Click the Create button in the upper-right side of the screen.
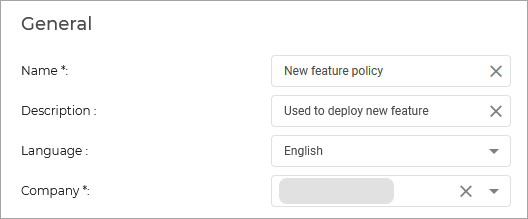
Type in the Name and Description for the new installation package.
In Security modules and roles > Operation mode, select Detection and prevention.
Select the modules you want to deploy.
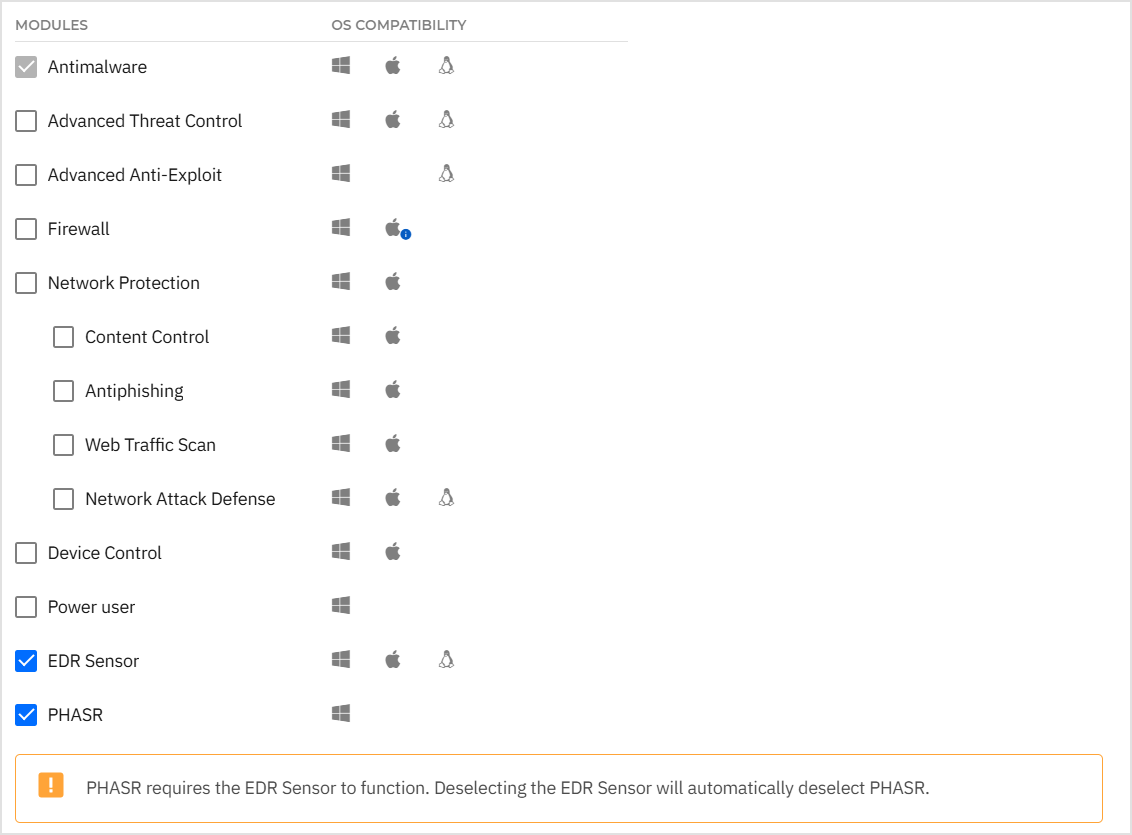
Note
Make sure you include the PHASR and modules in the installation package as PHASR requires the EDR Sensor to function. Deselecting the EDR Sensor will automatically deselect PHASR.
Click Save.
Select the newly created package from the list of packages and click Send download links.

Enter the email addresses of the recipients and click Send.
Configure and enable PHASR
Managing PHASR recommendations
Recommendations in PHASR are security actions suggested based on observed user and device behavior. They indicate whether access to certain tool categories should be restricted or allowed, helping reduce attack surface while adapting dynamically if user behavior changes.
After PHASR is activated and the module is installed on endpoints, the learning phase begins. This phase lasts a minimum of 30 days and can extend up to 60 days, depending on rule severity. During this period, PHASR builds behavioral profiles by analyzing user and device activity, and gradually starts generating recommendations. When no usage is detected for certain tools, PHASR generates Restrict access recommendations to limit the attack surface.
Important
Behavioral profiles are unique pairs that are being created by combining user and device.
Examples of Behavioral profiles:
John Doe - Desktop
John Doe - Laptop
Kelly Doe - Laptop 1
Kelly Doe - Laptop 2
After the initial learning phase is completed and recommendations are generated, PHASR continues learning in the background, continually adapting to changes in user behavior.
Note
PHASR has the capability to leverage historical EDR data to reduce the duration of the learning phase, depending on the volume of the historical data at its disposal, meaning that the learning phase can be reduced to several days or get recommendations immediately.
When PHASR detects that user behavior has changed for a user which currently has access to certain assets, it will generate a Restrict access recommendation. Once this recommendation is generated you can review the behavioral profiles for which it was generated and allow the recommendation to be applied.
When PHASR blocks a tool, endpoint users can request access directly from the BEST interface, whether the restriction was applied automatically (Autopilot) or manually (Direct Control).
To view the generated recommendations and reduce the attack surface by applying them, go to the PHASR recommendations page.
Managing rules
Rules are mechanisms used by PHASR to identify possible rules and allows the user to reduce the attack surface exposure. Each rule can produce multiple recommendations.
To view the rules that form the basis of recommendations, or to manually apply or remove restrictions, go to the PHASR rules page.
Test out PHASR
To test out PHASR follow these steps:
In the GravityZone console go to the PHASR rules.
Select a process that is available in one of the targeted activity type by PHASR, e.g.
teamviewer.exe.Click the process name under the Rule name column. The rule details side panel is displayed.
Select Edit access.
In the Edit access window, under the Behavioral profiles section, select the device for which you wish to restrict access.
Select Edit access to apply your changes.
On the selected device try to the access the earlier restricted process, e.g. teamviewer.exe.
When PHASR blocks a process on a specific endpoint, the restriction is visible in the Bitdefender Endpoint Security Tools interface. This information appears only if the process actually attempts to run or access resources, and it may take several seconds or even minutes for the change to synchronize.