Control Center
Monitor dashboard
The Control Center dashboard is a customizable visual display providing a quick security overview of all protected endpoints and network status.
Use this information to glance over unresolved network items. Click View to access the Incidents page. For more information, refer to Investigating Incidents.
Dashboard portlets display various real-time security information using easy-to-read charts, thus allowing you to quickly identify any issues that might require your attention.
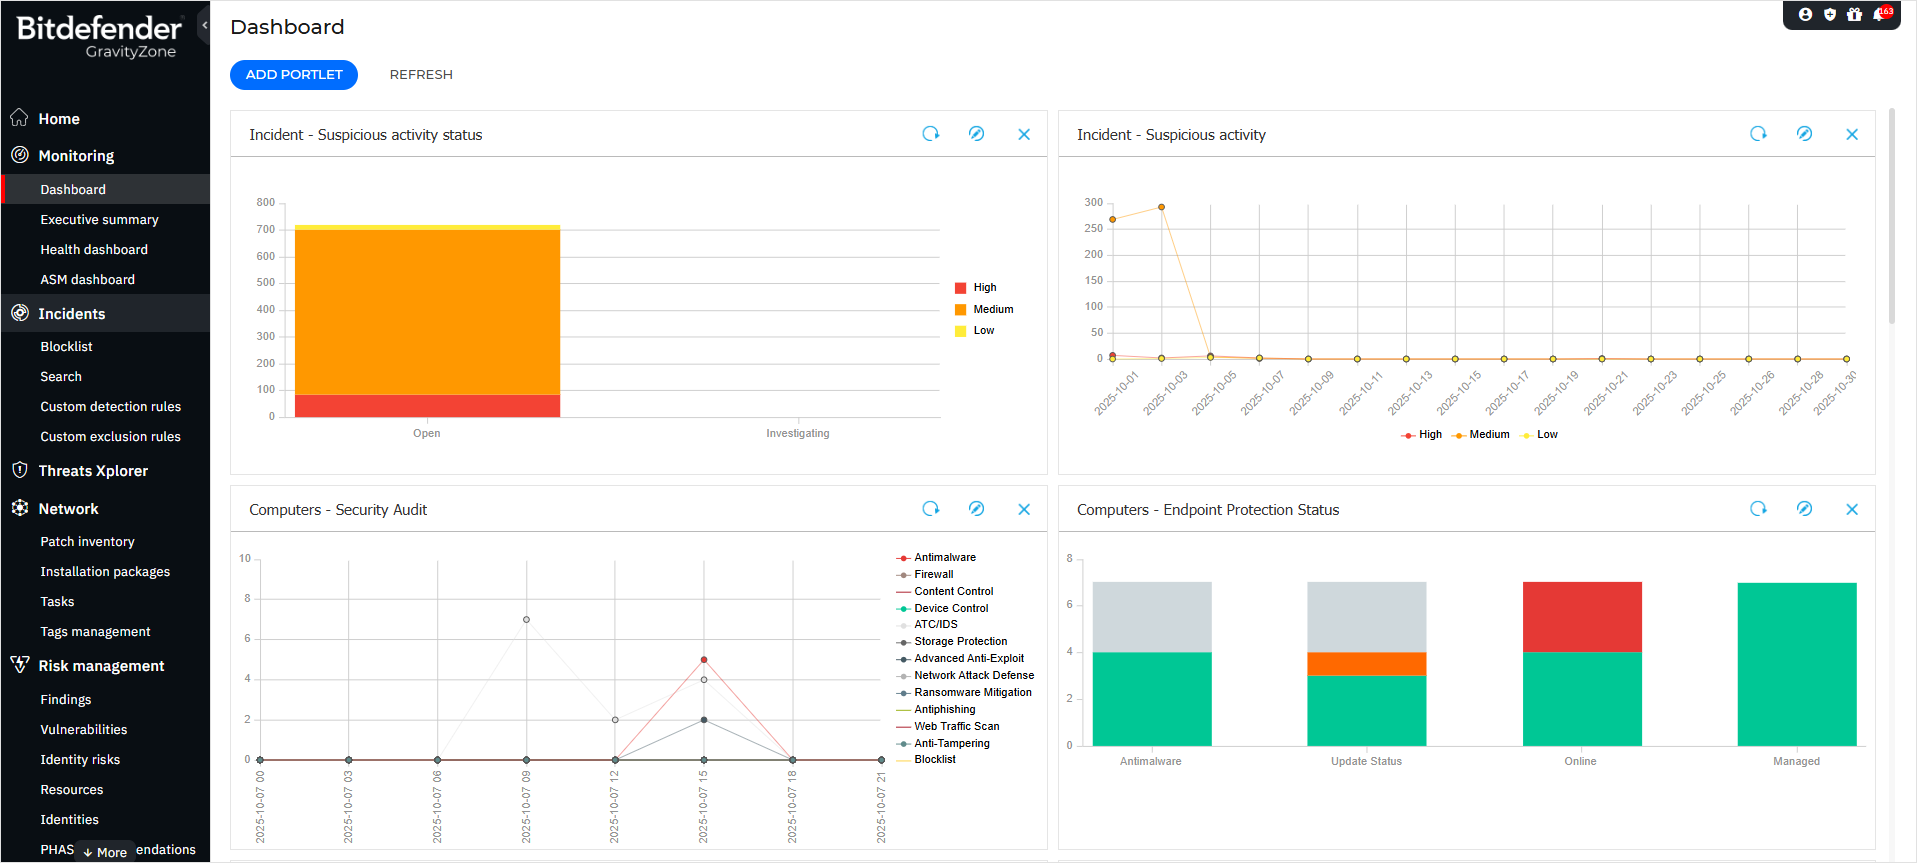
This is what you need to know about dashboard portlets:
Control Center comes with several predefined dashboard portlets.
Each dashboard portlet includes a detailed report in the background, accessible with just one click on the chart.
There are several types of portlets that include various information about your endpoint protection, such as update status, malware status, firewall activity.
Note
By default, the portlets retrieve data for the current day and, unlike reports, cannot be set for longer intervals than one month.
The information displayed via portlets refers to endpoints under your account only. You can customize each portlet's target and preferences using the dashboard.edit Edit Portlet command.
Click the chart legend entries, when available, to hide or display the corresponding variable on the graph.
The portlets are displayed in groups of four. Use the vertical scroll bar or the up and down arrow keys to navigate between portlet groups.
For several report types, you have the option to instantly run specific tasks on target endpoints, without having to go to the Network page from the left side menu to run the task (for example, scan infected endpoints or update endpoints). Use the button at the lower side of the portlet to take the available action.
The dashboard is easy to configure, based on individual preferences. You can edit portlet settings, add additional portlets, remove or rearrange existing portlets.
Refreshing portlet data
To make sure the portlet displays the latest information, click the  Refresh icon on its title bar.
To update the information for all the portlets at once, click the Refresh Portlets at the top of the dashboard.
Editing portlet settings
Some portlets offer status information, while other report on security events in the last period. You can check and configure the reporting period of a portlet by clicking the  Edit Portlet icon on its title bar.
Adding a new portlet
You can add other portlets to obtain the information you need.
To add a new portlet:
Log in to GravityZone Control Center.
Go to the Dashboard page from the left side menu.
Click the
 Add Portlet button at the upper side of the console. The configuration window is displayed.
Under the Details tab, configure the portlet details:
Type of background report
Suggestive portlet name
The time interval for the events to be reported
For more information on available report types, refer to Report Types.
Under the Targets tab, select the network objects and groups to include.
Click Save.
Removing a portlet
You can easily remove any portlet by clicking the  Remove icon on its title bar. Once you remove a portlet, you can no longer recover it. However, you can create another portlet with the exact same settings.
Rearranging portlets
You can rearrange dashboard portlets to better suit your needs. To rearrange portlets:
Log in to GravityZone Control Center.
Go to the Dashboard page from the left side menu.
Drag and drop each portlet to the desired position. All other portlets between the new and old positions are moved to preserve their order.
Note
You can move portlets only within the positions already taken.