Settings
In the General > Agent > Settings section of the policy, you can configure the following settings:
Uninstall password configuration
To prevent users with administrative rights from uninstalling protection, you must set a password.
The uninstall password can be configured before installation by customizing the installation package. If you have done so, select Keep installation settings to keep the current password.
To set the password, or to change the current password, select Enable password and enter the desired password.
To remove password protection, select Disable password.
Note
Uninstall password is managed exclusively by device-type policies. It cannot be managed by rule-based policies.
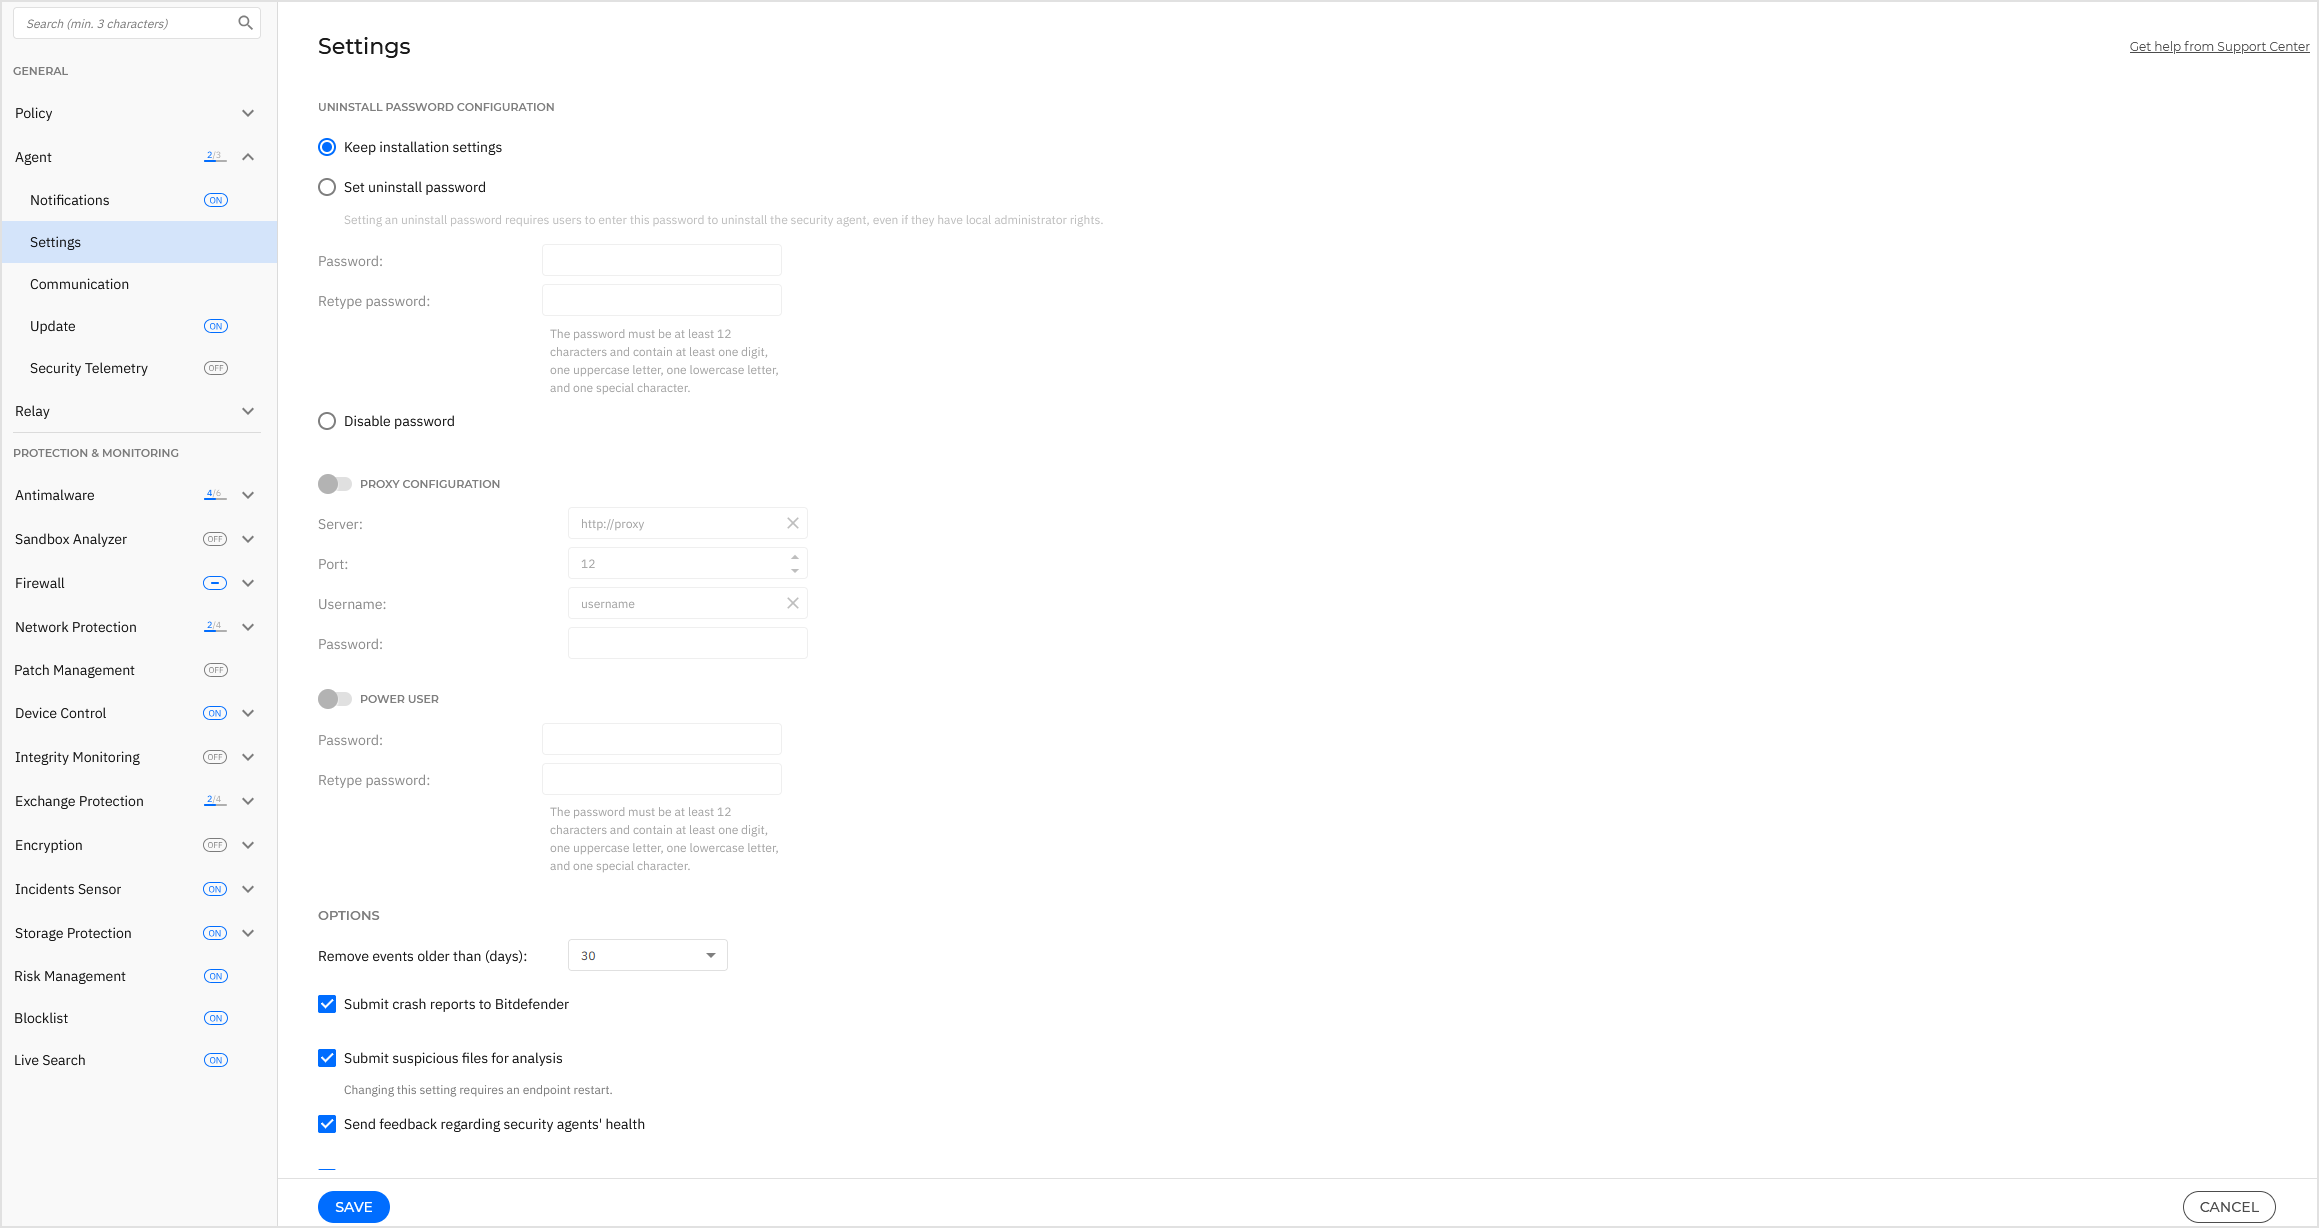
Proxy configuration
If your network is behind a proxy server, you need to define the proxy settings that will allow your endpoints to communicate with the GravityZone solution components. In this case, enable the Proxy configuration option and complete the following fields:
Server - Enter the IP address or the hostname of the proxy server.
Examples:
IP address:
198.51.100.10Hostname:
proxy-example.comNote
Do not use formats such as
http://proxy-example.comorproxy-example.com:8080. These are invalid.
Port - Enter the port number used to connect to the proxy server. Examples:
8080or3128.Username - Enter the username authorized to access the proxy server.
Password - Enter the corresponding password for the specified user.
Power User
The Power User module enables administration rights at endpoint level, allowing the endpoint user to access and modify policy settings via a local console, through the Bitdefender Endpoint Security Tools interface.
Important
The Power User module is available only for supported macOS and Windows desktop and server operating systems.
Note
Availability and functioning of this feature may differ depending on the license included in your current plan.
If you want certain endpoints to have Power User rights, you need at first to include this module in the security agent installed on target endpoints.
After that, you need to configure the Power User settings in the policy applied to these endpoints:
Enable the Power User option.
Define a Power User password in the fields below.
Users accessing the Power User mode from the local endpoint will be prompted to enter the defined password.
To access the Power User module, users must right-click the
 Bitdefender icon from their system tray and choose Power User from the contextual menu.
After providing the password in the login window, a console containing the currently applied policy settings will show up, where the endpoint user can view and modify the policy settings.
Note
Only certain security features can be accessed locally via the Power User console, concerning the Antimalware, Firewall, Content Control and Device Control modules.
To revert the changes made in Power User mode:
In Control Center, open the policy template assigned to the endpoint with Power User rights and click Save. In this way, the original settings will be reapplied to the target endpoint.
Assign a new policy to the endpoint with Power User rights.
Log in to the local endpoint, open the Power User console and click Resync.
To easily find endpoints with policies modified in Power User mode, in the Network page you can:
Click the Filters menu and select the Edited by Power User option from the Policy tab.
Click the endpoint you are interested in to display the Information window. If the policy was modified in Power User mode, a notification will be displayed in the General tab > Policy section.
Important
The Power User module is specifically designed for troubleshooting purposes, allowing the network administrator to easily view and change policy settings on local computers.
Assigning Power User rights to other users in the company must be limited to authorized personnel, to ensure that the security policies are being always applied on all endpoints of the company network.
Options
Note
The range of settings can vary depending on the license included in your current plan.
In this section you can define the following settings:
Remove events older than (days)
Bitdefender security agent keeps a detailed log of events concerning its activity on the computer (also including computer activities monitored by Content Control).
By default, events are deleted from the log after 30 days.
If you want to change this interval, choose a different option from the menu.
Submit crash reports to Bitdefender
Select this option so that reports will be sent to Bitdefender Labs for analysis if the security agent crashes.
The reports will help our engineers find out what caused the problem and prevent it from occurring again.
No personal information will be sent.
Submit suspicious files for analysis
Select this option so that files that seem untrustworthy or with suspicious behavior will be sent to the Global Protection Network for automatic analysis.
Important
You must restart the endpoint after enabling or disabling this option.
Send feedback regarding the security agents' health
Select this option to send anonymized telemetry data about the endpoint.
Use Bitdefender Global Protective Network (GPN) to enhance protection
Select this option to connect to Bitdefender Cloud Services and submit detections, improving the efficiency of the Antimalware and Network Protection modules.
Important
If a connection to Bitdefender Global Protective Network cannot be established, an error related to the Bitdefender Cloud Services is going to be displayed.
If this option is disabled, you may experience the following:
A large amount of false positive/negative detections
Delays in detecting zero-day attacks
Hybrid Scan engines efficiency significantly reduced
Web Traffic filtering negatively affected
Other modules relying on Antimalware are also affected
Note
If you are using Hybrid Scan engines, you must switch to local scan engines before disabling this option.
Allow endpoints to send user login data to GravityZone
For each log in event, the endpoint will send the user name, login time and method used to log in to GravityZone. The information is displayed in the Network grid, endpoint details page and Network Protection Status report.
Note
Disabling this option will not remove the information from existing Network Protection Status reports, but will prevent the information from being displayed in Control Center.
Display policy name in the endpoint console
Select this option to display the policy name in the Event log (Windows) or History (macOS) in the Bitdefender security agent interface when the policy is applied.