Storage Protection
In the Storage Protection section of the policy, you can configure Security Servers as scanning service for Network-Attached Storage (NAS) devices and file-sharing solutions compliant with Internet Content Adaptation Protocol (ICAP), such as Nutanix Files and Citrix ShareFile.
Security Servers scan any files, including archives, when requested by the storage devices. Depending on settings, Security Servers take appropriate actions on infected files, such as disinfecting or denying access.
Note
Availability and functioning of this feature may differ depending on the license included in your current plan.
Security for Storage is a Bitdefender service designed to protect Network-Attached Storage (NAS) devices and file-sharing systems compliant with Internet Content Adaptation Protocol (ICAP). For supported file-sharing systems, refer to Storage Protection requirements. For details on installing Security for Storage, refer to this section.
Note
It is recommended to install and configure at least two Security Servers in your environment to act as ICAP servers. Bitdefender Security Servers analyze files, send verdicts to the storage systems and take appropriate actions if necessary. In case of overloading, the first Security Server redirects the surplus of data to the second one.
As best practices, install dedicated Security Servers for storage protection, separately from the Security Server used with other roles, such as antimalware scanning. For details about the Security Server installing procedure, refer to the Installing Security Server section.
The Storage Protection settings are organized into the General and Exclusions sections.
General
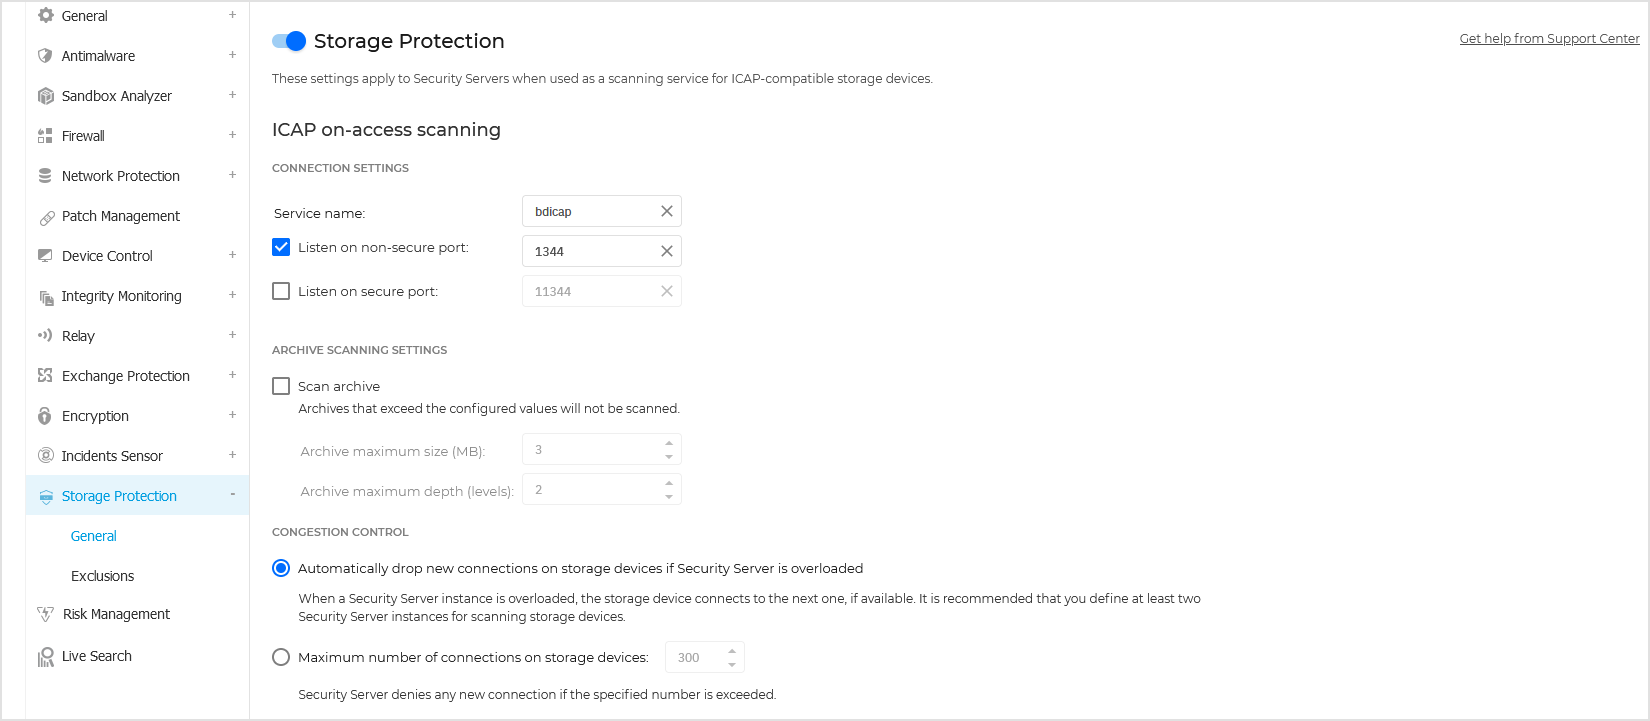
In Storage Protection > General section, configure the following settings:
Click the Storage Protection toggle to enable the feature.
Under ICAP on-access scanning, configure the connection settings between Security Servers and the storage devices. The default values are predefined as follows:
Service name:
bdicapListen on non-secure port:
1344Listen on secure port:
11344
Under Archive Scanning Settings, select the Scan archive checkbox to enable archive scanning. Configure the maximum size and the maximum depth of the archives to be scanned.
Note
If you set the archive maximum size to 0 (zero), Security Server scans archives regardless of their size.
Under Congestion Control, choose the preferred method of managing the connections on storage devices in case of Security Server overloading:
Automatically drop new connections on storage devices if Security Server is overloaded. When one Security Server has reached a maximum number of connections, the storage device will redirect the surplus to a second Security Server.
Maximum number of connections on storage devices. The default value is set to 300 connections.
Under Scan actions, the following options are available:
Deny access – when malware is found, Security Server sends the event to the ICAP client, which denies access to the infected file.
Disinfect - when malware is found, Security Server sends the event to the ICAP client, which removes the infected part of the file.
Once configured, you can view data about the Storage Protection module in the Network inventory, Click the name of the Security Server used as ICAP server and go to the Protection tab in the details window to see this information:
Service status:
N/A – Storage Protection is licensed, but the service is not configured yet.
Enabled – the service is enabled in the policy and functioning.
Disabled – the service is not functioning either because it has been disabled from the policy or the license key has expired.
List of the storage devices that have been scanned during the past month, with these details:
Storage device name
Storage device IP
Storage device type
The date and time of the last communication between the storage device and Security Server.
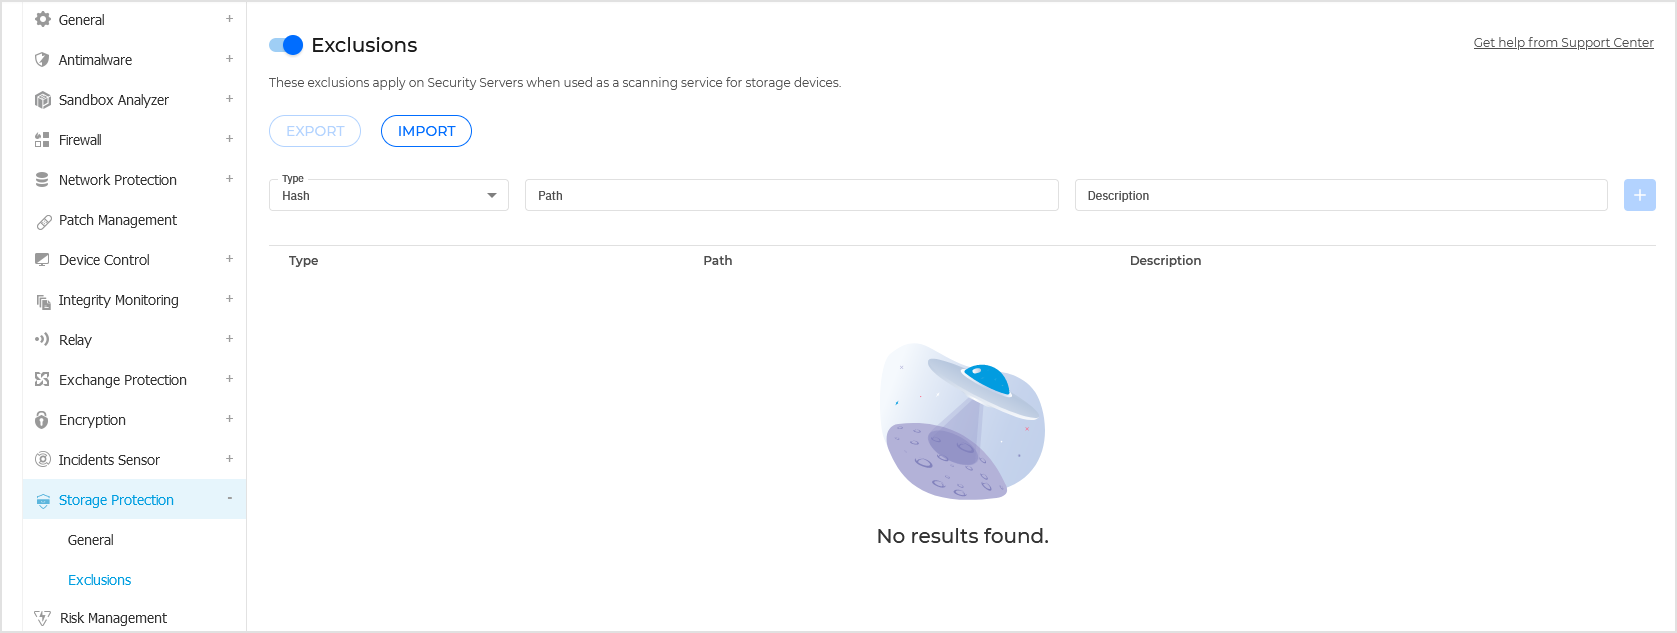
Exclusions
In Storage Protection > Exclusions section, click the Exclusions toggle to exclude specific objects from scanning.
Note
To avoid unnecessary traffic, don’t exclude files using your GravityZone policy. When you do, files are still transferred from the storage device to the Security Server for evaluation. Instead, where possible, exclude files directly at the source on the storage device.
Configuring exclusions
To add an exclusion:
Select the exclusion type from the menu.
Depending on the exclusion type, specify the object to be excluded as follows:
Hash – enter SHA-256 hashes separated by comma.
Wildcard – specify a file storage path using wildcards, based on the format required by the storage device request. You can extract the path from the ICAP log file on the Security Server:
/opt/BitDefender/var/log/icap.log
The wildcard paths can be:
Absolute – the full URL of the requested file on the storage device, with or without wildcards.
Relative – a path relative to a base location, also with or without wildcards.
Supported wildcards:
Asterisk (*): matches zero or more characters.
Question mark (?): matches exactly one character.
Add a description for the exclusion.
Click
 Add to add the exclusion to the list.
To delete an exclusion, open the inline menu and click Delete.
Importing and exporting exclusions
If you intend to reuse the exclusions in more policies, you can choose to export and import them.
To export exclusions:
Click the Export at the upper side of the exclusions table.
Save the CSV file to your computer. Depending on your browser settings, the file may download automatically, or you will be asked to save it to a location.
Each row in the CSV file corresponds to a single exclusion, having the fields in the following order:
<exclusion type>, <object to be excluded>, <description>
These are the available values for the CSV fields:
Exclusion type:
1, for for SHA-256 hash2, for for wildcardObject to be excluded:
A hash value or a path name
Description
A text to help identify the exclusion.
Example of exclusions in the CSV file:
2,*/file.txt,text
2,*/image.jpg,image
1,e4b0c44298fc1c19afbf4c8996fb9227ae41e4649b934ca991b7852b855,hash
To import exclusions:
Click Import.
Click Browse and select the CSV file.
Click Import.
The table is populated with the valid exclusions. If the CSV file contains invalid exclusions, an error message informs you about the issues.
Editing exclusions
To edit an exclusion:
In the exclusions table, open the inline menu.
Click Edit exclusion.
Make the change.
Click the
 confirmation icon to save the change.
Alternately, click the
 cancel icon to close the editing field without changes.