Getting started
When logging in the GravityZone console, you can easily access specific content that simplifies basic tasks and provides access to the latest news from Bitdefender.
Note
The Cloud Security console is currently only available as a yearly license.
Your first login to GravityZone
Optional: If you do not have a GravityZone license, follow these steps go get access to the console:
Access the Free Trial section from our website.
Select any product from the GravityZone Cloud suite, regardless of your purchase. You can select Business Security for a quicker process.
Complete the form with the required information and submit it.
Your account is automatically created and your credentials, along with a link to reset your password, are provided via email.
Access the GravityZone login page.
Log in using the credentials provided to you:
Enter the email address of your account and click Next.
Enter your account password and click Next.
When first logging in you will be asked to set up two factor authentication. You can skip this step up to five times, after which you will have to set it up before logging in. Learn more
At the first login, you have to agree to Bitdefender Terms of Service. Click Continue.
Your first login to the Cloud Security console
Log in to GravityZone.
In the Home page, Open Console button under the Cloud Security section.
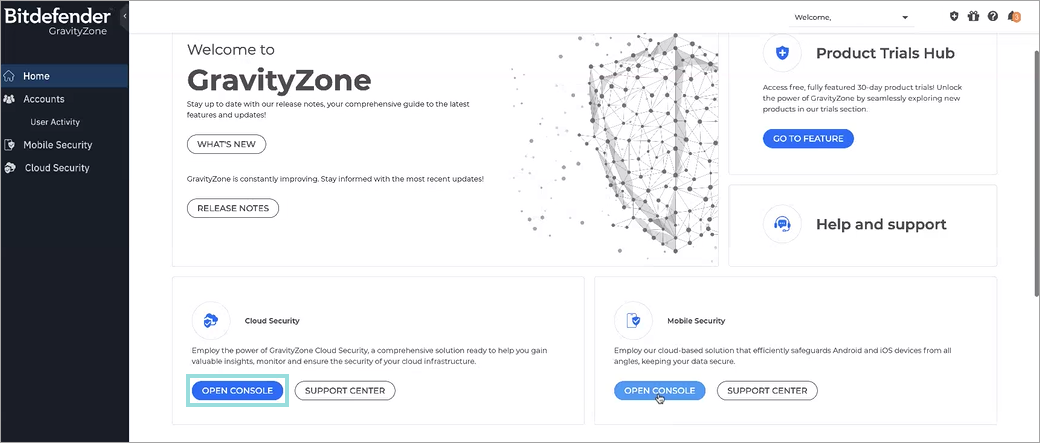
This option is also available in the Cloud Security page, accessible from the menu on the right side of the GravityZone console.
The initial setup
Tip
Before setting up your scan groups, we recommend reading the FAQ, where we answer the some of the most frequent questions and provide best practices.
Add a new scan group
You can use scan groups to organize your cloud accounts and arrange them into easily manageable groups.
Depending on your business needs, you might want to create multiple scan groups. For the purpose of this guide, we will get your started on creating your first group and integrating one of your cloud accounts.
To create a new scan group, follow the steps below:
Go to the Configuration > Scan Configuration page.
Click the Create New Scan Group button on the upper right side of the page.
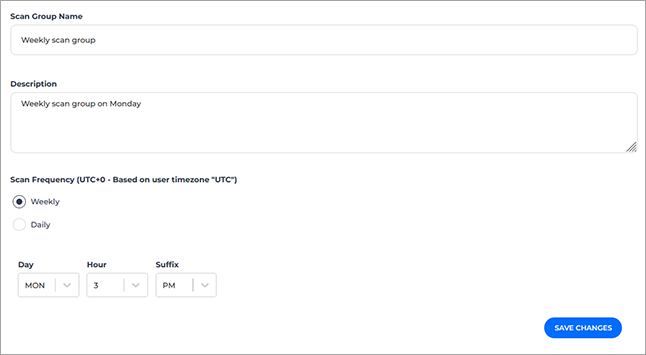
The Scan configuration window will be displayed.
Under Scan Group Name, type in a descriptive name for the group.
Under Description, type in an explanatory text so you or other users can easily determine the purpose of the group.
Click Save Changes.
The scan group is created and a list of compatible cloud account types are displayed.

Select one of the cloud account types and follow the steps until the integration is complete. You can find integration guides for all supported cloud accounts under Onboarding guides.
The cloud account is now part of the scan group. It will be scanned depending on the frequency assigned to the group. You can view the account by going to the Scan Configuration page and clicking on the the group name under the Scan Group column to expand it.
Note
For more information on working with scan groups refer to Scan configuration.
Add additional cloud accounts to the scan group
Picking up from the end of the Add a new scan group procedure, follow the steps below:
Go to the Scan Configuration page.
Click the Edit button on the right side of the scan group you want to add the cloud account to.

The Scan Group Details window will be displayed.
Click the Add account button on the upper right side of the window.
Select one of the cloud account types and follow the steps until the integration is complete. You can find integration guides for all supported cloud accounts under Onboarding guides.
The cloud account is now part of the scan group. It will be scanned depending on the frequency assigned to the group. You can view the account by going to the Configuration page, and clicking on the the group name under the Scan Group column to expand it.
Finish onboarding and organizing your inventory
Repeat the procedures above until you have all your cloud accounts onboarded and organized into scan groups.
Note
For more information on scan groups refer to this KB article.
You can check out our FAQ for common questions and best practices.
Set up your integrations
To fully take advantage of the benefits of your GravityZone Cloud Security Posture Management console, follow these integration guides to connect with other tools your company is using:
Review the data
Now that you have everything set up, it's time to have a look at your overall situation in terms of compliance with security standards.
To make sure you have up to date information on all your onboarded accounts run a scan on all of them:
Go to the Scan Configuration page.
Expand your scan groups by clicking on their name under the Scan Group column.
Click the Start Scan button on the right side of the Last Scanned column:

Do this for each one of your cloud accounts.
Set up notifications
You can customize GravityZone Cloud Security Posture Management to send you notifications for specific findings for each of your scan groups:
Tip
This feature requires an integration with Slack.
Go to the Scan Configuration page.
Click the Edit button on the right side of the scan group you want to add the cloud account to.
The Scan Group Details window will be displayed.
Under the Notification Configuration section, configure the following settings:
Select Finding's Severity - Notifications are sent only for findings of the selected severity or higher.
Send Notifications to - Select the Slack channel where you want automated notifications to be sent.
The cloud account is now part of the scan group. It will be scanned depending on the frequency assigned to the group. You can view the account by going to the Configuration page, and clicking on the the group name under the Scan Group column to expand it.