Configure outbound DKIM
DomainKeys Identified Mail (DKIM) adds a digital signature to safeguard the email content of your outbound source. Configuring DKIM increases your domain reputation with different providers.
Each domain covered by GravityZone Security for Email will have its own key, so each domain will need to be configured before it can be DKIM-enabled.
Note
GravityZone Security for Email comes with a default system Message Rule called Apply DKIM which is enabled by default; however, outbound messages won't be signed unless you have configured outbound DKIM, by following the steps below.
Go to Products > Product Configuration > Domains.
To view the DKIM public key, click on the view
 button. Click the icon next to the domain you wish to configure to display the DKIM.
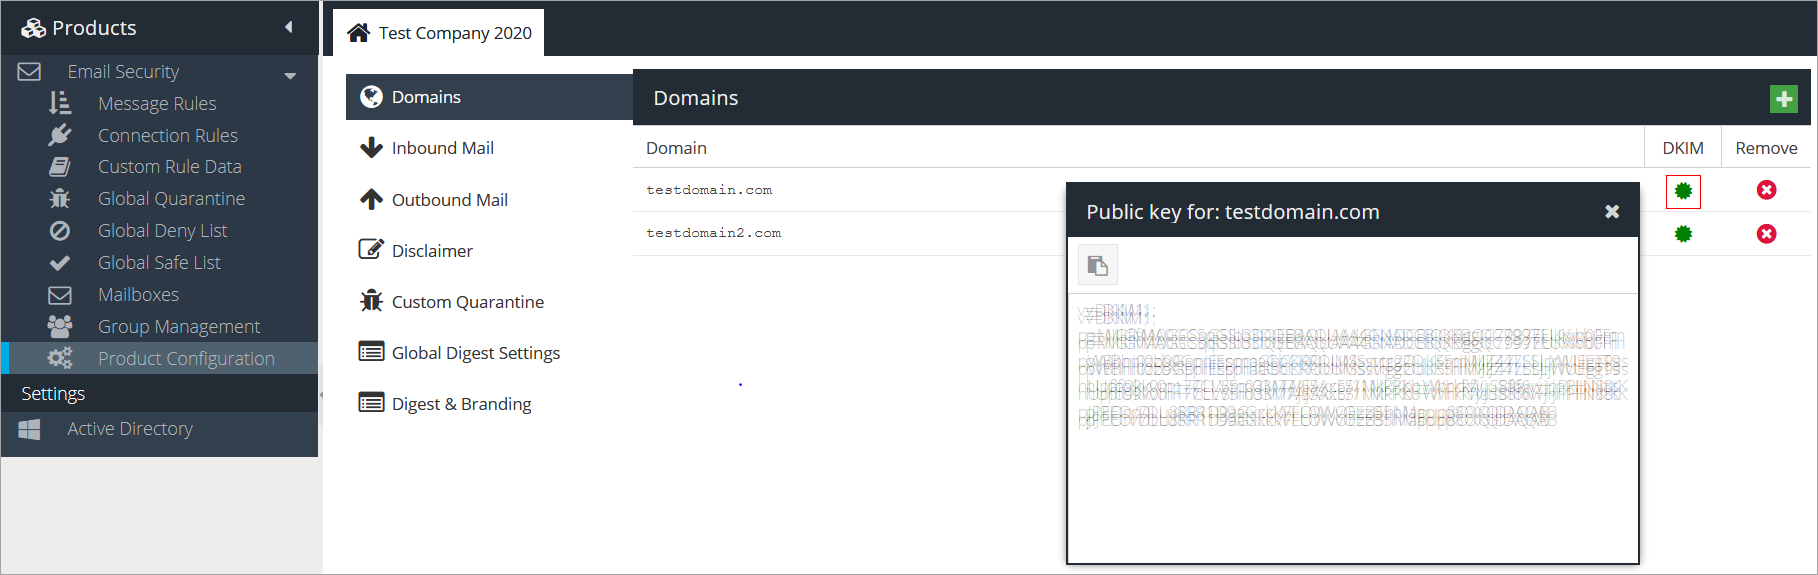
Write a DNS txt entry for the domain.
Note
You need to create a txt record for
ussems._domainkey.xxxxxx, where xxxxxx is your domain name.Here is an example of what should be seen on a
nslookup. This entry should match the entry found in step 2.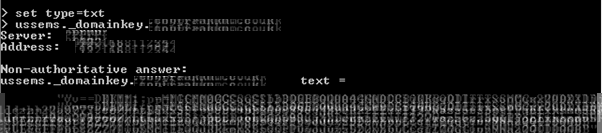
Repeat steps 1 to 3 for all of your domains and then wait for the domain TTL to expire.
Return to the Domains section and click the Verify and Enable DKIM button. The DKIM status will be updated to Success if the DKIM key can be verified against the domain DNS. At least one domain must have DKIM verified in order to enable DKIM on your account.
Note
If you remove all DKIM verified domains, or wish to disable DKIM on your account please remember to verify DKIM again. If no domains can be verified then DKIM will be fully disabled.
If you want outbound mail to be DKIM-signed for some, but not all, of the domains on your account, follow the steps below.
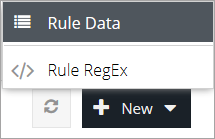
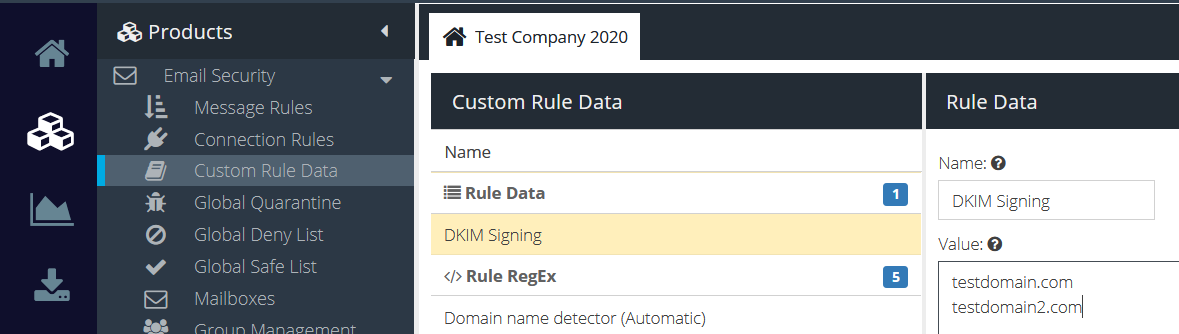
Go to Products > Custom Rule Data.
Click the New button at the bottom of the screen and select Rule Data
Enter a name, and Click Update.
Add the domain(s) for which you would like to enable DKIM under Value.
Note
Keep each domain as a separate line.
Click Save.
A window appears with your domain’s DKIM key (public key).
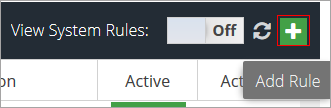
Go to Products > Message Rules.
Click the Add Rule button.
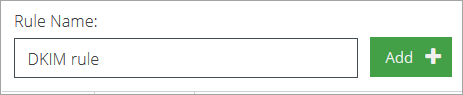
Enter a name click the Add button.
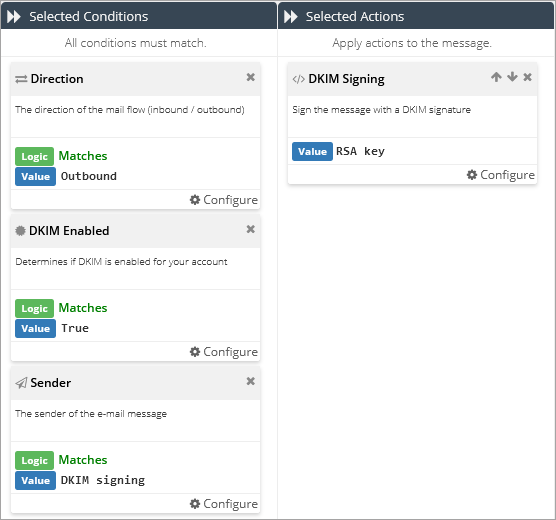
Configure the new rule:
Add the following conditions:
Condition name
Match type
Condition value
Direction
Matches
Outbound
DKIM Enabled
Matches
Enabled
Sender
Matches
Select the Custom Rule Data previously created at step 3.
Add the following action:
Action name
Value
DKIM Signing
RSA Key
Click Save.
Drag the rule to top of the Message Rules list to give it the highest priority.
Search for the Apply DKIM signing system message rule in the Message Rule list and click the On button to turn the rule off.
