Exclude synchronized Azure Active Directory mailboxes from billing
All mailboxes added to GravityZone Security for Email as a result of synchronizing with Azure Active Directory (AAD) are identified by default as standard users, making them subject to billing. To be able to exclude o exclude shared mailboxes from billing, you need to provide the synchronization service with additional permissions to be able to read information from the Exchange API.
Grant access to synchronize Azure Active Directory shared mailboxes through Azure Active Directory
Note
This applies only to new Azure Active Directory connections. If you already have an existing Azure Active Directory connection, please assign the Office 365 Exchange Online API permission to it before continuing.
Sign in to Azure Active Directory with an Administrator account.
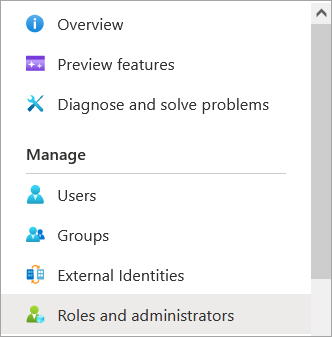
In the menu on the right side of the page, select Roles and administrators.
Use the search box to locate the Security Reader role and check the box next to it.

Note
This will grant the Unified Security Service Active Directory sync access to read extended information about Azure AD objects.
Important
Due to a recent Microsoft Azure update, you may not be able to assign this role via the Azure portal. As an alterntive, please use Azure CLI or PowerShell.
Click on the
 button on the right side of the screen and select Description.
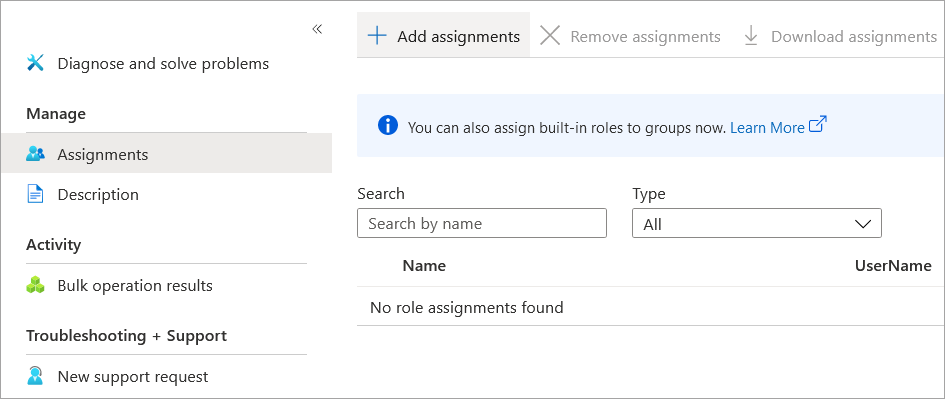
Select the Assignments page from the menu on the right side of the screen and click Add assignments.
Search for USS AzureAD, click on it to select it, and then click on Add.
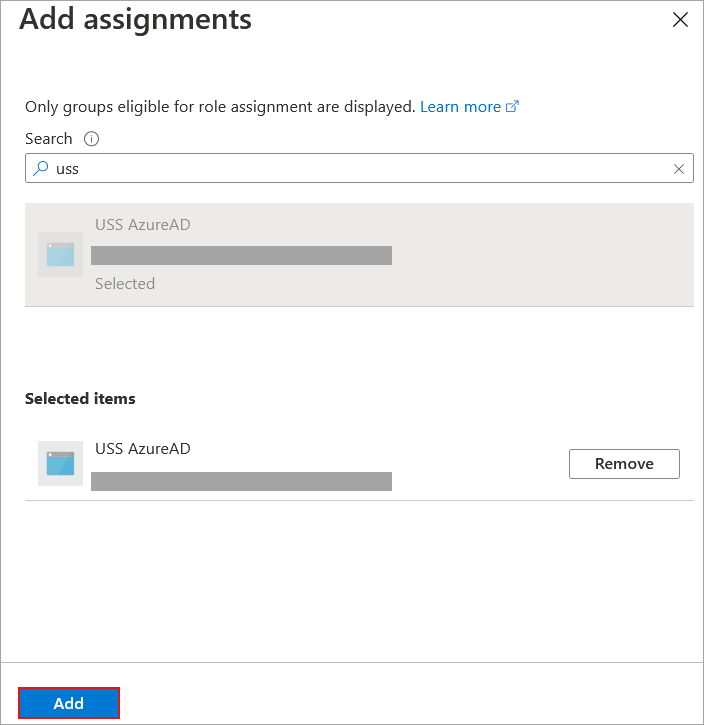
The necessary permissions have now been granted to the synchronization service.
Note
If the Azure portal does not allow you to assign the role to the USS AzureAD application, you can use the Azure CLI tool or PowerShell as an alternative.
Grant access to synchronize Azure Active Directory shared mailboxes through Azure CLI
Start the Azure CLI tool:
docker run -it mcr.microsoft.com/azure-cli
Log in as a user with permission to assign roles:
az login
Follow the prompts to open a browser and authenticate the CLI
Find the Object ID of USS AzureAD (this can also be found in the Azure > Enterprise Applications > USS AzureAD section):
az ad sp list --all --query "[].{objectId:objectId}" --filter "displayName eq 'USS AzureAD'"Assign the Security Reader role to USS AzureAD (where
$objectIdis the Object ID from step 3):az rest --method post --url https://graph.microsoft.com/beta/roleManagement/directory/roleAssignments --body "{\"principalId\":\"$objectId\",\"roleDefinitionId\":\"5d6b6bb7-de71-4623-b4af-96380a352509\",\"directoryScopeId\":\"/\"}"
Grant access to synchronize Azure Active Directory shared mailboxes through PowerShell
Download and install the AzureAD PowerShell module.
Log in to your tenant as a Global Administrator:
Connect-AzureAD
Get the service principal ObjectID using the command:
Get-AzureADServicePrincipal
View the Object ID’s of the Azure AD Directory Roles:
Get-AzureADDirectoryRole | sort DisplayName
Note
This will also display the available directory roles.
Set a directory role to Service Principal:
dd-AzureADDirectoryRoleMember -ObjectId -RefObjectId
Note
ObjectIdis the object ID of the directory role from step 4 andRefObjectIdis the object ID of the Service Principal from step 3.Check the current directory roles assigned for the Service Principal:
Get-AzureADServicePrincipalMembership -ObjectId
Note
ObjectIdis the object ID of the Service Principal from step 3.
It may take up to 15 minutes for changes to propagate.
Add the Exchange Online API permission to an existing Azure Active Directory connection
Note
Only follow this procedure for Azure Active Directory connections created prior to 21st October 2020.
Sign in to Azure Active Directory with an Administrator account.
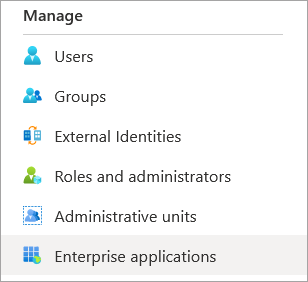
In the menu on the right side of the page, select Enterprise applications.
Search for USS AzureAD and select it.

In the menu on the right side of the page, select Permissions.

Click the Grant admin consent for <company name> button.
Proceed with the authentication and click Accept.
The Office 365 Exchange Online permission will now appear in the Admin Consent tab.