Starting a Remote Shell session
GravityZone XDR provides interactive shell functionality that enables you to connect remotely to an endpoint involved in an incident under investigation and open a remote shell session to run shell commands directly on the endpoint's operating system, to either mitigate threats instantly or collect forensic data for further analysis.
To start a Remote Shell session, follow these steps:
Select one or more managed endpoints and click the Remote Shell button to open the Remote Shell Connection page in a new browser tab.
Note
If the button is inactive, see Remote Shell session prerequisites.
If you want to start Remote Shell connections on multiple endpoints, make sure you allow pop-ups for gravityzone.bitdefender.com.
If you have 2FA enabled, follow these steps to start the remote session:
Enter the 2FA code generated from your authenticator app, to activate the Start session button.
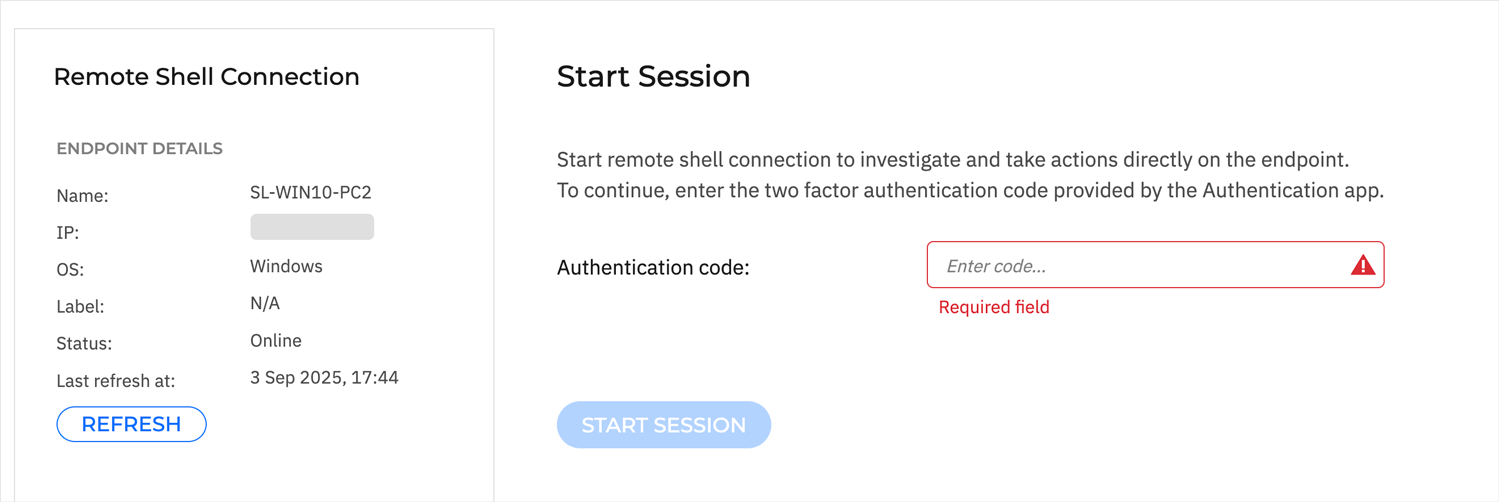
Once active, click the Start session button to start the remote shell session on the target endpoint.
If you do not have 2FA enabled, follow these steps to start the remote session:
Click Start session.
You will be redirected to your organisation's login page.
Enter your domain username and password.
You will be redirected to GravityZone, where the remote session starts automatically.
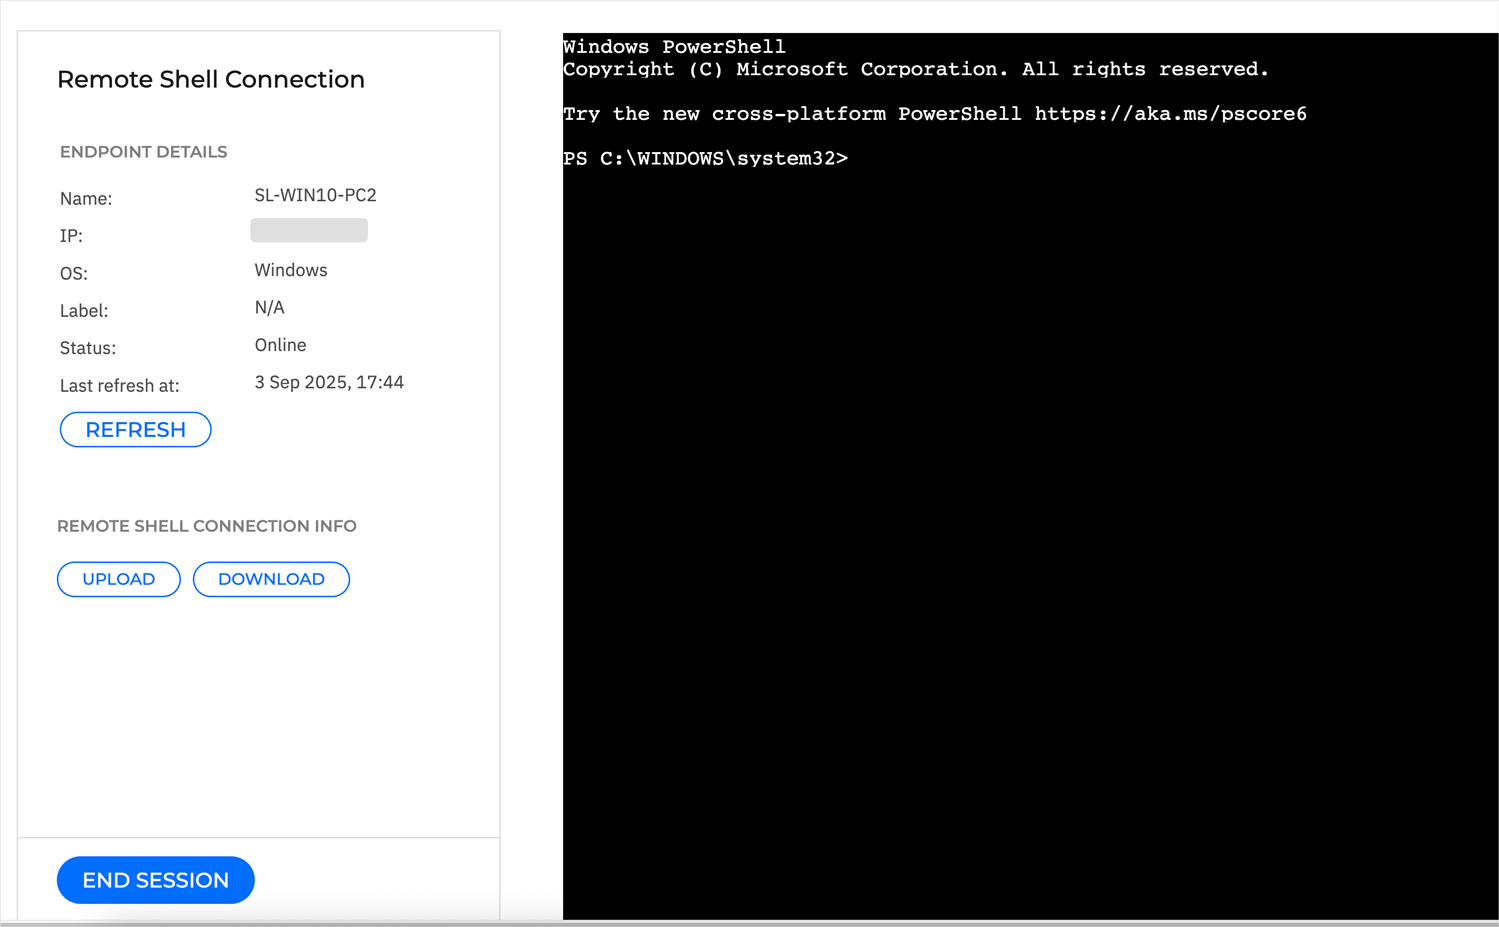
Once the connection is established, you will be logged in as a user with "root" privileges, capable of performing a wide array of forensic actions and methods to investigate suspicious behavior or mitigate threats.
For example, you can remotely upload or download files. For more information on how to use these functionalities, refer to Uploading files or Downloading files. File upload requests can be tracked in the Network > Tasks section. The task type is Upload files. To retrieve files you downloaded using the Remote Shell functionality, check the Investigation Files Activity section. For more information, refer to Retrieving downloaded files from Network inventory.
Note
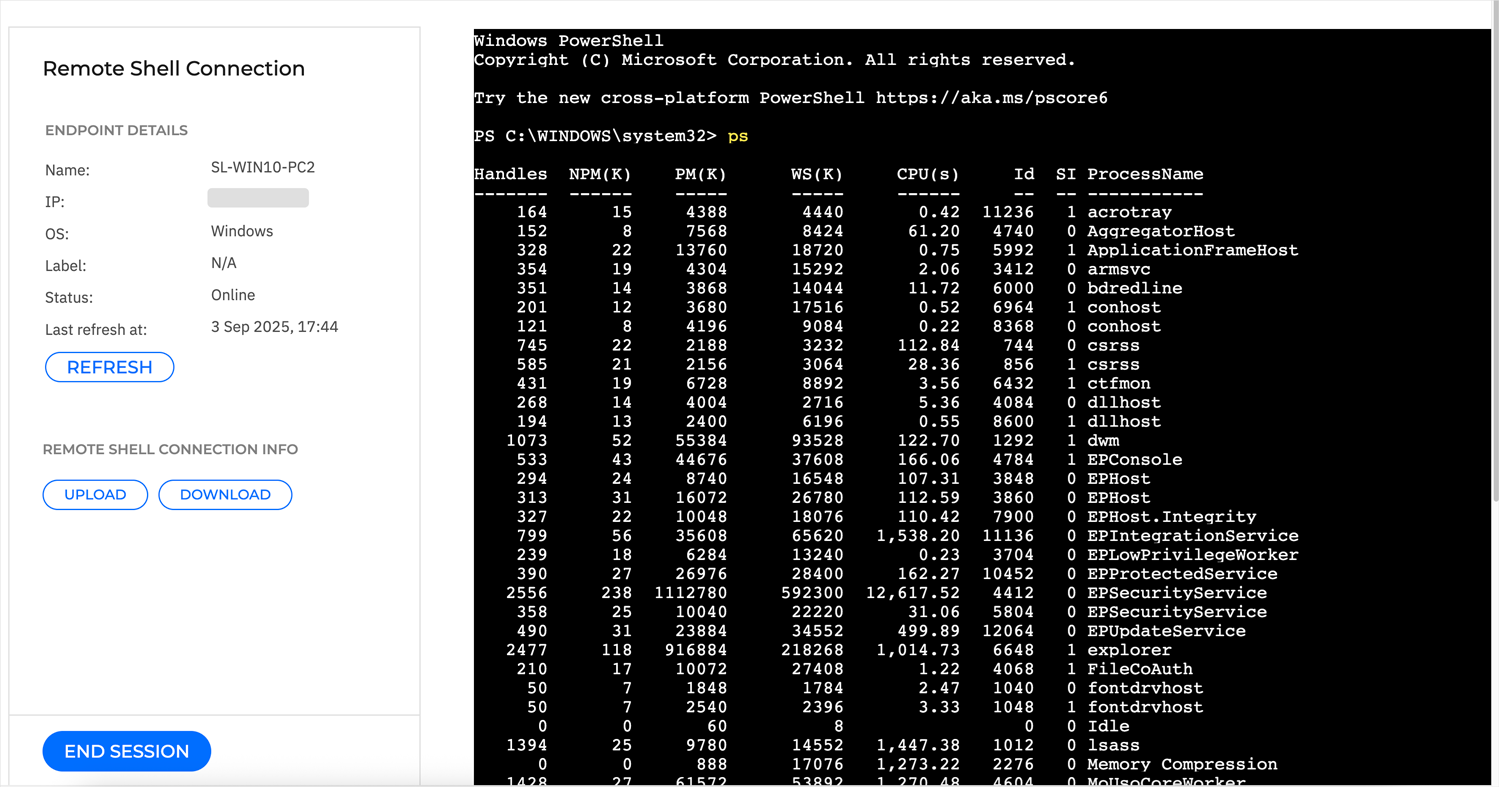
All session logs are recorded, and the entire output will be available for download at the end of the session.
When done investigating, click the End session button to close the remote connection, or close the session's browser tab.
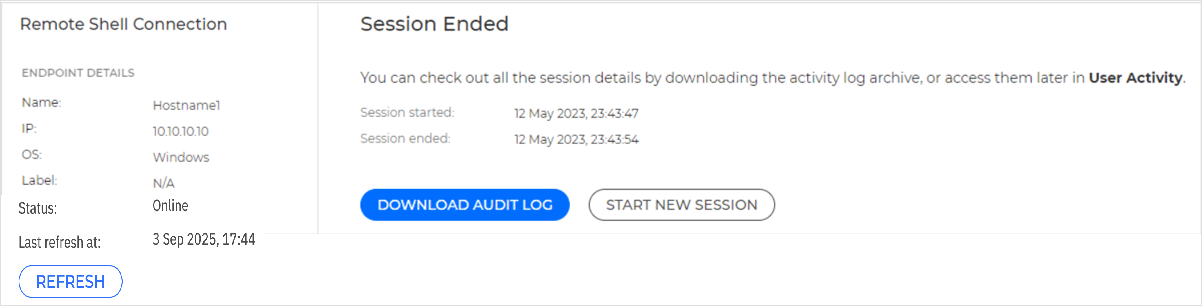
After ending the current session, you can click the Download audit log button to get the logs of the remote shell session you just ended, or you can start a new remote session.
When you click Download audit log, GravityZone will start compiling a zip file with all the session logs. This action may take a couple of minutes to complete, depending on the size of the archive. All session details are also available in the User activity log.
Note
The session's logs are saved by default in a raw format. For easier reading, unzip the file and use one of these tools:
For logs from Windows OS endpoints, run this command in PowerShell:
Get-Content <filePath> -Wait(use the file path and name of the log file)Example:
Get-Content "C:\Users\Documents\sessionLogs.txt" -WaitFor logs from Linux and macOS endpoints, run this command in the terminal:
less <filePath>(use the file path and name of the log file)Example:
less /home/user/sessionLogs.txt
When you click Start a new session, you will be required again to enter an authentication code before starting a new session.
Note
If you encounter any issues with the Remote Shell feature, refer to XDR Remote Shell Troubleshooting.