Custom pages
Custom pages enable administrators to create and assign personalized block or warning pages displayed when user access to specific web resources is restricted by Content Control. These pages can include custom text and branding elements, providing personalized information alongside Bitdefender’s standard block messages.
Custom pages can be configured within Configuration profiles and assigned to policies to ensure consistent and informative responses when access restrictions are enforced.
Creating and editing a custom page
To create a custom page follow the below procedure:
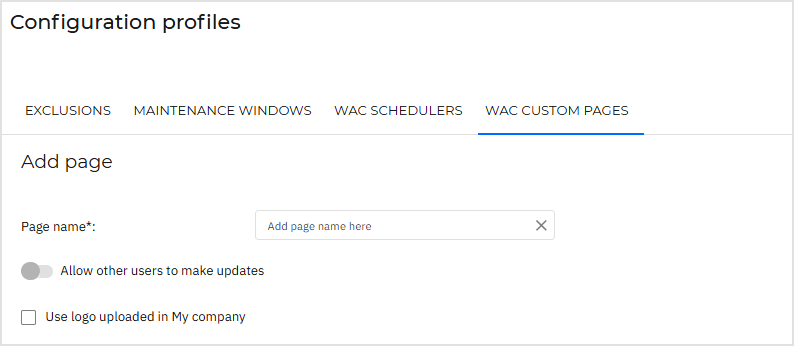
In the GravityZone left side menu, go to Configuration profiles > WAC custom pages.
Click Add page.

Add a suggestive Page name.

If any other users should be able to edit the custom page set the toggle to the Allow other users to make updates position.
To include branding, we recommend uploading a square logo with a size of 100 × 100 px. Alternatively, you can enable the Use logo uploaded in My company option.
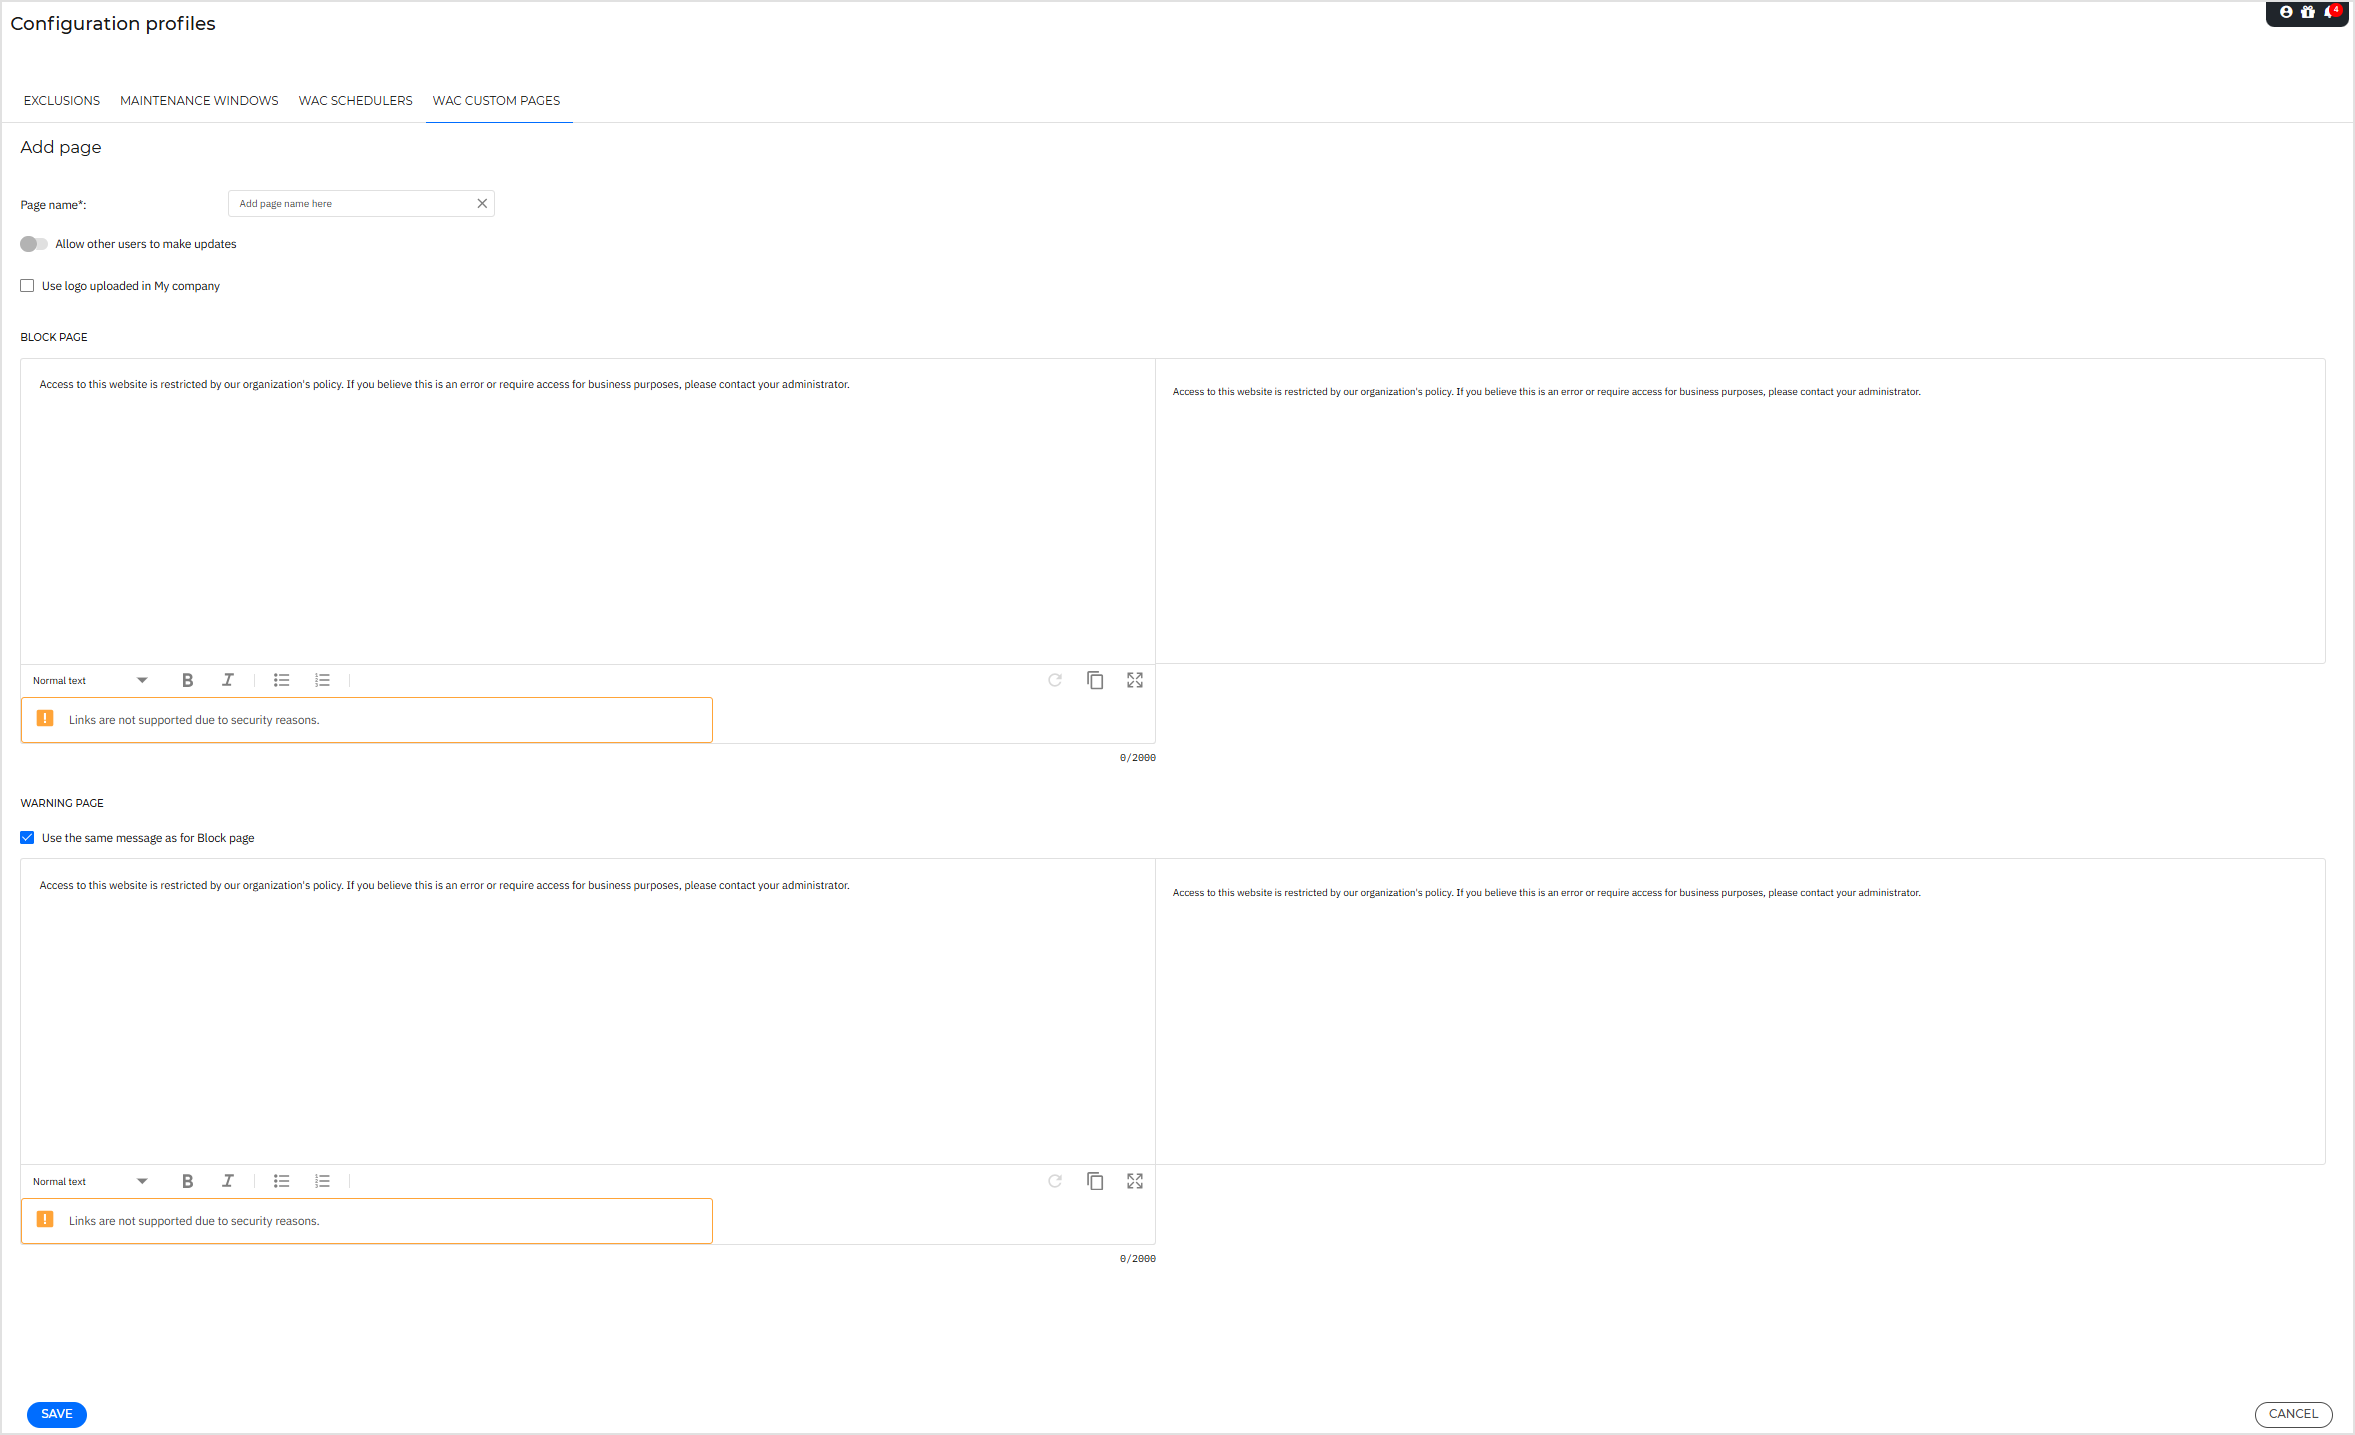
In the Block page section, define the message displayed when users try to access a restricted website. You can include explanatory text, contact details, or custom formatting.
Use the full-page preview
 to see how the page will appear to end users. It will closely resemble the version displayed on the endpoint.
In the Warning page section, define the message shown when a user receives a warning rather than a full block. You can include explanatory text, contact details, or custom formatting.
Use the full-page preview
 to see how the page will appear to end users. It will closely resemble the version displayed on the endpoint.
Note
Select Use the same message as for Block page to reuse the same content, or customize a different message.
After configuring both pages, click Save to add the custom page to the profile.

Assigning a custom page from a policy
This is how you assign a custom page to a policy:
Log in to GravityZone Control Center.
In the Configuration profiles page from the left side menu, go to WAC custom pages.
In the table click on the value shown in the In policies column. This value indicates the number of policies to which the selected custom page is assigned. Alternatively, you can edit the custom page assignment from the More
 menu.
menu.The Edit custom page assignment window opens.

In the Edit custom page assignment window, select the policies to which you want to assign the custom page from the Policies drop-down list.
Note
A policy can have only one custom page assigned.
Check your policies selection in the In the Policies preview field.
Click Save.
Alternatively you can assign a custom page to a policy from the policy itself.
Go to the Policies page from the left side menu.
Click Add to create a new policy, or open an existing one to edit it.
Go to Network Protection > Custom Pages section.
Use the toggle to enable Custom Pages.
From the Assign custom page drop-down select the custom page you want to apply.
Click Save.
Filtering in the custom pages section
In this section you can easily filter and search for custom pages by using the options available in the details grid.
Name.
Status - indicates whether the custom page is being used or not.
Last modified - displays date and time when the custom page was modified.
Last edited by - indicates the last user who modified the custom page.
Permissions - indicates whether other users have shared permissions to modify the displayed custom page.