Install GravityZone Business Security Premium BYOL in Microsoft Azure
Bitdefender GravityZone Business Security Premium BYOL (Bring Your Own License) is an enterprise security offering in Microsoft Azure Marketplace that protects physical, virtual, mobile, and cloud-based endpoints and email.
Prerequisites
To use Bitdefender GravityZone Business Security Premium BYOL:
You have a Microsoft Azure account with access to Azure resources.
You have a subscription that allows virtual machines deployment in Azure.
You have a GravityZone Business Security Premium license key. If you do not have a license key, contact Bitdefender to obtain one.
Your environment meets the requirements for Bitdefender security agents mentioned in the Requirements section.
Communication requirements
The GravityZone Business Security Premium VM comes with the following preconfigured communication ports (on TCP):
80 - access to Web Console (Control Center).
443 - access to Web Console (Control Center).
8443 - traffic management between GravityZone components, including security agents.
8080 - communication between the GravityZone appliance and the security agents.
7074 - downloading updates for GravityZone components.
7075 - downloading updates for GravityZone components.
7077 - communication with Update Server.
In case of distributed deployments, you may need to open additional ports. For details on GravityZone communication ports, refer to GravityZone (on-premises) communication ports.
Deploying GravityZone Business Security Premium in Azure
GravityZone Business Security Premium BYOL is a Linux Ubuntu virtual appliance (VA) that requires an Azure virtual machine to run on. Creating a Linux virtual machine in Azure, which is described further down, follows the Microsoft recommendations. For details, refer to this Microsoft article.
To deploy GravityZone Business Security Premium in Azure, use to the following steps:
Log in to the Azure portal.
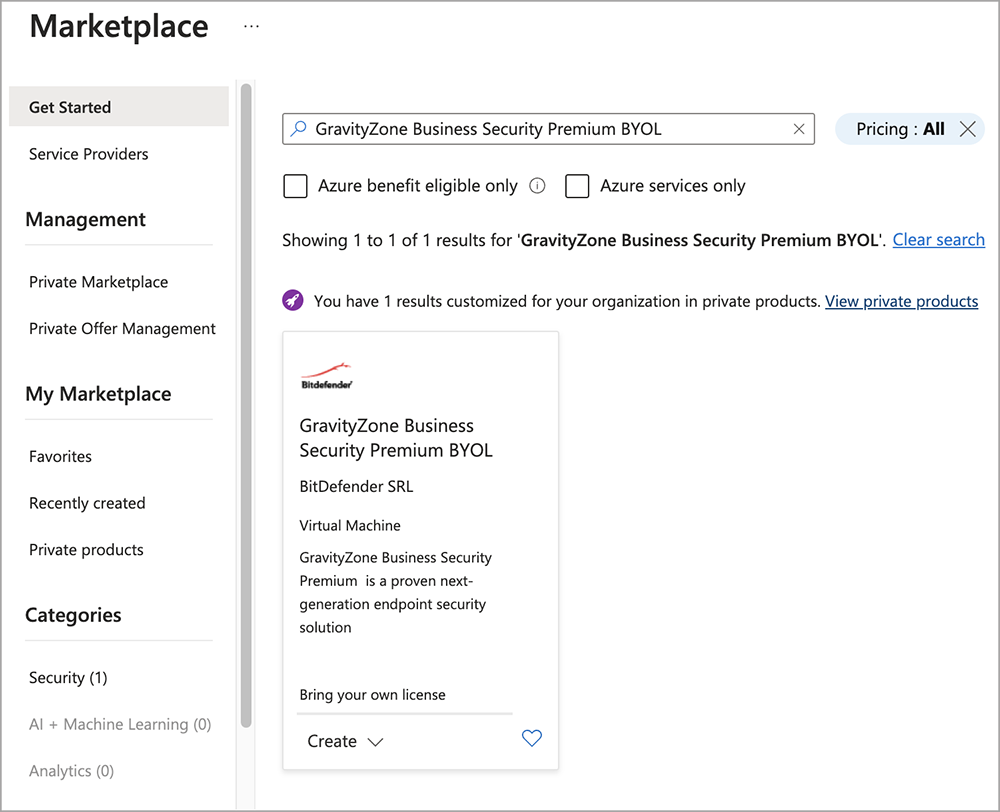
Go to Marketplace.
Search for Bitdefender GravityZone Business Security Premium BYOL.
Click the GravityZone tile in the displayed results.
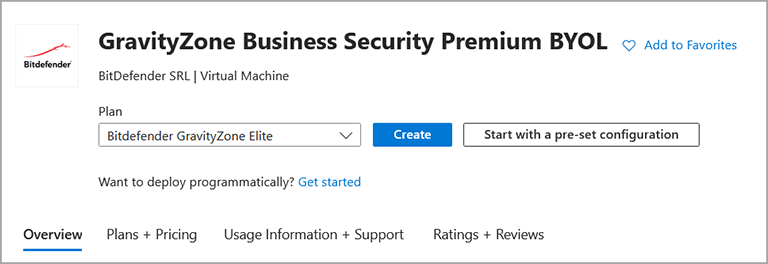
In the Bitdefender GravityZone Business Security Premium BYOL page, click Create.
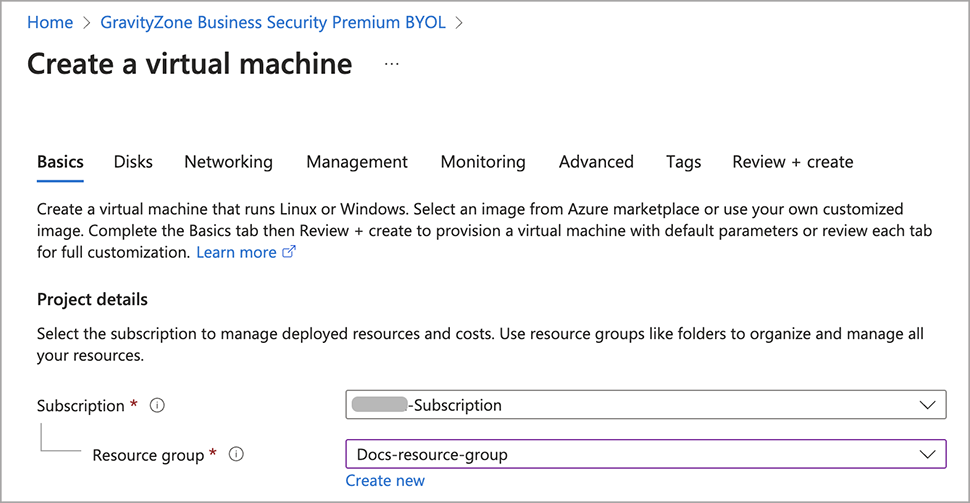
In the Basics tab, under Project details, select the desired subscription and resource group.
Under Instance details, enter a name for your virtual machine.
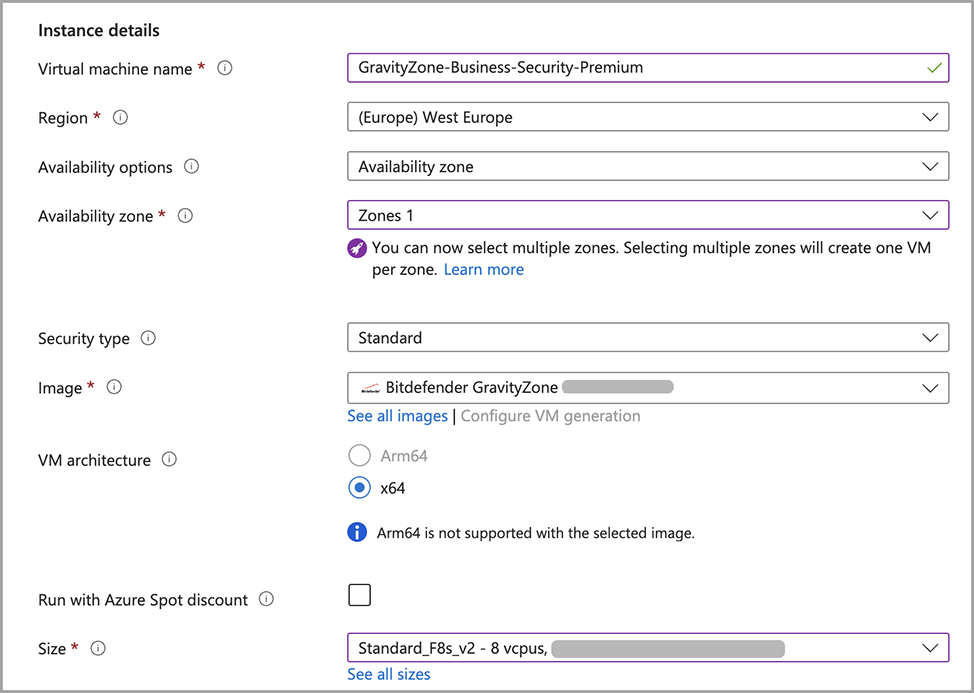
Select a region where you want to install GravityZone.
For Image, Bitdefender GravityZone Business Security Premium BYOL is already selected. Leave the other options as default.
For Size, select the VM type that accommodates the number of endpoints you want to protect. For example, choose Standard_F8s_v2 if you have up to 250 endpoints in your network.
For details on the Azure VM recommended sizes, refer to Recommended virtual machines sizes for GravityZone Business Security Premium deployment in Azure.
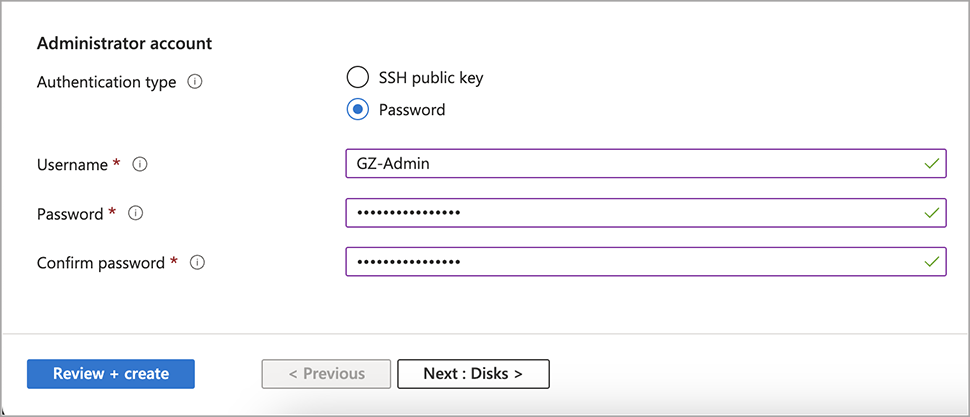
Under Administrator account, choose the authentication type:
SSH public key. For details on how to create a SSH key pair for a Linux VM, refer to this Microsoft article.
Password. Enter a username and a password.
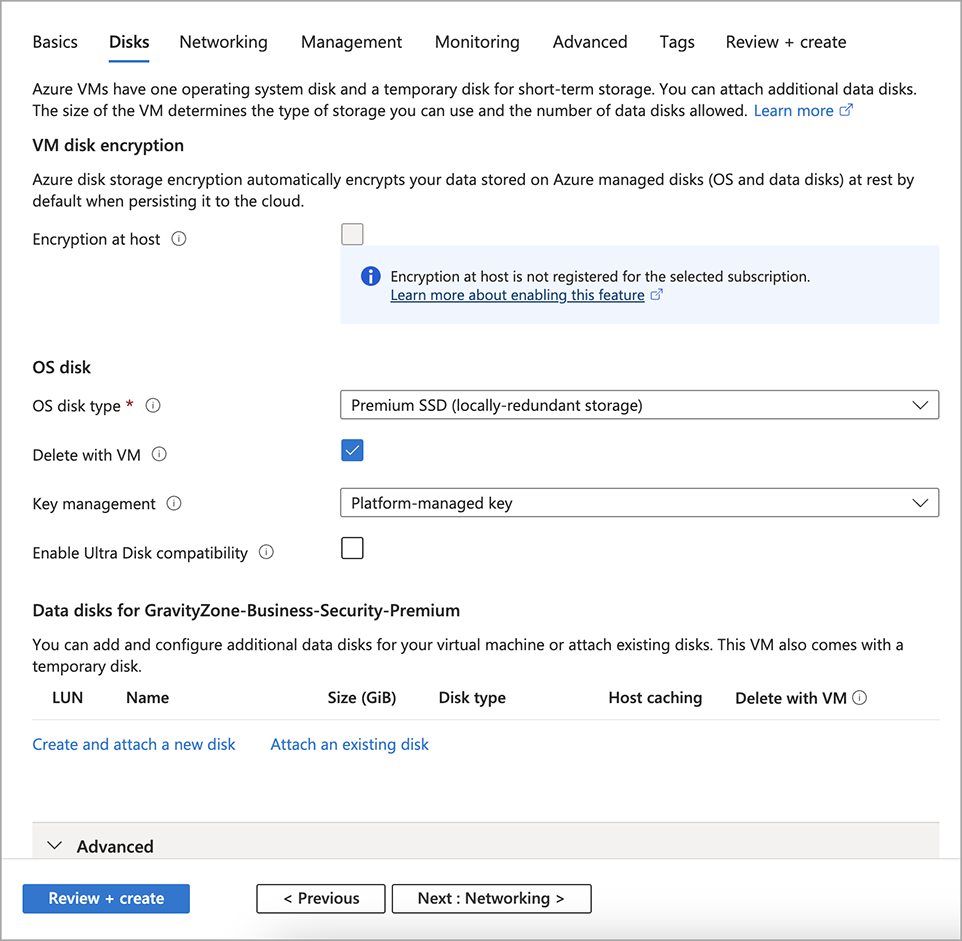
In the Disks tab, select an OS disk type.
In the Networking tab, under Network interface, select a virtual network, a subnet and a public IP.
Alternatively, you can create a new network interface, if needed.
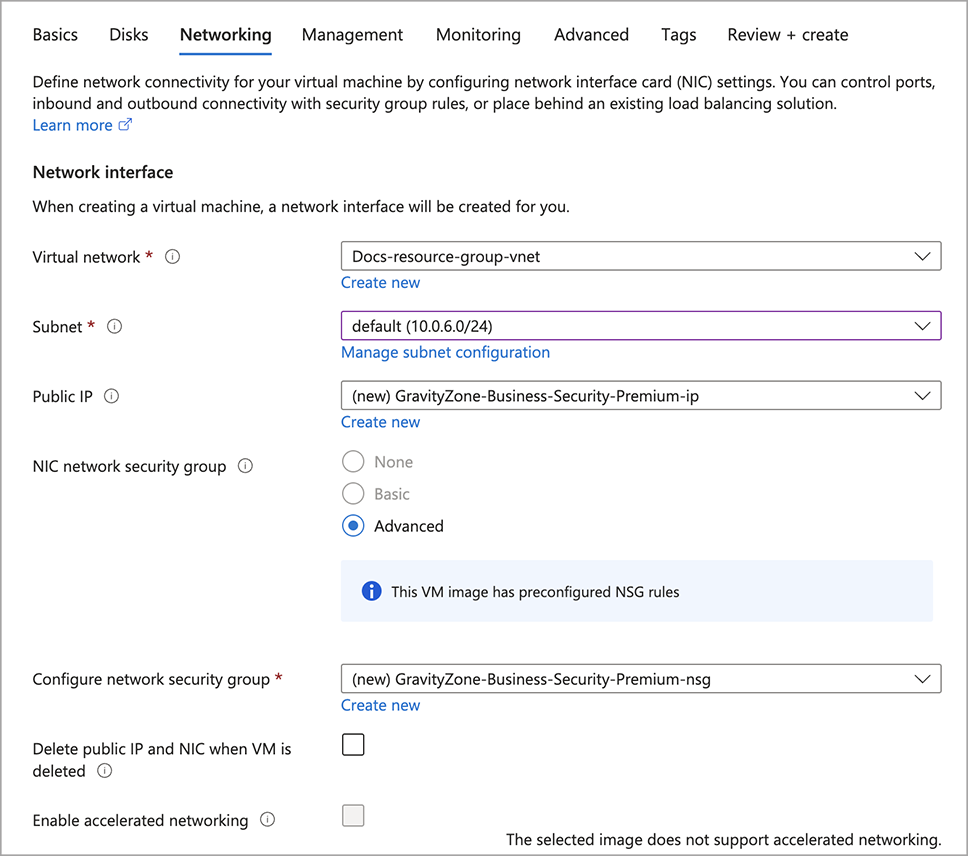
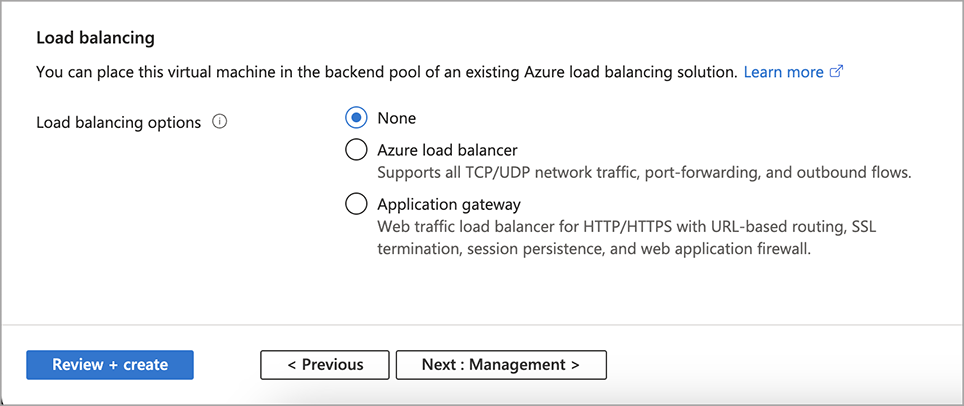
Select a network security group or create a new one.
The network security group is important for providing access to the GravityZone virtual appliance, for updating the environment and installing the Bitdefender security agents.
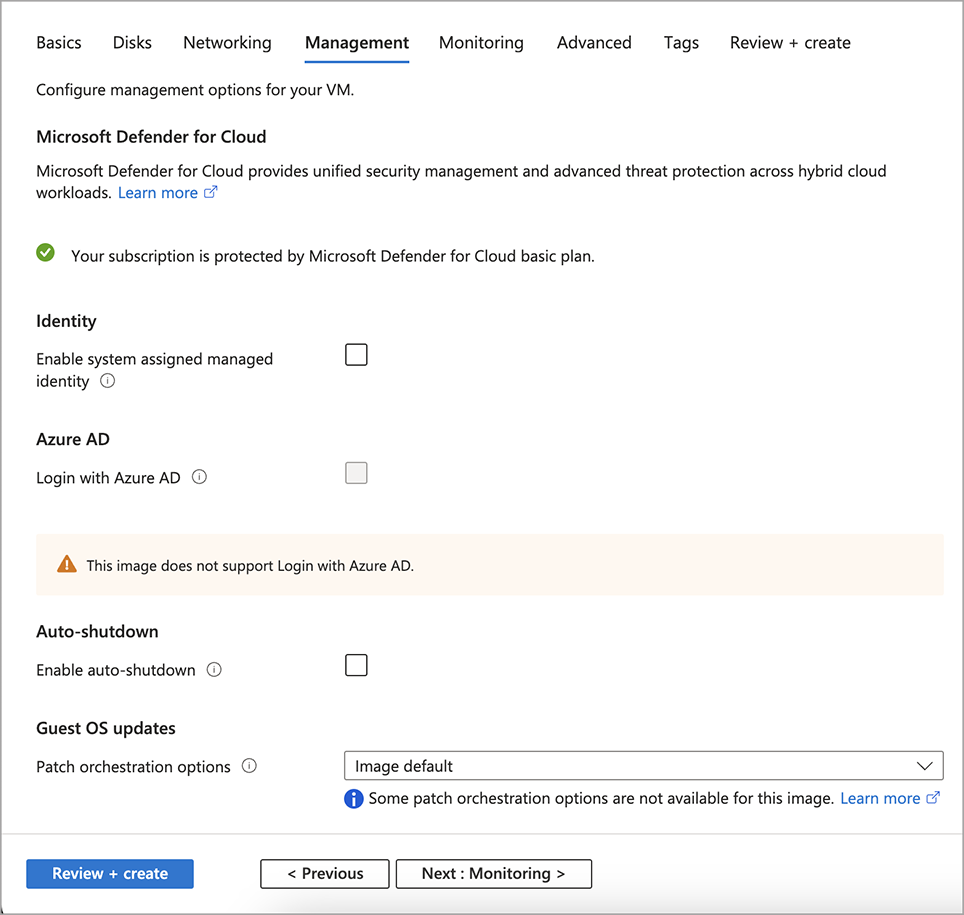
In the Management tab, keep the displayed options as default.
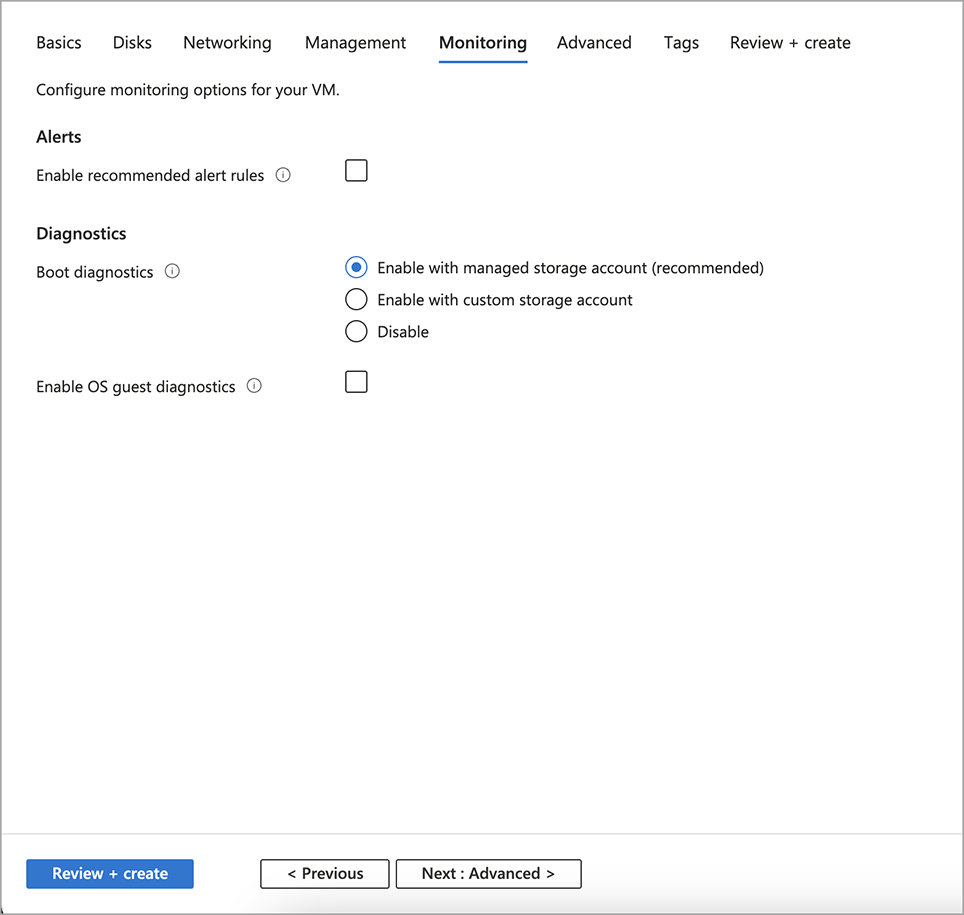
In the Monitoring tab, select a diagnostics storage account.
In the Advanced tab, keep the available options as default.
In the Tags tab, enter names and values that you consider necessary for categorizing the GravityZone VA.
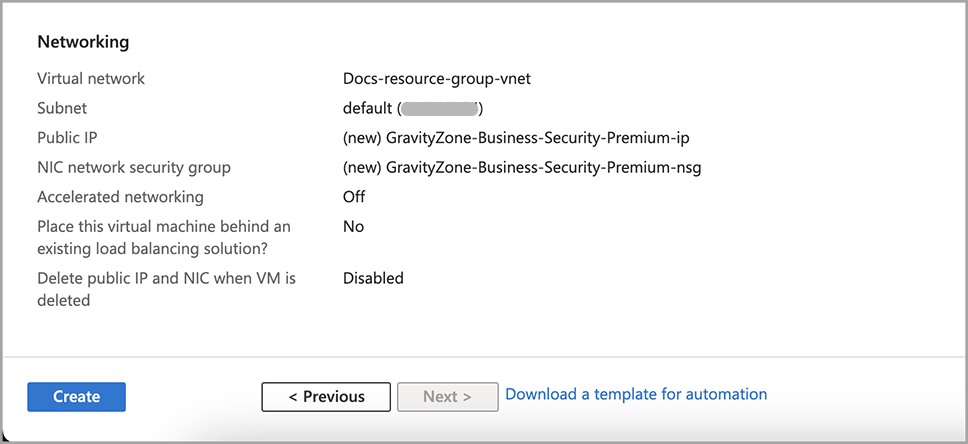
In the Review + create tab, review the configurations made and click Create.
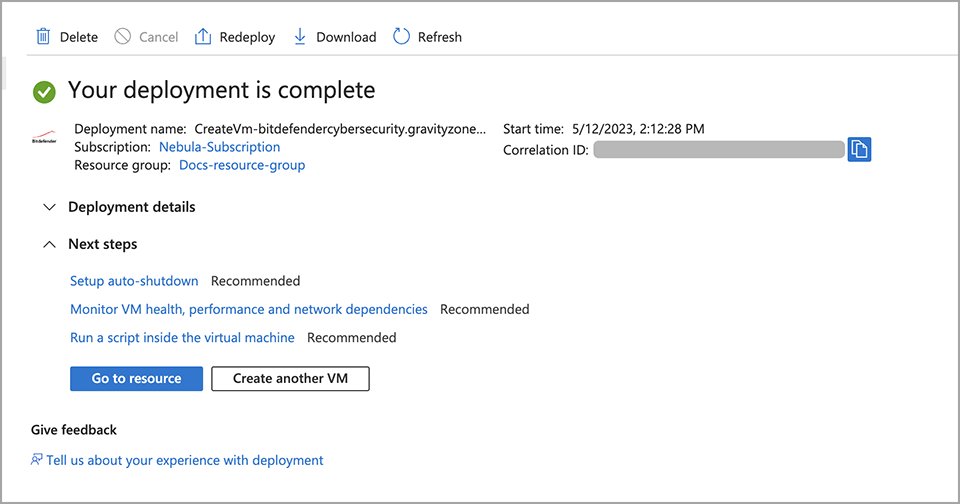
The deployment is in progress. Creating the virtual machine may take a few minutes.
Connecting to the GravityZone VA
After the deployment is complete, connect to the GravityZone virtual appliance:
Click Go to resource.