Working with network views
The different types of endpoints available in Control Center are grouped in the Network page by different network views. Each network view displays a specific type of network infrastructure, according to the endpoint type you want to manage.
To change the network view, go to the upper-left side of the Network page and click the views selector:
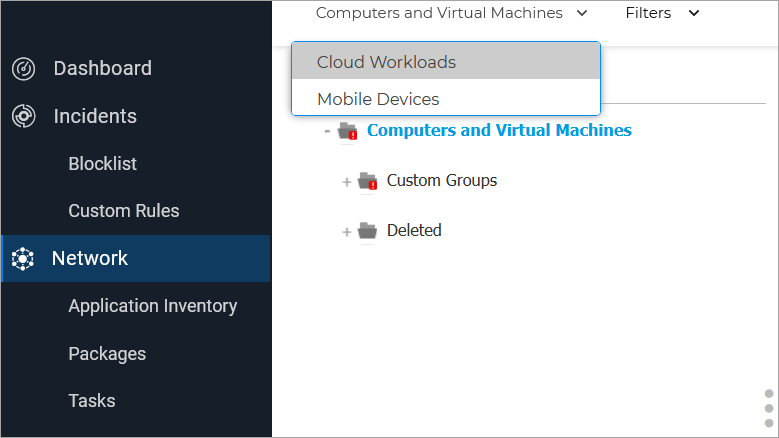
The following network views are available:
Computers and virtual machines
Cloud Workloads
Mobile devices
Computers and virtual machines
This view is designed for computers and virtual machines integrated in Active Directory, providing specific actions and filtering options for managing the computers in your network. If an Active Directory integration is available, the Active Directory tree is loaded, together with the corresponding endpoints.
While working in the Computers and Virtual Machines view, you can anytime synchronize the Control Center contents with your Active Directory using the  Synchronize with Active Directory button from the Action Toolbar.
At the same time, all computers and virtual machines that are not integrated in Active Directory are grouped under Custom Groups. This folder may contain the following types of endpoints:
Computers and virtual machines available in your network outside Active Directory.
Virtual Machines from a virtualized infrastructure available in your network.
Important
Assigning policies to virtual machines from Computers and Virtual Machines view may be restricted by the GravityZone solution manager while configuring the vCenter Server or a Xen Server in the Configuration > Virtualization Providers page. To find out more, refer to the Assigning policies section.
Cloud Workloads
This view is specifically designed to display your virtualized infrastructure integrations. The filter options available in this view allow you to choose special criteria for displaying virtual environment entities.
You can view your Nutanix, VMware or Citrix virtual inventories in the left pane.
On the upper-side of the left pane you can also find the Views menu, allowing you to choose the virtual inventories display mode.
All virtual machines in your network that are not integrated in a virtual infrastructure are displayed under Custom Groups.
All containers and container hosts in your network are displayed under Containers.
Mobile devices
This view is exclusively designed for viewing and managing mobile devices available in your network, providing specific actions and filtering options.
In this specific view, you can display network entities by users or by devices.
The network pane displays your Active Directory tree structure, if available. In this case, all Active Directory users will appear in your network inventory, and also the mobile devices assigned to them.
Note
Active Directory user details are automatically loaded and cannot be changed.
Custom Groups contains all mobile device users that you have manually added to Control Center.
Finding items in Network Inventory
This section shows different ways of how to easily find the desired entities from network inventory.
Introduction
The Network Inventory contains your company's network objects such as computers, servers, virtual machines and mobile devices. For a large network, finding the necessary information is rather difficult. You will learn hereinafter how to make use of Control Center's filtering options to find what you are looking for.
The service selector
Endpoints are grouped under each available protection service:
Computers and Virtual Machines (Security for Endpoints)
Cloud Workload (Security for Virtualized Environments)
Mobile Devices (Security for Mobile Devices).
To view endpoints under the desired category, select the corresponding service the from the services selector in the upper-right corner of the page.
Pagination
Depending on the number of items, the inventory table can span several pages. Only 10 entries are displayed per page by default. To move through the pages, use the navigation buttons at the bottom of the table. To change the number of entries displayed on a page, select an option from the menu next to the navigation buttons.
Sorting
To sort data by a specific column, click the column headers. For example, if you want to order computers by name, click the Name heading. If you click the heading again, the computers will be displayed in reverse order.
Searching
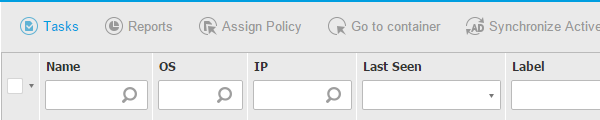
If there are too many entries, you can use the search boxes under the column headers.
Select the desired group in the left-side pane.
Enter the search term in the corresponding box under the column headers (Name, OS, IP etc.) from the right-side pane.
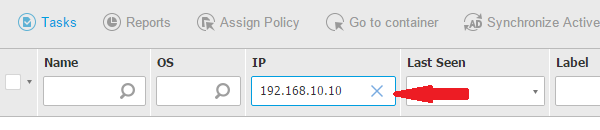
For example, enter the IP of the computer you are looking for in the IP field. Only the matching computer will appear in the table. Clear the search box to display the full list of computers.
Note
To clear the search term and show all entities, place the mouse cursor over the corresponding box and click the  icon.
icon.
Filtering
Use the Filters menu at the top of the table to filter displayed data.
Select the desired group in the left-side pane.
Click the Filters menu.
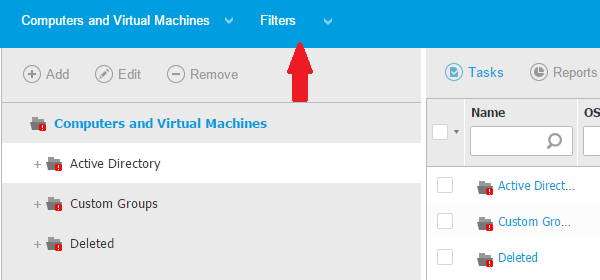
Navigate through the filter tabs and select the desired criteria.
Available filter options for Computers and Virtual Machines:
Type - Filter by item type:

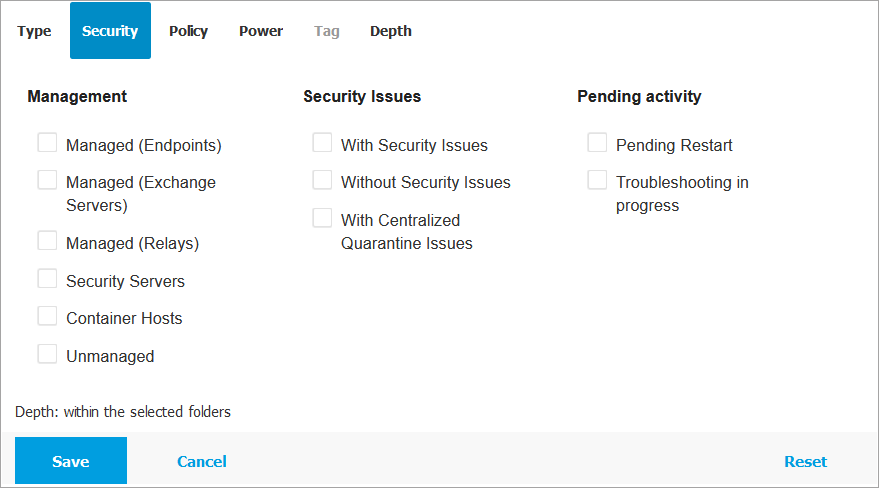
Security - Select the type of endpoints you want to be displayed based on security status:
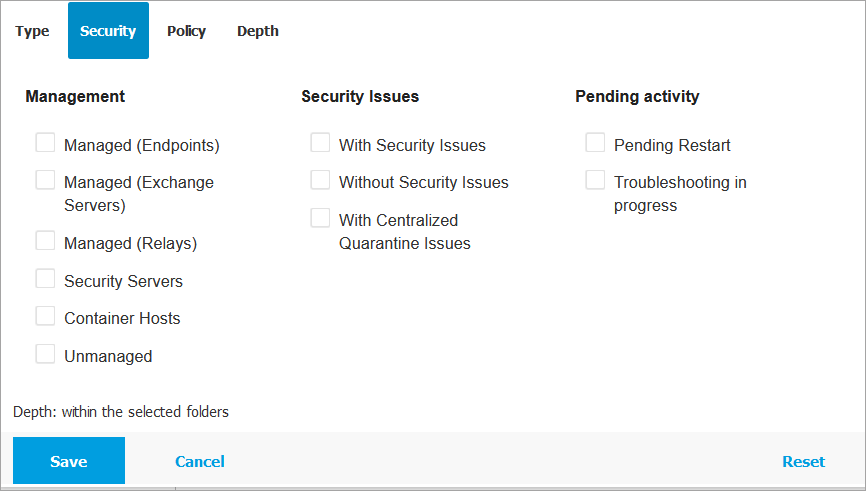
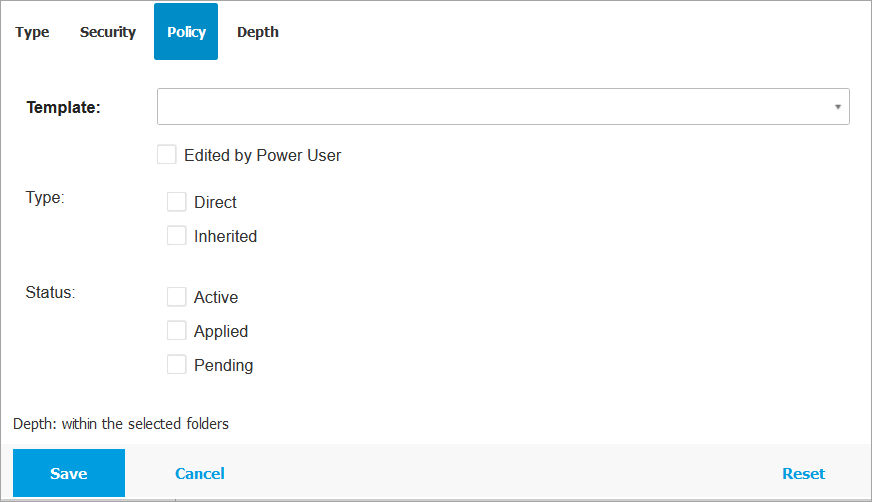
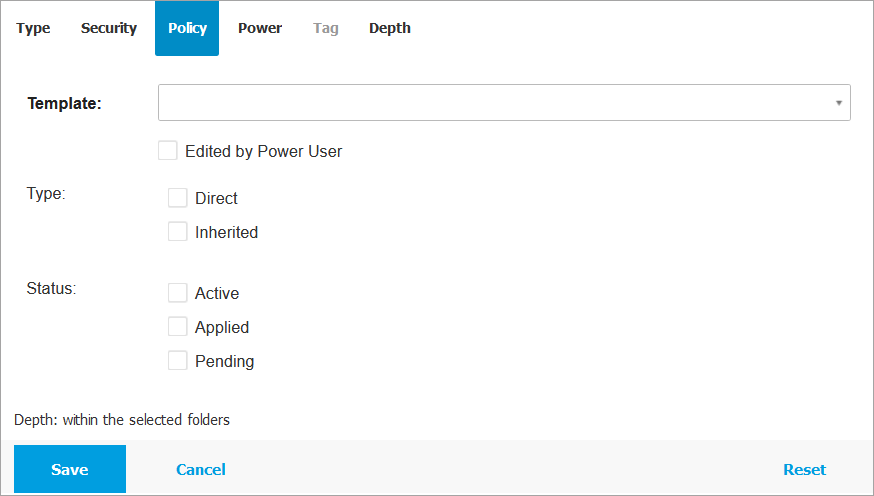
Policy - Select the policy template you want to filter the computers by, as well as the policy type and assignment status:
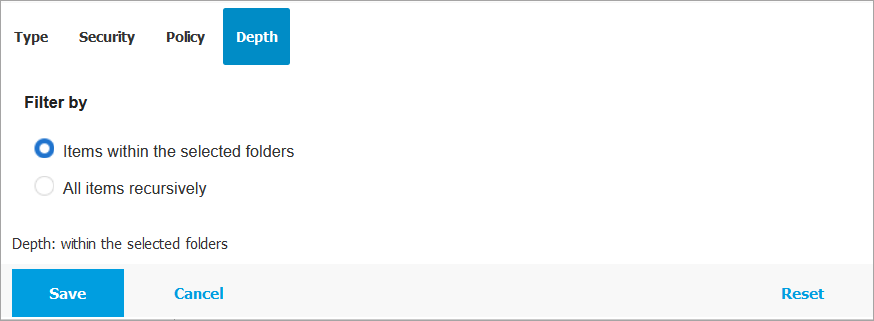
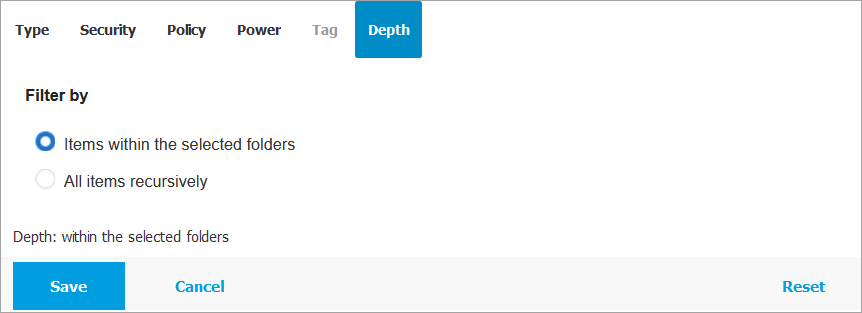
Depth - When managing a tree-structure computer network, computers placed in sub-groups are not displayed by default. Select All items recursively to view all computers included in the current group and in its sub-groups.
Note
When you choose to show all computers including subfolders, sub-groups are no longer visible in the table.
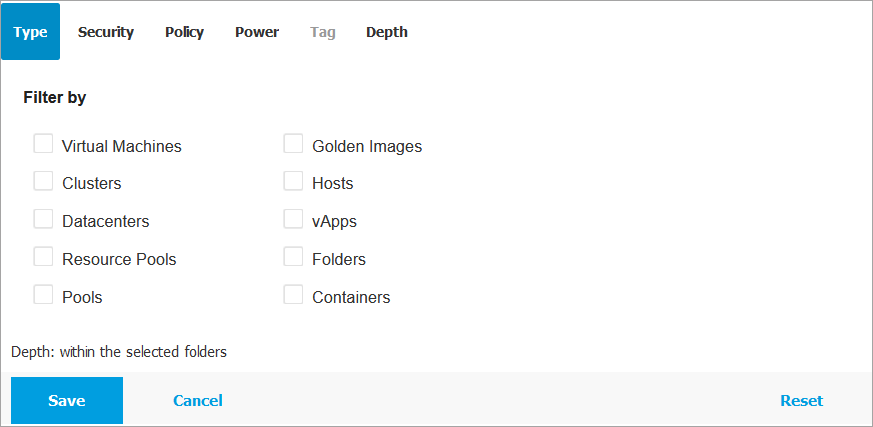
Available filter categories for Cloud Workloads:
Type - Select the type of virtual entities to be displayed:
Security - Select the type of endpoints you want to be displayed based on security status::
Policy - Select the policy template you want to filter the virtual machines by, as well as the policy assignment status:
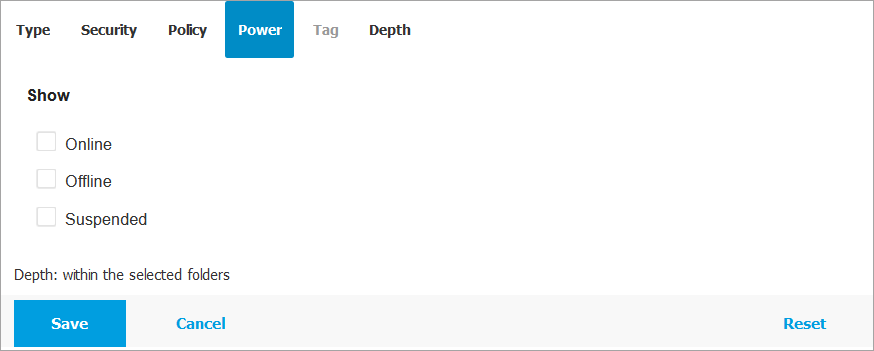
Power - Filter endpoints by power status:
Tag. You can choose to filter the virtual machines by tags and attributes you have defined in your virtualization environment.
Depth. When managing a tree-structure virtual machines network, virtual machines placed in sub-groups are not displayed by default. Select All items recursively to view all virtual machines included in the current group and in its sub-groups.
Available filter categories for Mobile Devices:
Type - Select the type of entities to filter by:

Security - Select the type of mobile devices you want to be displayed:
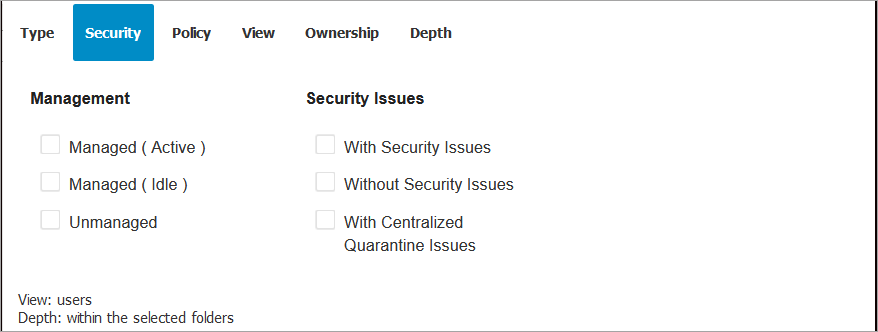
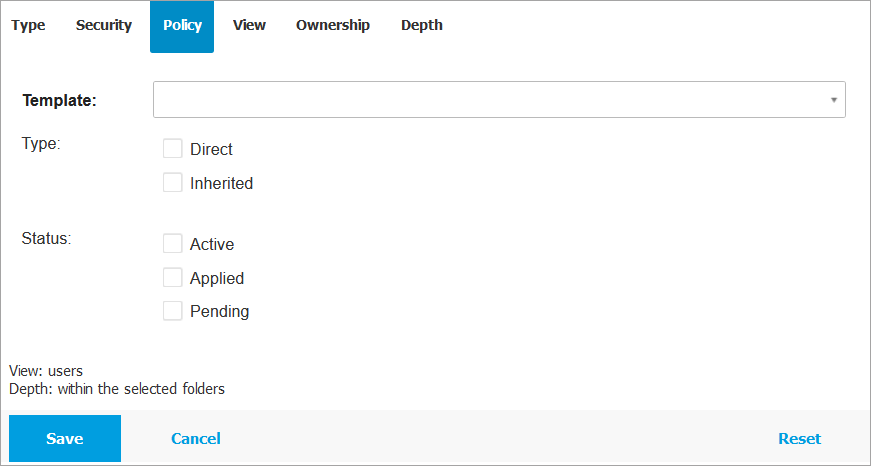
Policy - Select the policy template you want to filter the mobile devices by as well as the policy assignment status:
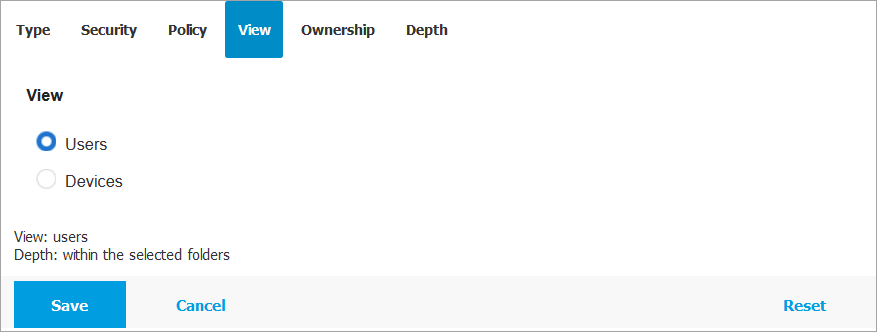
View - Select Users to display only users in the selected group. Select Devices to display only devices in the selected group.
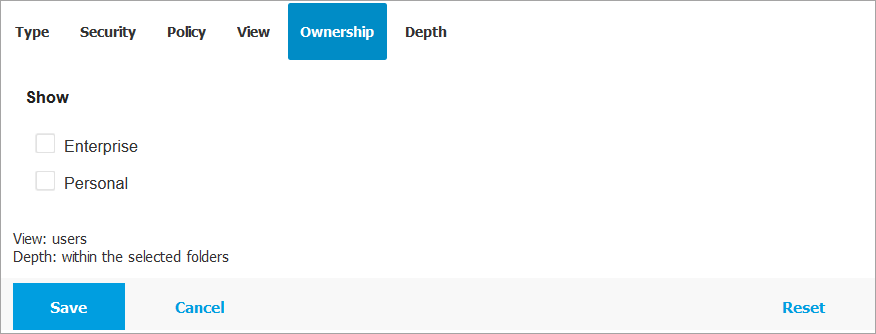
Ownership. You can filter mobile devices by ownership, choosing to show Enterprise devices or Personal.

Depth. When managing a tree-structure mobile devices network, mobile devices placed in sub-groups are not displayed by default. Select All items recursively to view all mobile devices included in the current group and in its sub-groups.
Note
Click Reset to clear the filter and display all items.
Click Save to apply the filter by the selected criteria.
Example scenario
Here is an example of how to use the above-mentioned filters to see all enrolled mobile devices of a specific user:
Log in to GravityZone Control Center.
Go to the Network page from the left side menu.
Choose Mobile Devices from the service selector.
Click the Filters menu located above the table.
Go to View tab and switch to the Devices view.
In the search box under the User column header, enter the name of the user you are looking for.
Only the matching mobile devices will appear in the table.