Citrix XenServer
Integrate with XenServer
You can integrate GravityZone with one or multiple XenServer systems.
To set up integration with a XenServer follow these steps:
Go to the Configuration page from the left side menu in the Control Center.
Click the Virtualization Providers tab.
Click the
 Add button at the upper side of the table and choose XenServer from the menu. A configuration window is displayed.
Specify the XenServer details:
Name of the XenServer system in the Control Center
Hostname or IP address of the XenServer system
XenServer port (the default is
443)
Specify the credentials that are going to be used to authenticate with the XenServer.
You can choose to use the credentials provided for the Active Directory integration or a different set of credentials.
Restrict policy assignment from the network view. Use this option to control the network administrators permission to change the virtual machines policies in the Network > Computers and Virtual Machines page. When this option is enabled, administrators can change the virtual machine policies only from the Virtual Machines view of the network inventory.
Auto-update integration when master host changes in XenCenter. Use this option to keep the integration alive without manual intervention when the IP address of the pool master server has changed.
Note
You can enable the XenServer Integration Auto-update notification to know whenever such changes occur and the settings are automatically updated.
Click Save. You can view the XenServer system in the active integrations list and that it is synchronizing. Wait for a couple of minutes until synchronization is complete.
Protect virtual machines in XenDesktop with a Provisioning Server infrastructure
This section describes how to install and configure Security for Virtualized Environments on XenServer virtual machines with a Provisioning Server infrastructure.
Overview
Provisioning Server's infrastructure is based on software-streaming technology.
Using a Provisioning Server, the administrators prepare a device (Master Target Device) to be imaged, by installing an operating system and any required software on that device. A virtual disk (vDisk) image is then created from the Master Target Device's hard drive and saved to the network (on the Provisioning Server or back-end storage device).
Once the vDisk is available from the network, the targeted device no longer needs its local hard drive to operate, as it boots directly from the network. The Provisioning Server streams the contents of the vDisk to the target device on demand, in real time.
Configuration steps
To protect virtual machines in a XenDesktop with a Provisioning Server infrastructure using GravityZone Security for Virtualized Environments, you need to deploy a Security Server and have BEST installed on the vDisk. To do so, follow these steps:
Deploy GravityZone in the virtual environment and configure its roles.
Connect to the GravityZone Control Center using an account with Manage Solution rights.
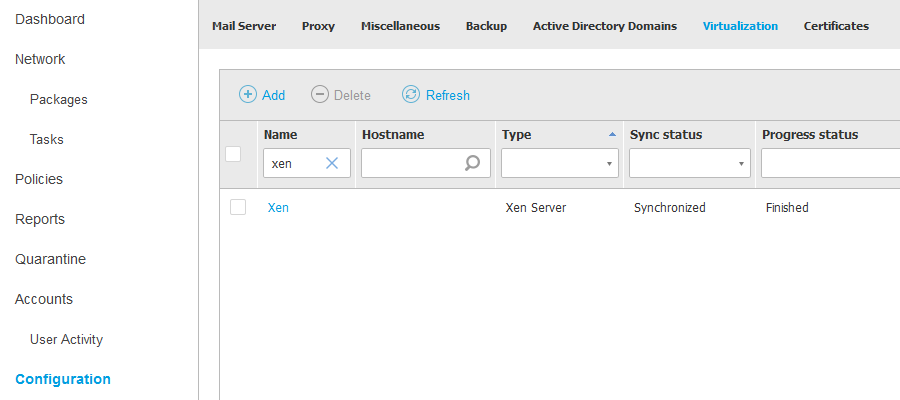
Go to Configuration > Virtualization and integrate GravityZone with Xen Server. When the process is finished, the Sync status will be Synchronized and the Progress status: Finished.
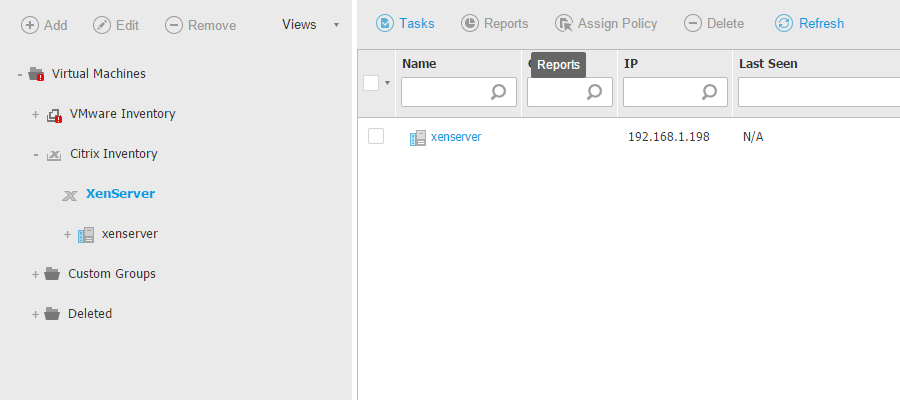
To install the Security Server on the host, go to the Network page from the left side menu, select the host and run the Install Security Server task. The inventory will display the newly deployed virtual machine:
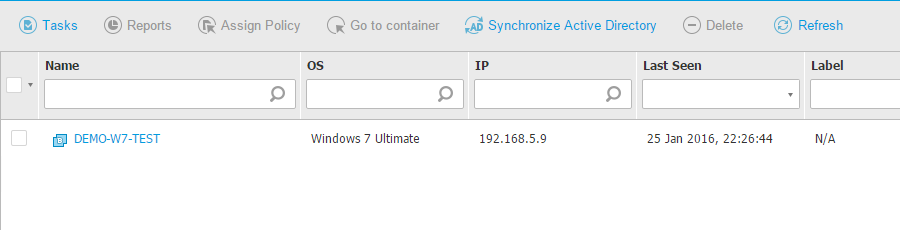
Create a virtual machine with all programs that users need and install BEST to protect it against malware. To deploy BEST, select the VM from the inventory and run the Install agent task. After BEST is installed, the inventory will show the VM as being protected:
In addition, you must check if the Master VM is protected by accessing it and opening the BEST user interface.
If you plan to use the BEST Firewall module, you need to add firewall rules to the BEST policy, to allow the appropriate ports used by the Citrix components. For more details, refer to the following Citrix pages:
If you want to use Citrix streaming services on the endpoint where BEST is installed, the Firewall module must allow the vDisk Streaming (Streaming Service) ports, otherwise the virtual desktops are not going to boot. For this, you must add a Connection rule in Policies > Firewall > Rules > Add > Connection, with the following configuration:
Local Address set to Any
Remote Address set to the address of the server hosting the vDisk
Remote Address port range set to PVS port range
Protocol set to UDP
Permission set to Allow
Whenever you plan to change the PVS ports or update/upgrade your Citrix software, be sure to check for the Citrix port changes and update the BEST firewall rules accordingly. Please follow Citrix recommendations on how to update the ports, as indicated in the next step.
Prepare the target device by following the procedure described in the official Citrix documentation.
Start to deliver virtual desktops to users. The new VMs will appear in the network inventory as being protected by BEST.
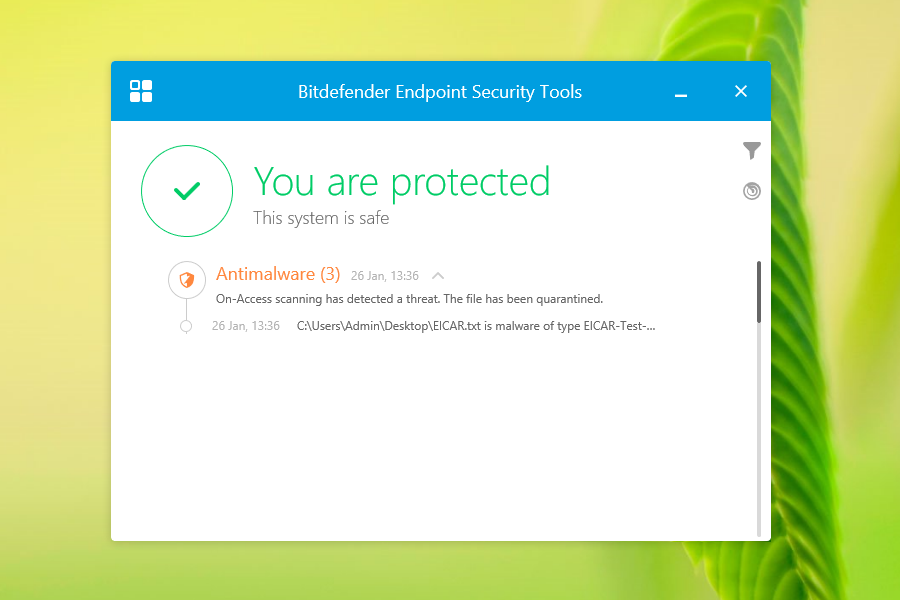
Users will see their devices as protected when they access the BEST user interface.
To test the protection, you can use an EICAR file. The file will be detected as a virus and it will be deleted. The interface will display the action taken to protect the virtual machine.