If Bitdefender VPN isn’t working correctly on a Windows PC and displays a message that your .NET installation is corrupted, the issue is usually caused by a damaged or incomplete .NET Framework.

Follow the steps below to repair Microsoft .NET and restore Bitdefender VPN functionality.
Step 1: Uninstall Bitdefender VPN
Before repairing Microsoft .NET Framework, remove the Bitdefender VPN app:
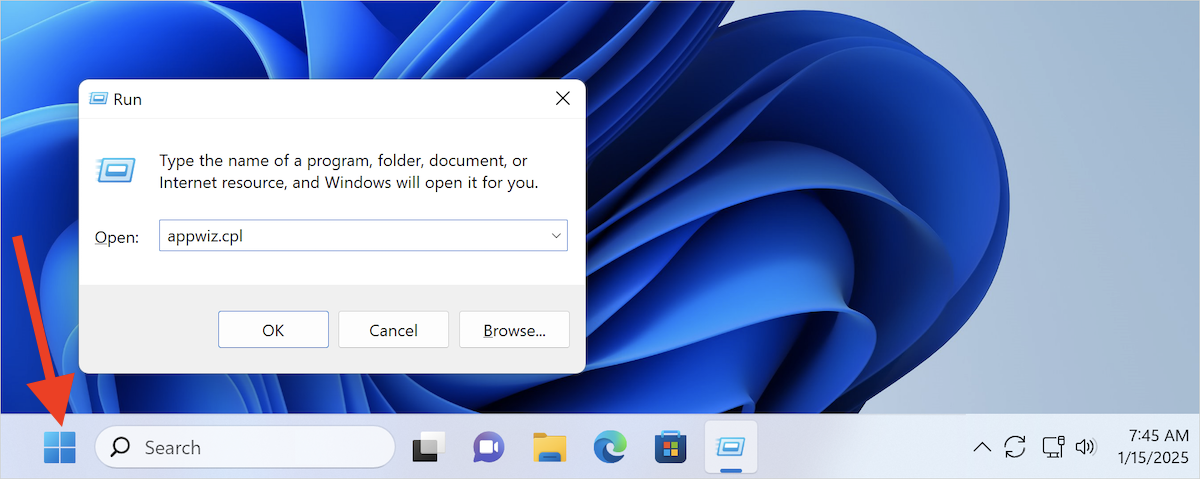
- Click the Start button (Windows logo) usually located in the bottom-left corner.
- Alternatively, press Win + R on your keyboard to open the Run dialog box.
- Type appwiz.cpl in the search box and press Enter. The “Programs and Features” window will open.
- In the list of installed programs right-click on Bitdefender VPN and select Uninstall, or click the Uninstall button at the top of the list.
- Follow the on-screen instructions to uninstall Bitdefender VPN.
Step 2: Repair Microsoft .NET Framework
Next, use Microsoft’s official repair utility:
- Download the Microsoft .NET Framework Repair Tool.
- Double click to run the downloaded file.
- Follow the on-screen instructions.
This tool automatically detects and fixes common issues affecting .NET Framework installations.
Step 3: Restart Windows
After the Microsoft .NET Framework repair is complete, restart your computer to apply all changes.
Step 4: Install Microsoft .NET Core 8
- Download and install Microsoft .NET Core 8 based on your system type:
- Once downloaded, double-click the saved file and follow the prompts to install .NET Core 8.
How to check your system architecture:
How do I check if I have a 32 or 64-bit Windows version?
How do I know if my PC has an ARM processor?
Step 5: Reinstall Bitdefender VPN
Finally, reinstall Bitdefender VPN:
- Download the latest version of Bitdefender VPN.
- Open the installer file.
- Follow the installation steps.

After installation, launch the Bitdefender VPN app. All Microsoft .NET Framework-related errors should now be resolved.