To establish a secure VPN connection on an iPhone or iPad, Bitdefender Hub must first receive permission to add a VPN configuration to the device. This is a standard iOS security requirement designed by Apple to ensure that only approved applications can create VPN connections. The permission request appears only when you enable VPN for the first time. Once approved, Bitdefender Hub can create a secure VPN tunnel that helps protect your online privacy by hiding your real IP address and encrypting your internet traffic.
This guide explains exactly how to grant VPN permissions in Bitdefender Hub for iOS to ensure the VPN is working correctly.
Step 1: Start the VPN Connection
First tap the VPN connection button using any of the available methods described in this step-by-step guide: How to Connect to VPN in Bitdefender Hub for iOS.
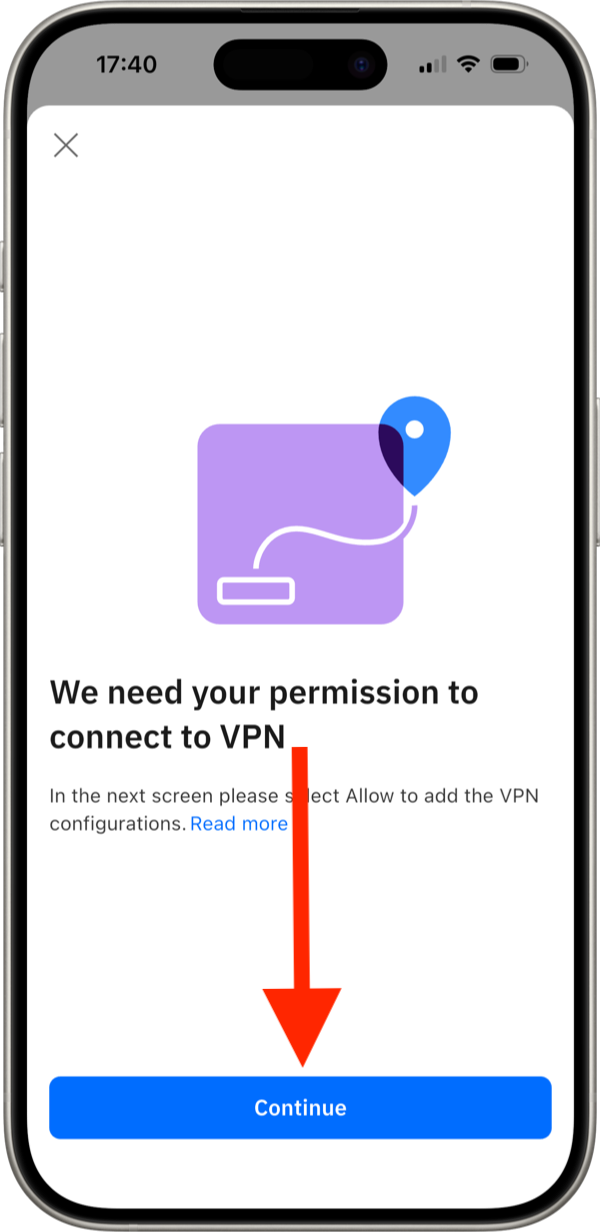
Step 2: Review the Permission Setup Screen
Bitdefender Hub will display a message explaining that permission is required before the VPN can connect.
Tap Continue to proceed.
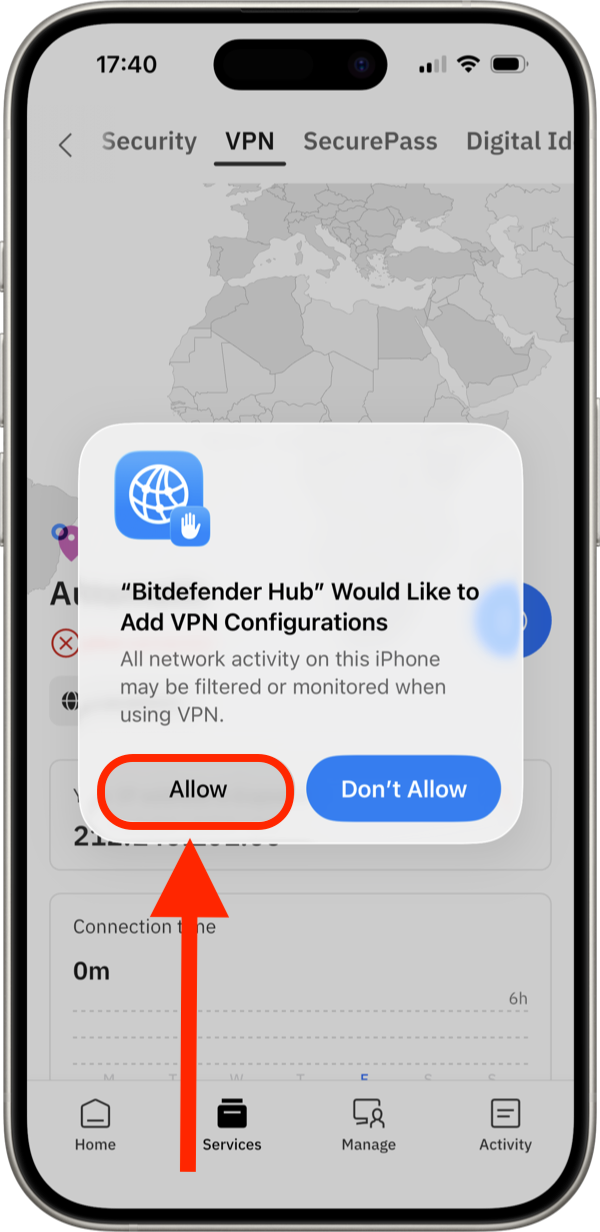
Step 3: Allow the VPN Configuration
Tap Allow when the system permission prompt informs you that Bitdefender Hub would like to add VPN configurations.
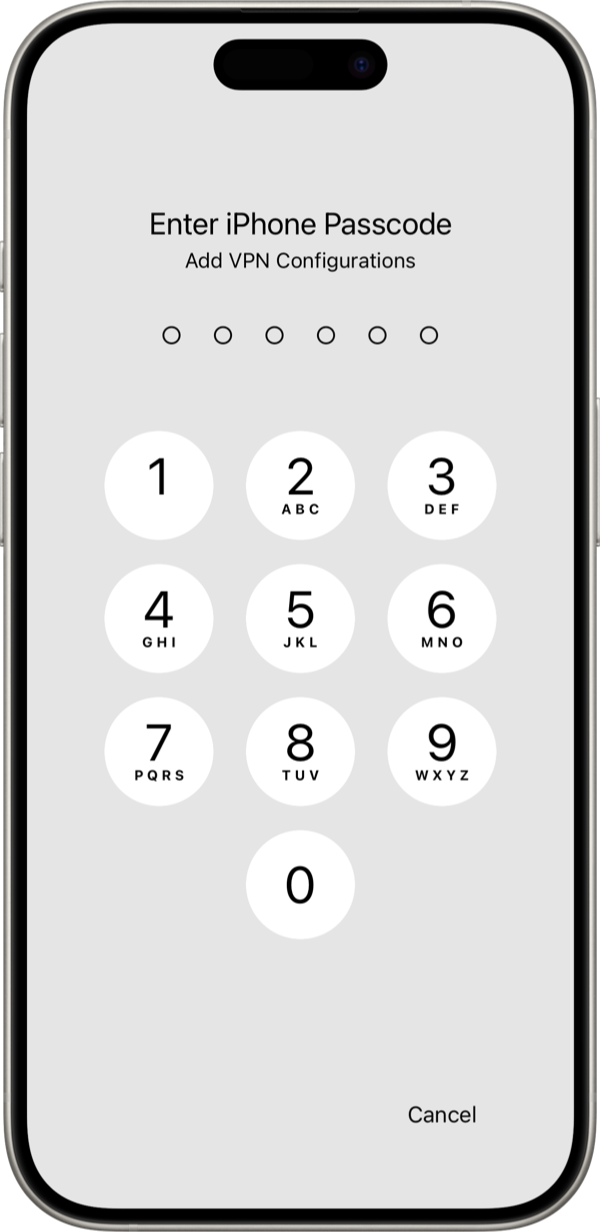
Step 4: Enter iPhone Passcode
Enter your iPhone or iPad passcode when prompted.
This additional security step confirms that the device owner approves the VPN configuration change. The passcode is processed by iOS and is never used by Bitdefender Hub.
Once you enter your device passcode, the necessary iOS VPN permissions are granted. Bitdefender Hub can now establish secure VPN connections whenever you enable the service, helping protect your privacy and keeping your internet traffic encrypted while you browse, stream, shop, or work online.