This article guides you stepwise to download and install Bitdefender Virus Scanner Plus on Mac computers designed by Apple. Virus Scanner Plus allows you to scan running apps, critical locations or the entire system whenever you choose. You can also activate Continuous Scan to keep Virus Scanner Plus running all the time. If you download an infected file or get one in the mail, your Mac will be protected, so you don’t put your friends and family at risk by unknowingly passing malware along.
Bitdefender Virus Scanner Plus requires macOS Yosemite 10.10 or later, so prior to the installation make sure your Mac meets the system requirements for running this app. Find out which macOS your Mac is using.
1. Go to your Mac, open the App Store  and search for the Bitdefender Virus Scanner Plus app.
2. On the Virus Scanner Plus page click the ![]() cloud icon with an arrow pointing down to start downloading if you’ve already purchased this Bitdefender app. Please wait while the app finishes installing. This could take a few minutes.
cloud icon with an arrow pointing down to start downloading if you’ve already purchased this Bitdefender app. Please wait while the app finishes installing. This could take a few minutes.
3. Once the download completes, click the OPEN button in App Store or access the Dock icon ![]() to launch the Virus Scanner Plus app.
to launch the Virus Scanner Plus app.
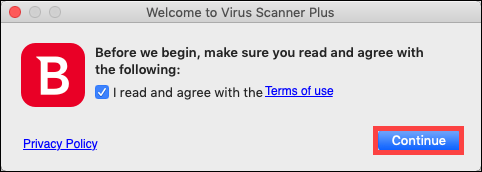
4. In order to continue the installation, you will have to agree to the terms of use.
The installation is now finished if you have Yosemite (10.10), El Capitan (10.11), or macOS Sierra (10.12).
5. If your Mac is using macOS Mojave (10.14) or a newer version such as Catalina (10.15), Big Sur (11), Monterey (12), Ventura (13), Sonoma (14) or Sequoia (15) Bitdefender will require a number of permissions in order to scan your Mac and take action against detected infections. Older macOS versions do not require these extra steps.
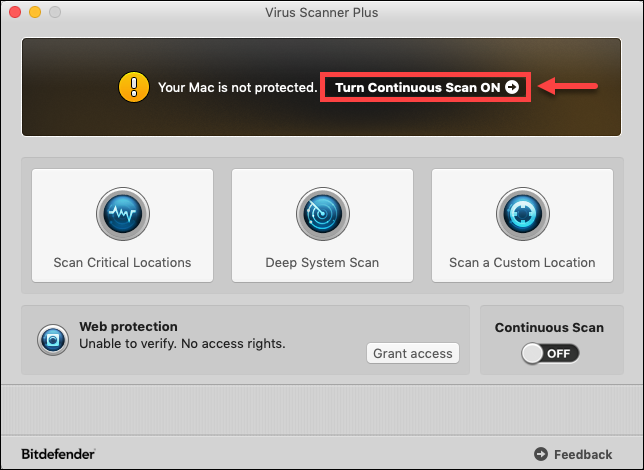
To grant access to Bitdefender Virus Scanner Plus choose Turn Continuous Scan ON at the top of the interface.
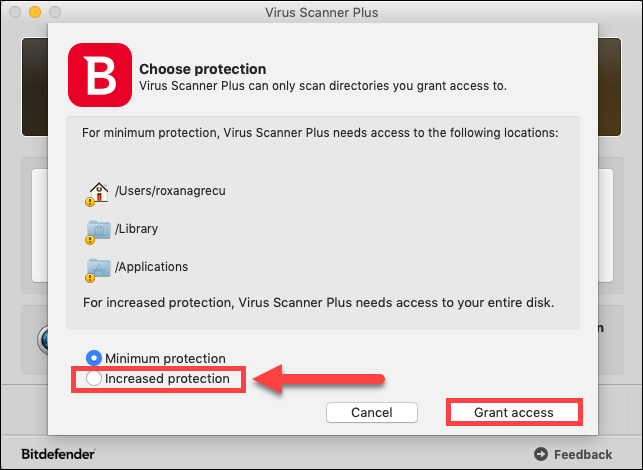
6. Select the Increased protection option, then click the Grant access button.
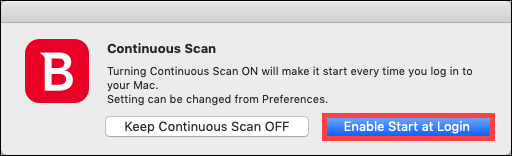
7. Click on Enable Start at Login.
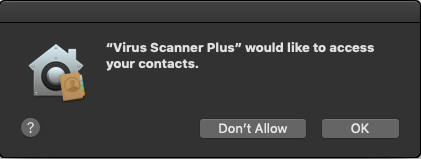
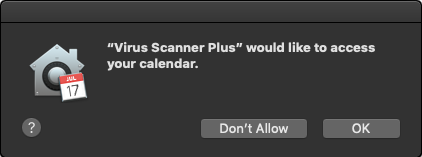
8. Bitdefender Virus Scanner Plus is going to need access to your Contacts and your Calendar. Click on OK for each of these permissions.
9. Now click on the Apple logo in the top left corner of the screen and then select the System Preferences menu option. The System Preferences window will launch on your screen.
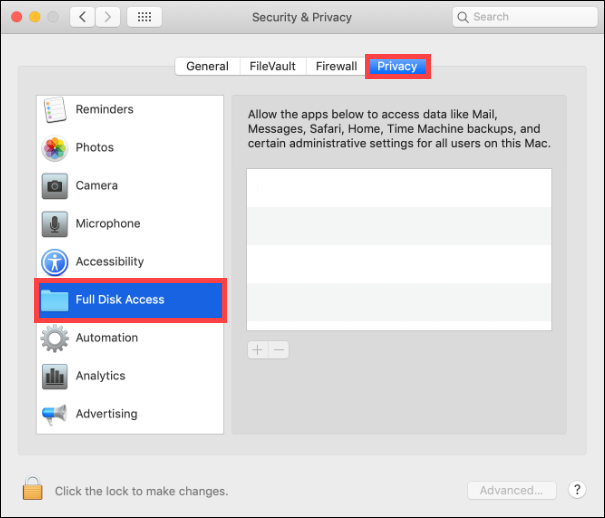
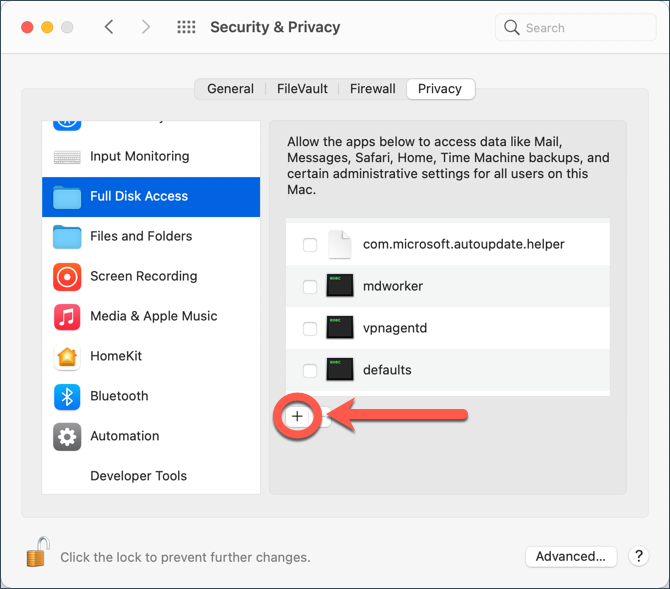
10. Click on Security & Privacy and click on the Privacy tab. On the left side column, select Full Disk Access.
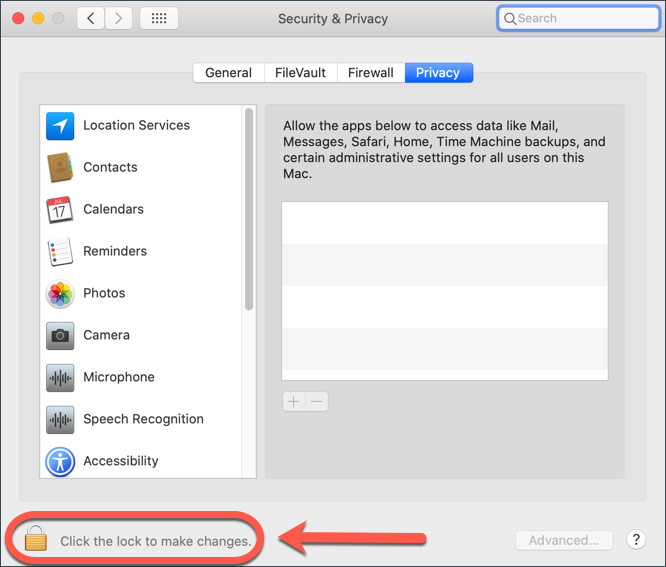
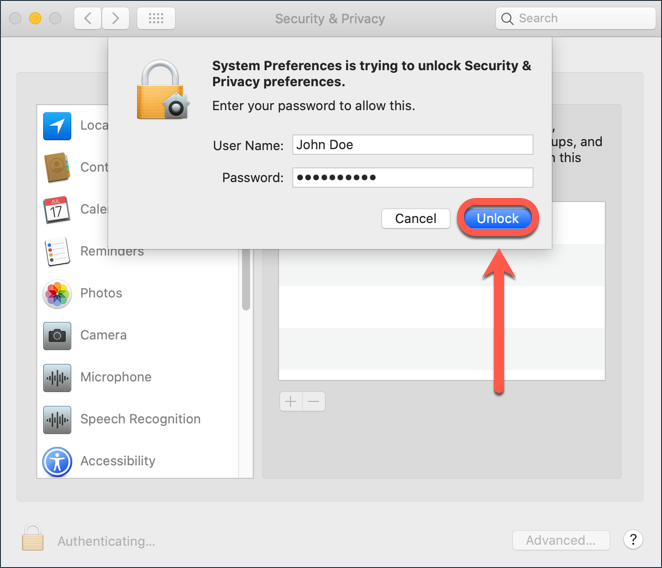
11. Click the padlock icon in the lower-left corner of the window to make changes.
12. When prompted, enter your macOS administrator username and password. Then, press the Unlock button.
13. Next click on the “+” icon on the right side of the window.
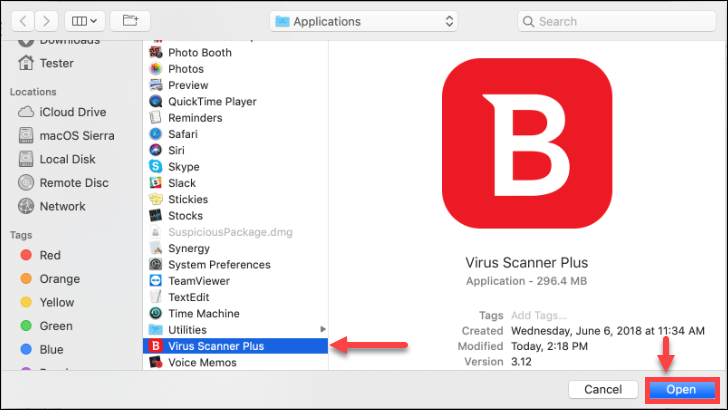
14. Click on Applications on the sidebar of the new window, select the Bitdefender Virus Scanner Plus app in the list of installed apps, then click on Open.
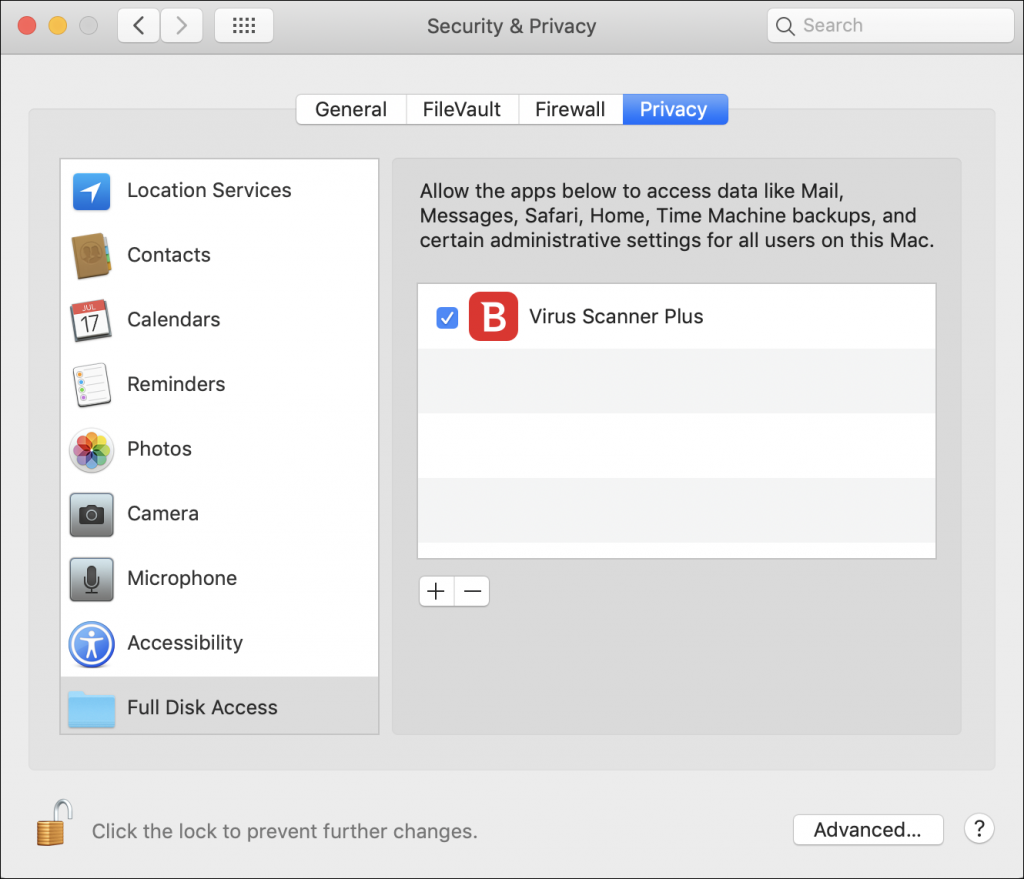
15. As soon as the Virus Scanner Plus app is added to the list of apps with full disk access, you will see the following message: Bitdefender Virus Scanner Plus will not have full disk access until the application has finished working.
Press the Quit button when prompted, then exit the Security & Privacy window.
Congratulations! You have successfully installed Bitdefender Virus Scanner Plus on your Mac. To scan your Mac with Virus Scanner Plus, choose ‘Deep System Scan’ or ‘Scan Critical Locations’ on the main interface. The award-winning Bitdefender engines will find that piece of malware.