MDR users
The Users page, available from the left-side menu in the MDR portal, provides an overview of all MDR users across your managed companies. The page includes both SSO-enabled users and users who authenticate with MDR-specific credentials.
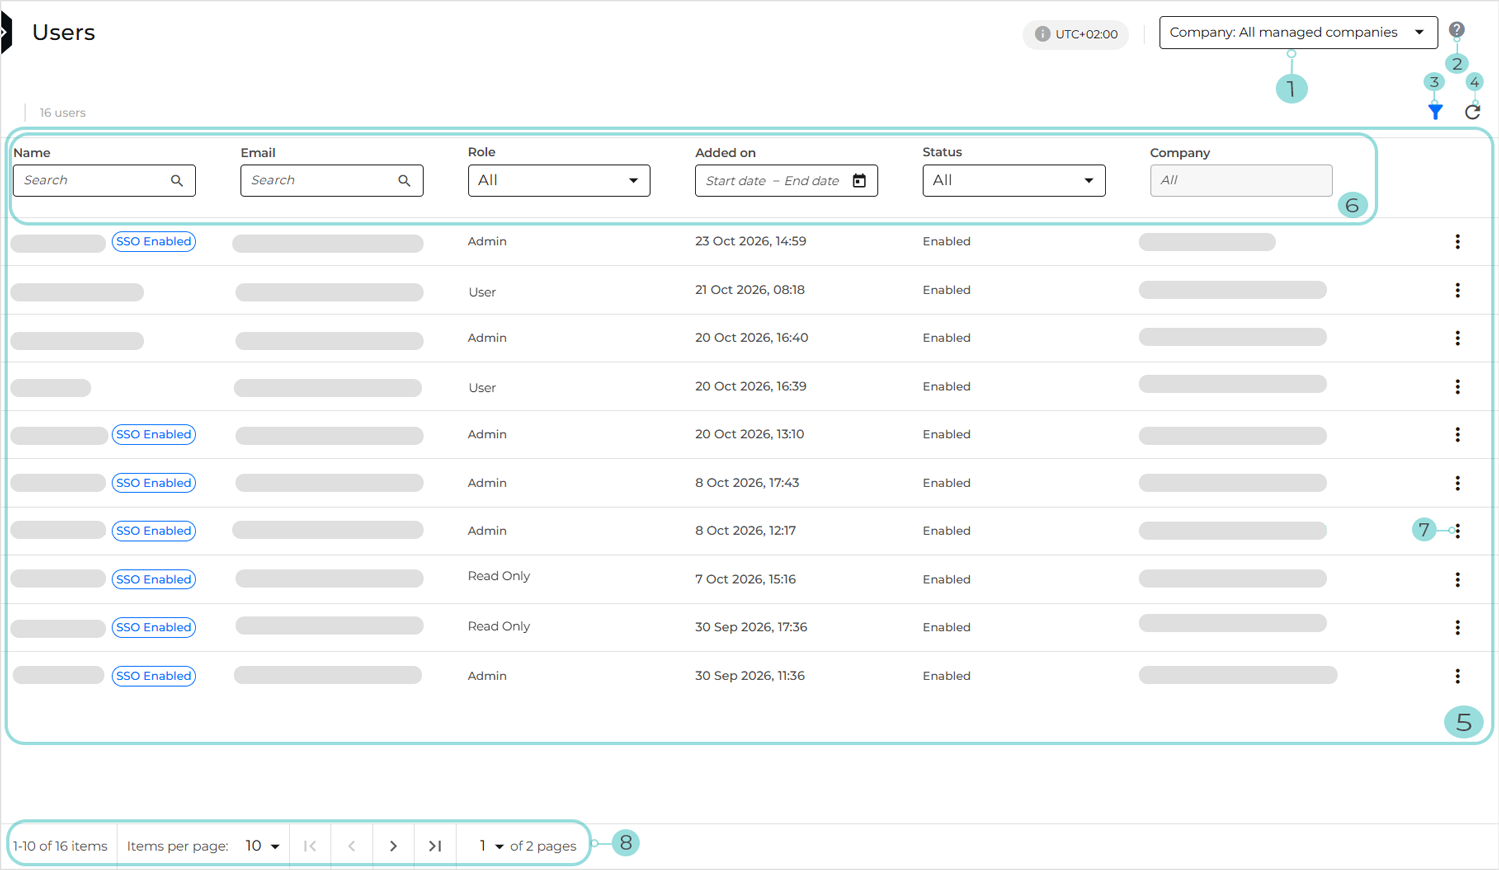
The page includes the following main components:
Company selector: If you are a Partner, you can click it to switch between companies and view the corresponding users table. You can select All managed companies or a specific managed company.
Important
This selector is not displayed for Customers.
Info button: Clicking it opens the knowledge base article relevant to the Users page.
Show or hide filters button: Controls the visibility of filtering options for the Users table.
Refresh button: Refreshes the Users table to display the latest user information, including newly created users.
Users table data: Displays information about all available MDR users. For details, refer to Viewing user details.
Available filters: Use them to narrow the list of users based on specific criteria. For details, refer to Filtering and searching users.
Actions menu: Provides access to the actions available for the selected user. Available actions vary depending on whether the user is authenticated through SSO or with MDR credentials and may include Edit, Disable/Enable, Delete, Reset Password, and Reset MFA.
Important
If you are assigned the Read-Only role, the actions menu is not displayed.
The pagination bar: This bar allows controlling how many items are displayed per page. You can navigate through pages using the arrows, jump directly to the first or last page, or select a specific page to view.
Viewing user details
Each user entry in the Users table includes the following information:
Name: The name of the user
Important
A blue SSO Enabled label is displayed next to the name of each user with SSO enabled.
Email: The email of the user
Role: The role of the user:
Admin: Offers full access to MDR portal features and administration tasks. Admins can manage user accounts, create and update tickets, upload and manage documents, configure emergency contacts, and perform other management operations within their companies.
User: Users with this role can access MDR data and perform day-to-day operational tasks, such as viewing portal information, creating and updating tickets, and managing documents. However, they cannot manage user accounts or modify administrative settings.
Read Only: Read-only users can view MDR information, including dashboards, tickets, reports, documents, and company details. They cannot create, modify, or delete content or settings.
For more details, refer to Roles and permissions.
Added on: The date and time when the user was created
Status: Indicates whether the user account is enabled or disabled.
Company: The name of the company for which the user was created
Important
This column is displayed only when a Partner-type company or the All managed companies option is selected via the company selector. It indicates which managed company each user was created for.
Filtering and searching users
You can narrow the list of users by selecting a Role or Status value from the available filters, or search for users by entering part or all of a user name or email address in the corresponding search fields.
Additionally, you can filter users by a specific time range using the calendar option in the Added on field.
Creating users
You cannot create MDR users directly from the MDR portal. To create a new MDR user, you must create the user in GravityZone Control Center, then enable and configure Single Sign-On (SSO) for the account. For more information, refer to:
Users created through this process can access the MDR portal using their SSO credentials. Creating new MDR users with MDR-specific credentials is not supported.
If you create the account in GravityZone with either the Manage Users or Manage Companies permission, in addition to View and Analyze Data, the user is automatically assigned the Admin role in the MDR portal upon their first login.
If you create the account with only the View and Analyze Data permission and without the Manage Users or Manage Companies permissions in GravityZone, the user is automatically assigned the Read-Only role in the MDR portal upon their first login.
When the new user becomes available on the Users page, you can modify the user's role directly from this page at any time. For details, refer to Editing users.
Editing users
To edit a user, follow these steps:
On the user row, click the (
 ) actions menu located on the right side.
Select Edit from the drop-down menu:
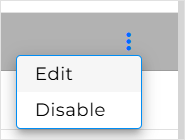
The Edit User page opens.
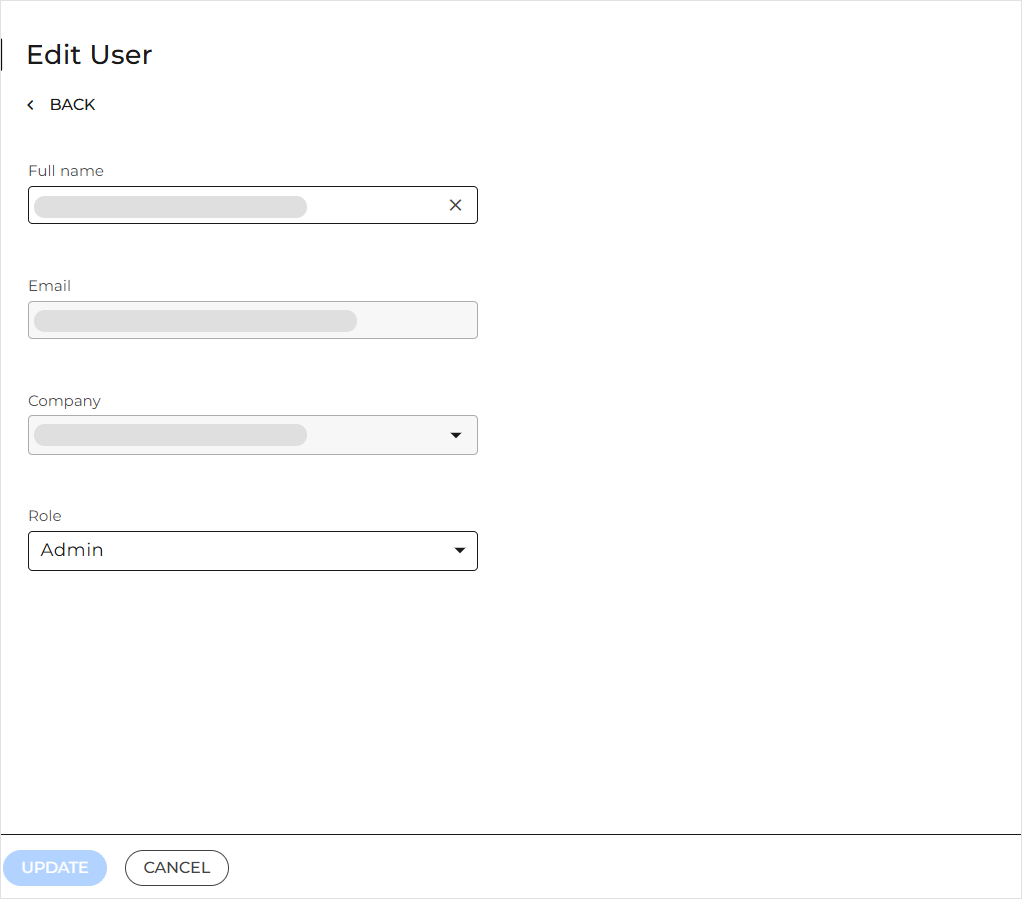
Enter a new full name, select a different role, or make both changes. The remaining user information is displayed for reference only and cannot be edited.
Click Update.
A success message is displayed, confirming that the user's details have been updated.
Resetting user passwords
To reset the password of a user without SSO enabled, follow these steps:
On the user row, click the (
) actions menu located on the right side.Select Reset Password from the drop-down menu.
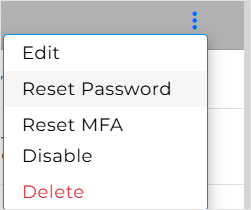
A pop-up will be displayed:

Click Confirm.
An email with a password reset link will be sent to the user's email address.
Open the link provided in the email to access the Reset Your Password page.
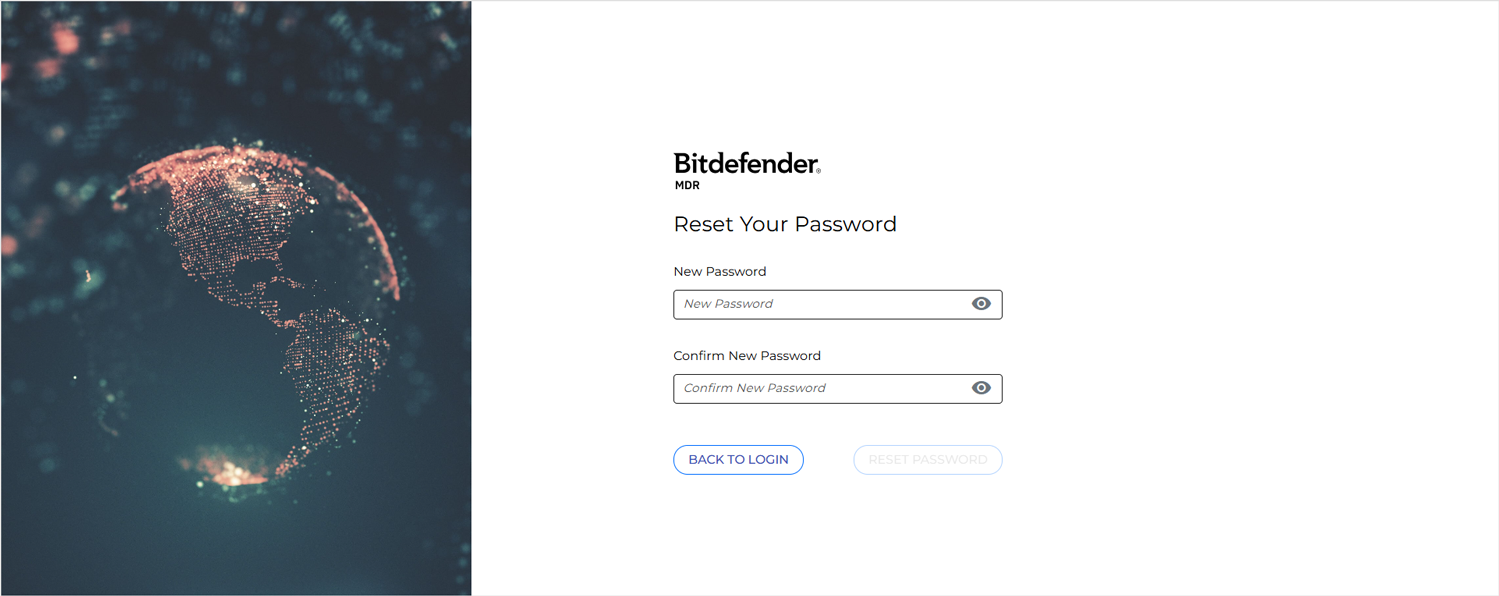
Enter the new password, then re-enter it to confirm.
Click Reset password.
A success banner confirms that the password has been updated successfully. The user must use the new password the next time they log in to the MDR portal.
Important
This action is not supported for users with SSO enabled.
Enabling and disabling users
By default, newly created users are enabled.
To disable a user, follow these steps:
On the user row, click the (
) actions menu located on the right side.Select Disable from the drop-down menu.
A dialog box similar to the following is displayed:
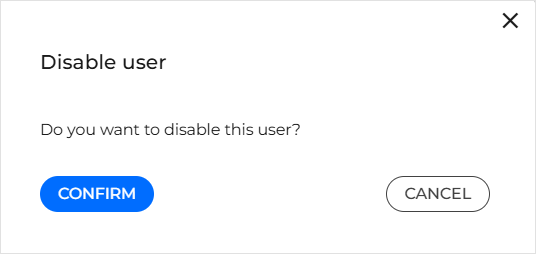
Click Confirm.
A green success banner confirms that the user has been disabled. The user then appears with the Disabled status in the Users table and can no longer log in to the MDR portal.
Important
To re-enable the user and restore access to the MDR portal, repeat the preceding steps, but select Enable from the drop-down menu in step two.
Resetting user Multi-Factor Authentication (MFA)
To reset MFA for a user without SSO enabled, follow these steps:
On the user row, click the (
) actions menu located on the right side.Select Reset MFA from the drop-down menu.
A dialog box similar to the following is displayed:
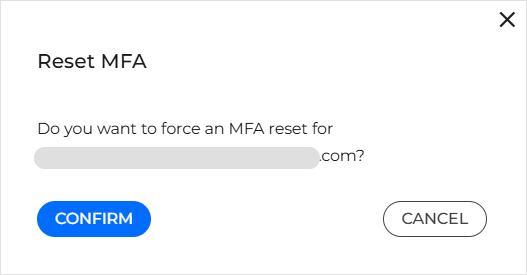
Click Confirm.
An email with an MFA reset link will be sent to the user's email address.
Open the link provided in the email to access the Reset Your QR Code page.
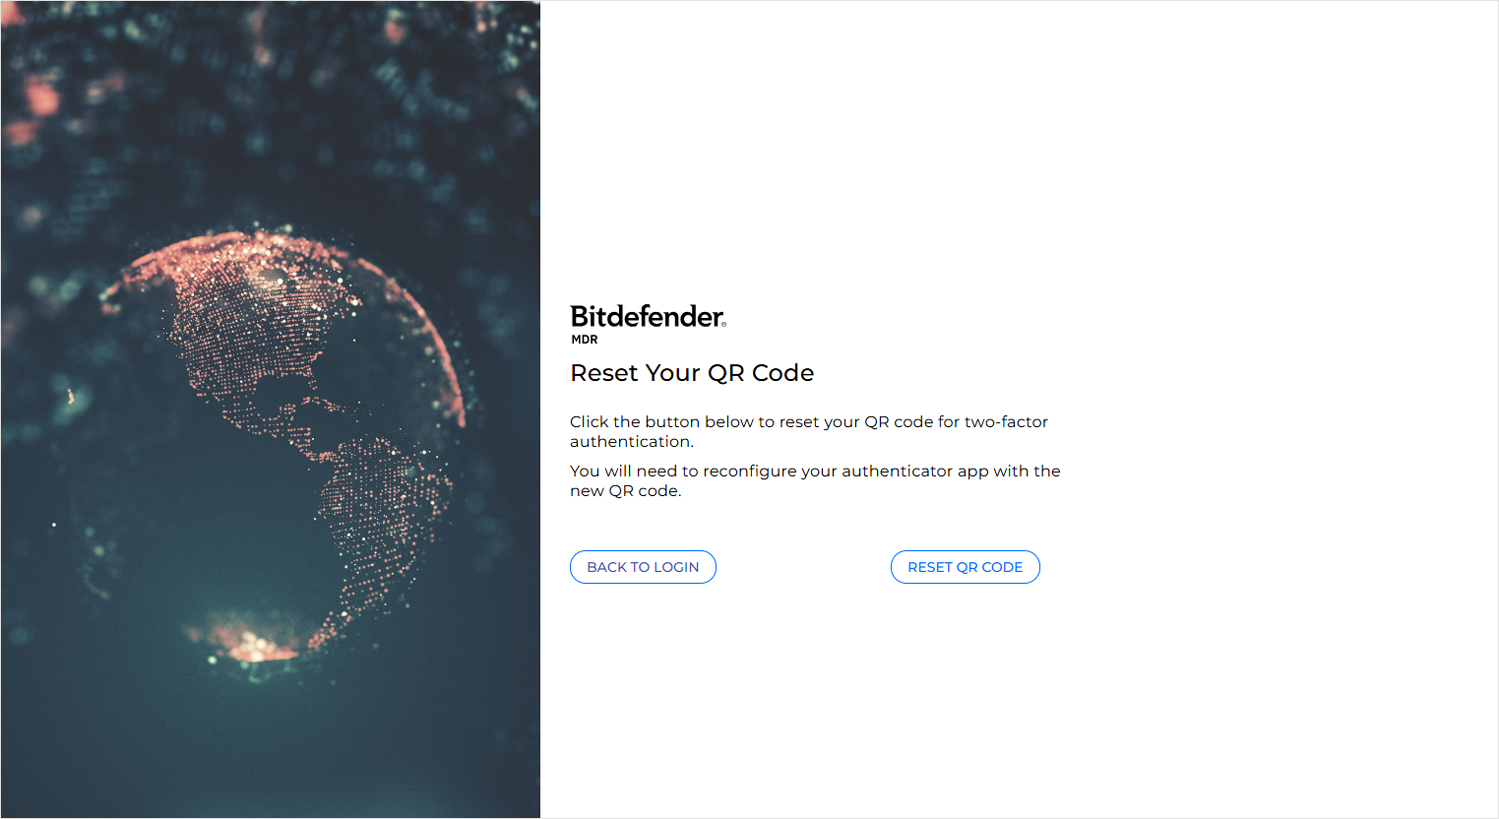
Click Reset QR code.
A pop-up will be displayed:
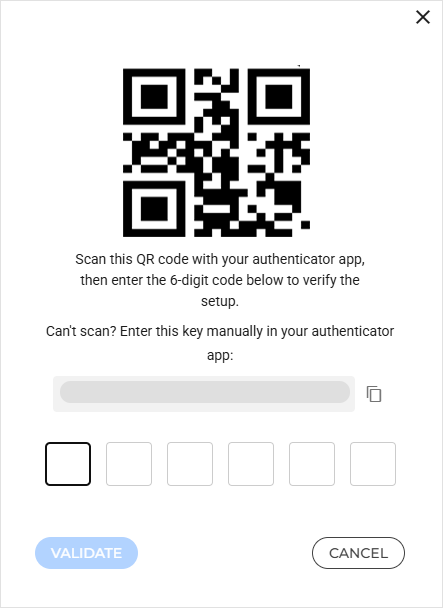
Using your authenticator app, scan the QR code displayed in the pop-up.
Enter the 6-digit code generated in your authenticator app for the MDR account you have just added.
Click Validate.
You can now log in to the MDR portal with your reconfigured MFA authentication.
Important
This action is not supported for users with SSO enabled.
Deleting users
To delete a user, follow these steps:
On the user row, click the (
) actions menu located on the right side.Select Delete from the drop-down menu.
A dialog box similar to the following is displayed:
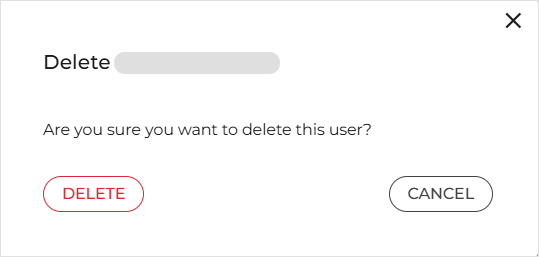
Click Delete to confirm.
Warning
Deleting a user permanently removes all associated information. This action cannot be undone.
Important
This action is not supported for users with SSO enabled.