Your user profile
The User Profile page allows you to view and manage your account information and personal API keys. To access this page, click your name in the left-side navigation menu of the MDR portal.
Personal information
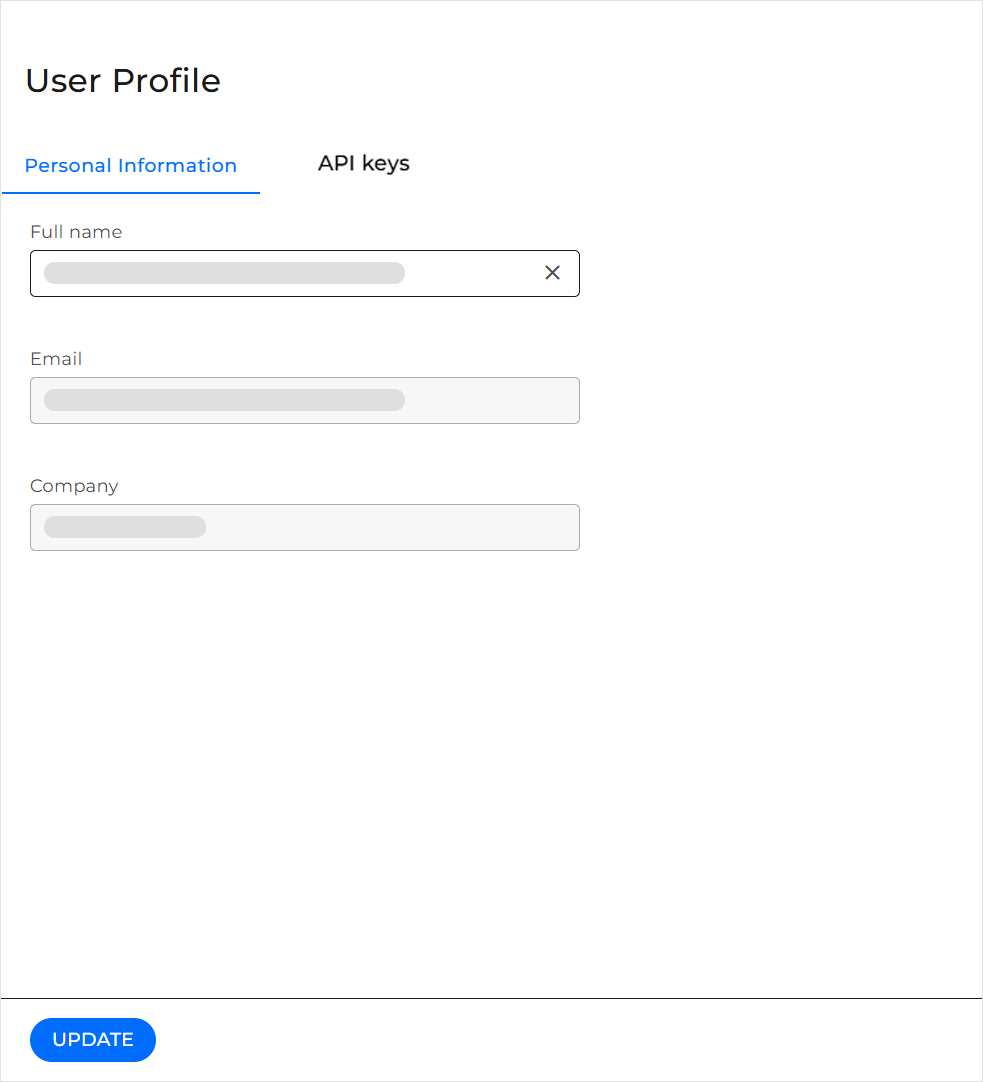
The Personal Information tab provides an overview of your account information, including your full name, email address, and company. You can update your name directly from this page. After making changes to the Full name field, click Update to save them.
API keys
The API keys tab allows you to create and manage API keys used for programmatic access to MDR portal resources. From this page, you can view existing API keys, monitor their creation and expiration dates, and perform key management actions as needed.
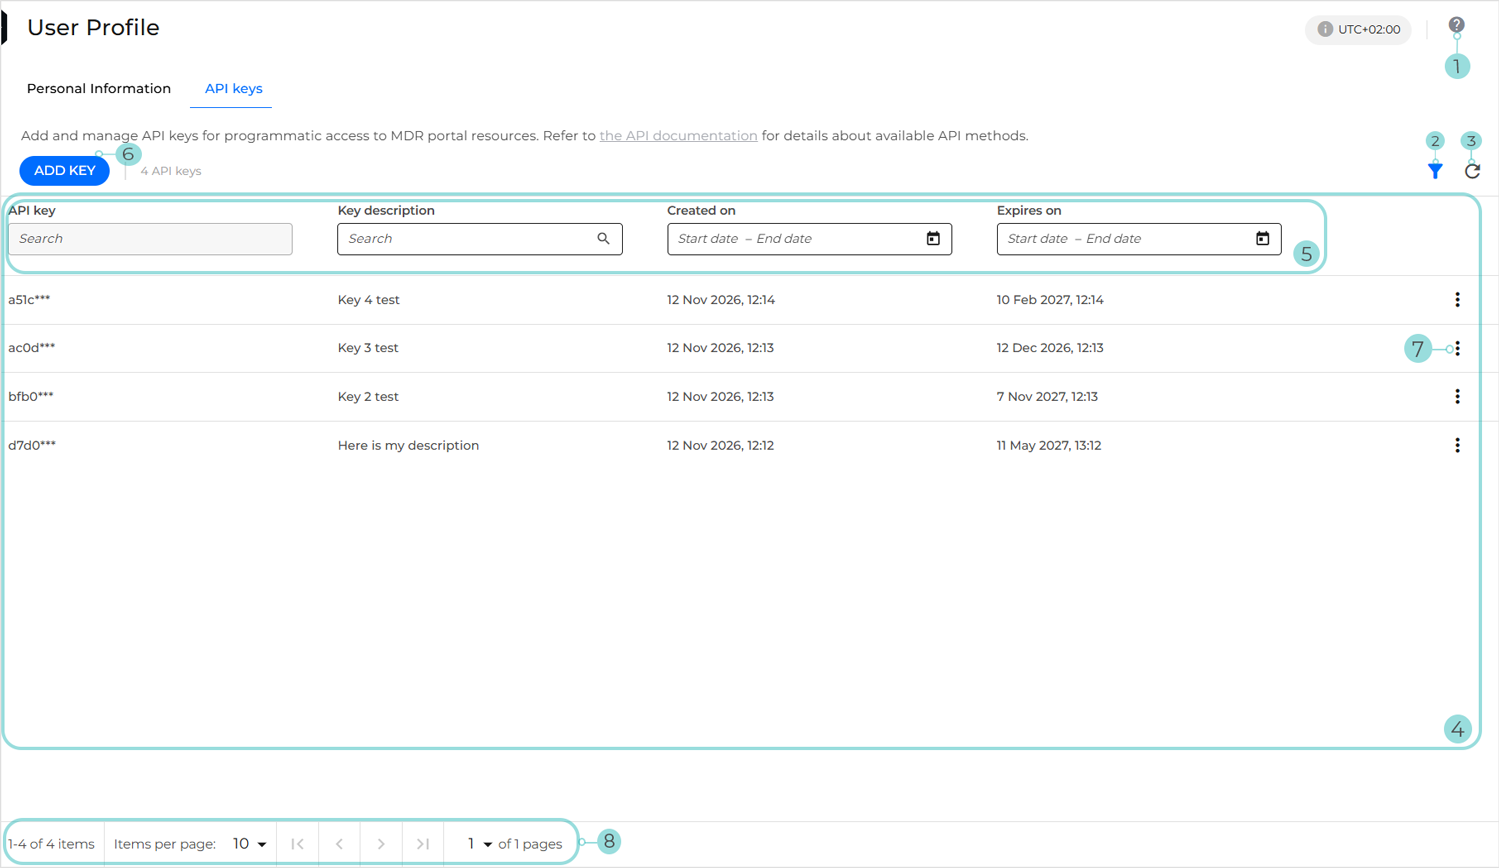
The tab includes the following main components:
Info button: Clicking it opens the knowledge base article relevant to the API keys tab.
Show or hide filters button: Controls the visibility of filtering options for the API keys table.
Refresh button: Refreshes the API keys table to display the latest information, including newly added API keys.
API keys table data: Displays information about all your API keys.
Each API key includes the following information:
API key: The unique identifier of the API key used to authenticate API requests. For security reasons, only a masked version of the key is displayed.
Key description: A custom description assigned to the API key to help identify its purpose or usage.
Created on: The date and time when the API key was added.
Expires on: The date and time when the API key expires and can no longer be used for API authentication.
Available filters: You can filter API keys by creation or expiration date using the date range selectors in the Created on and Expires on fields. Additionally, the search field allows for the quick finding of API keys by entering keywords from the key description.
Add key button: Starts the process of adding a new API key. For details, refer to Adding API keys.
The actions menu: Provides access to the Delete action for the selected API key. For details, refer to Deleting API keys.
The pagination bar: This bar allows controlling how many items are displayed per page. You can navigate through pages using the arrows, jump directly to the first or last page, or select a specific page to view.
Adding API keys
To add an API key:
Click Add key.
The Add API key page opens.
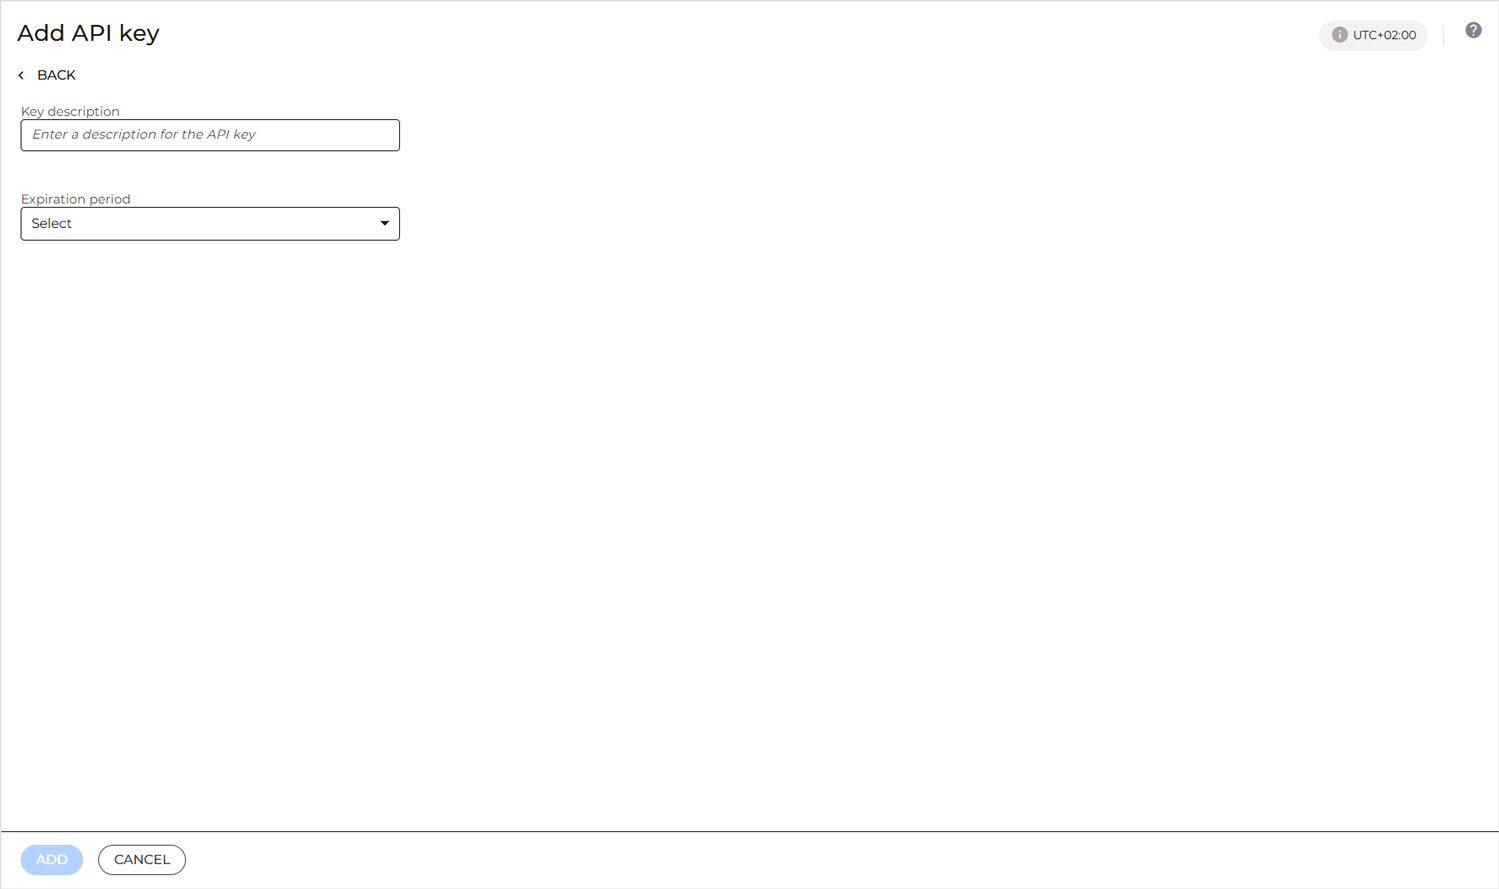
In the Key description field, enter a description for the API key.
Select an expiration period from the Expiration period drop-down list.
Note
API keys can remain valid for 30 to 360 days, depending on the selected option.
Click Add.
A pop-up is displayed containing the newly generated API key:
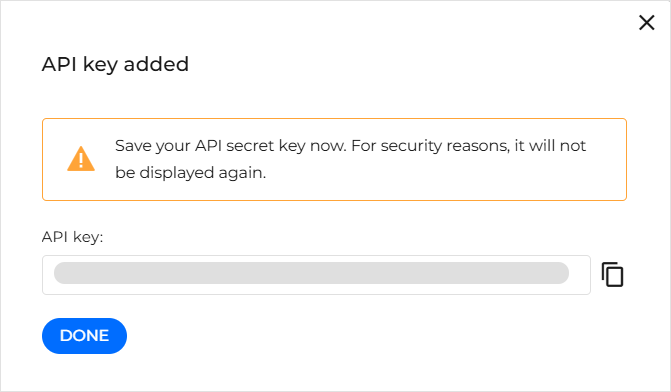
Copy and store the secret key in a secure location, as it will not be displayed again.
Click Done.
Once added, the API key is displayed in the API keys table.
Tip
Before using the MDR API, refer to the API documentation for information about the available methods, request parameters, and responses. The documentation link is provided in the page description at the top of the page.
Deleting API keys
To delete an API key:
On the API key row, click the (
 ) actions menu located on the right side.
Select Delete.
The following dialog box is displayed:
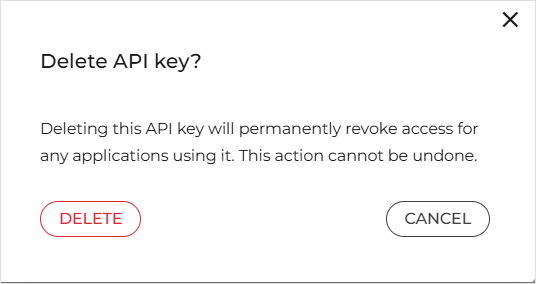
Click Delete to confirm the action.
A green success banner confirms that the API key has been successfully deleted.
Warning
Deleting an API key is permanent. Any integration using it will stop working immediately. If needed, you will have to create a new key and reconfigure your integrations.