Notice: This article refers to the older version of Bitdefender Parental Control, which is currently in the process of being phased out (End of Life) and replaced by a more advanced technology. For information and knowledge base articles related to the new version of Parental Control, please visit this link.
This article shows you how to install Bitdefender Parental Control on macOS. Once Parental Control is set up on your child’s Mac, you can monitor and manage your child’s use of the Internet and applications.
1. Go to https://central.bitdefender.com and sign in to your Bitdefender Central account.
2. Select Parental Control on the left sidebar, then click on + Add a child profile to set up a profile for your child. For a step-by-step tutorial, see – How to create a child profile for Bitdefender Parental Control.

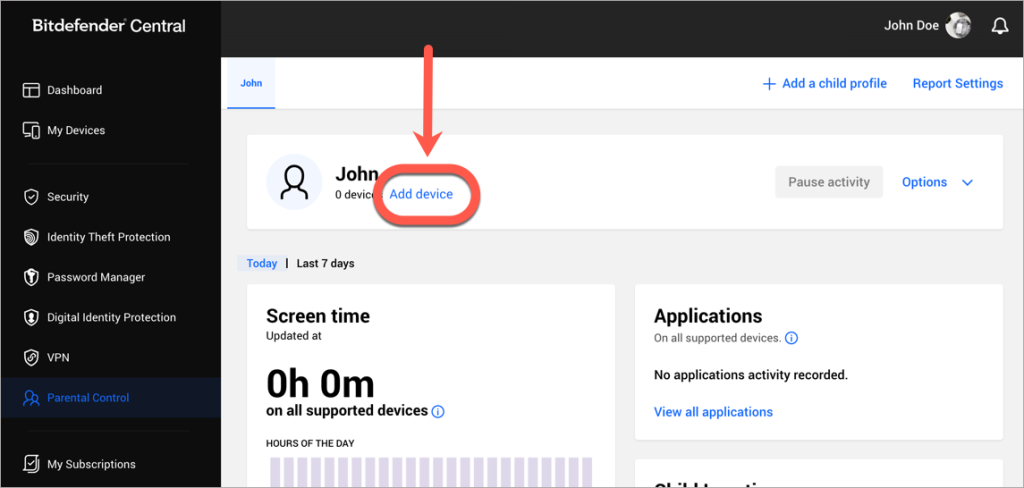
3. After configuring your child’s profile, click the Add device link next to their name.
4. Select your child’s Mac computer in the list and click Assign to automatically install Bitdefender Parental Control on their device. Then jump straight to step 10.

If you can’t see the macOS in the list, select + Install on a new device then send the download link to your child’s Mac. Continue with the next step.
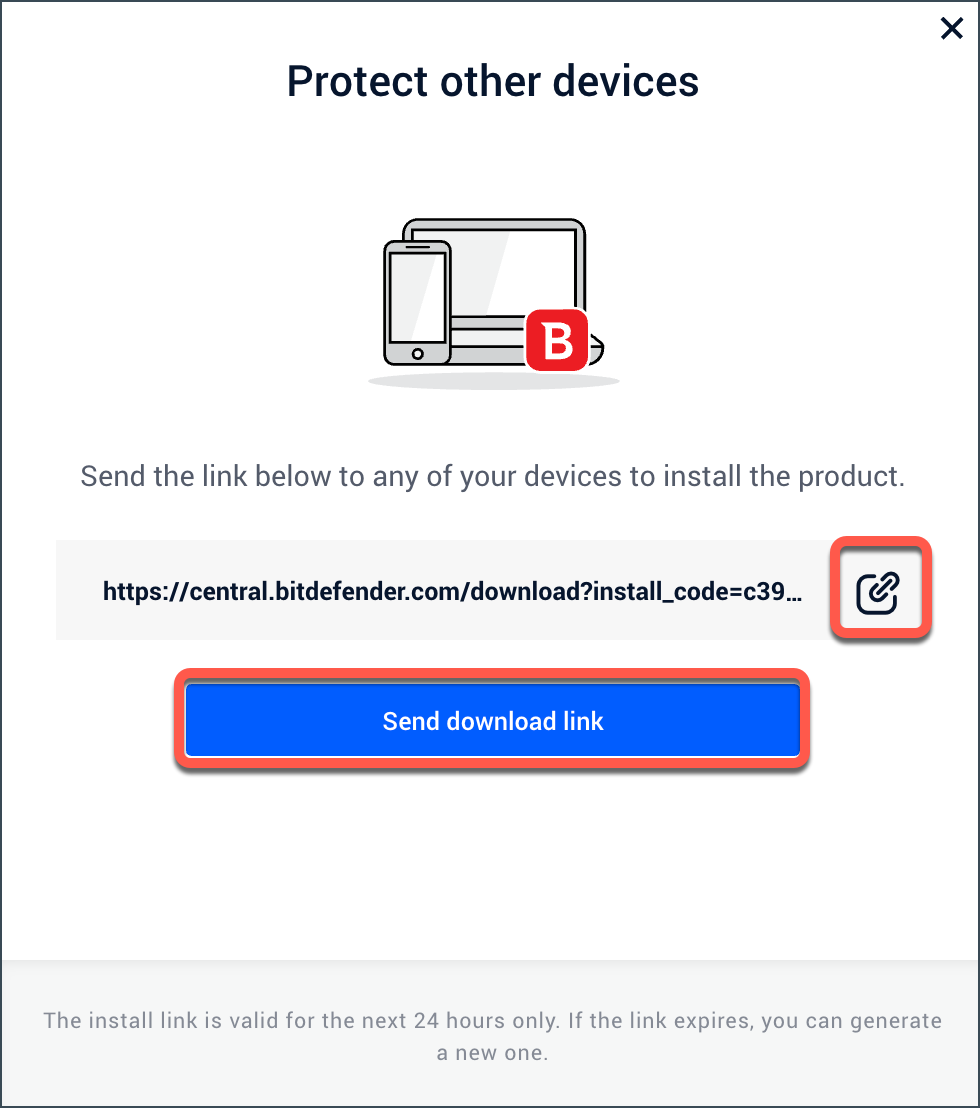
- By selecting the button on the right side of the link, you can copy and then open the link on your child’s Mac.
- You may also choose “Send download link” as an alternative. Next, enter an email address that is accessible from the child’s Mac and press “Send email.”
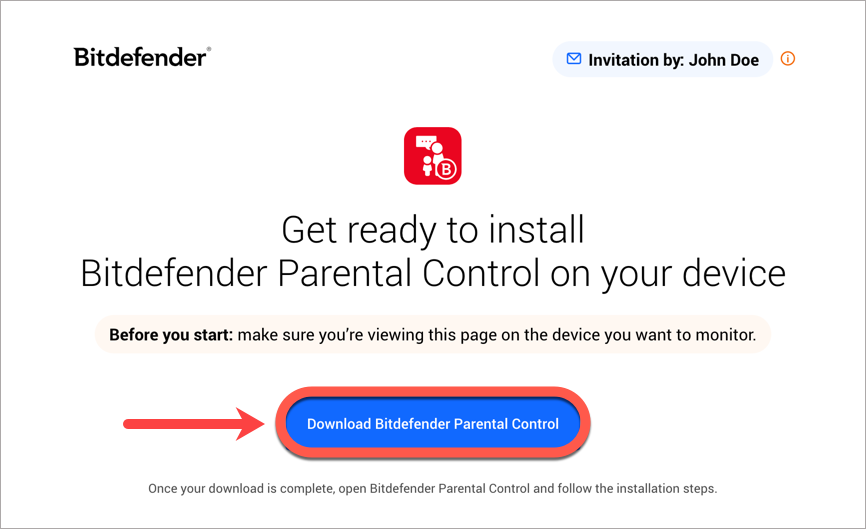
5. Access this link on your child’s Mac and click Download Bitdefender Parental Control.
6. Save the installer package on the child’s Mac. Open the downloaded file and install Bitdefender Parental Control by following the instructions presented in this article (start at step 5).
7. Return to your Bitdefender Central account and access again the Parental Control section.
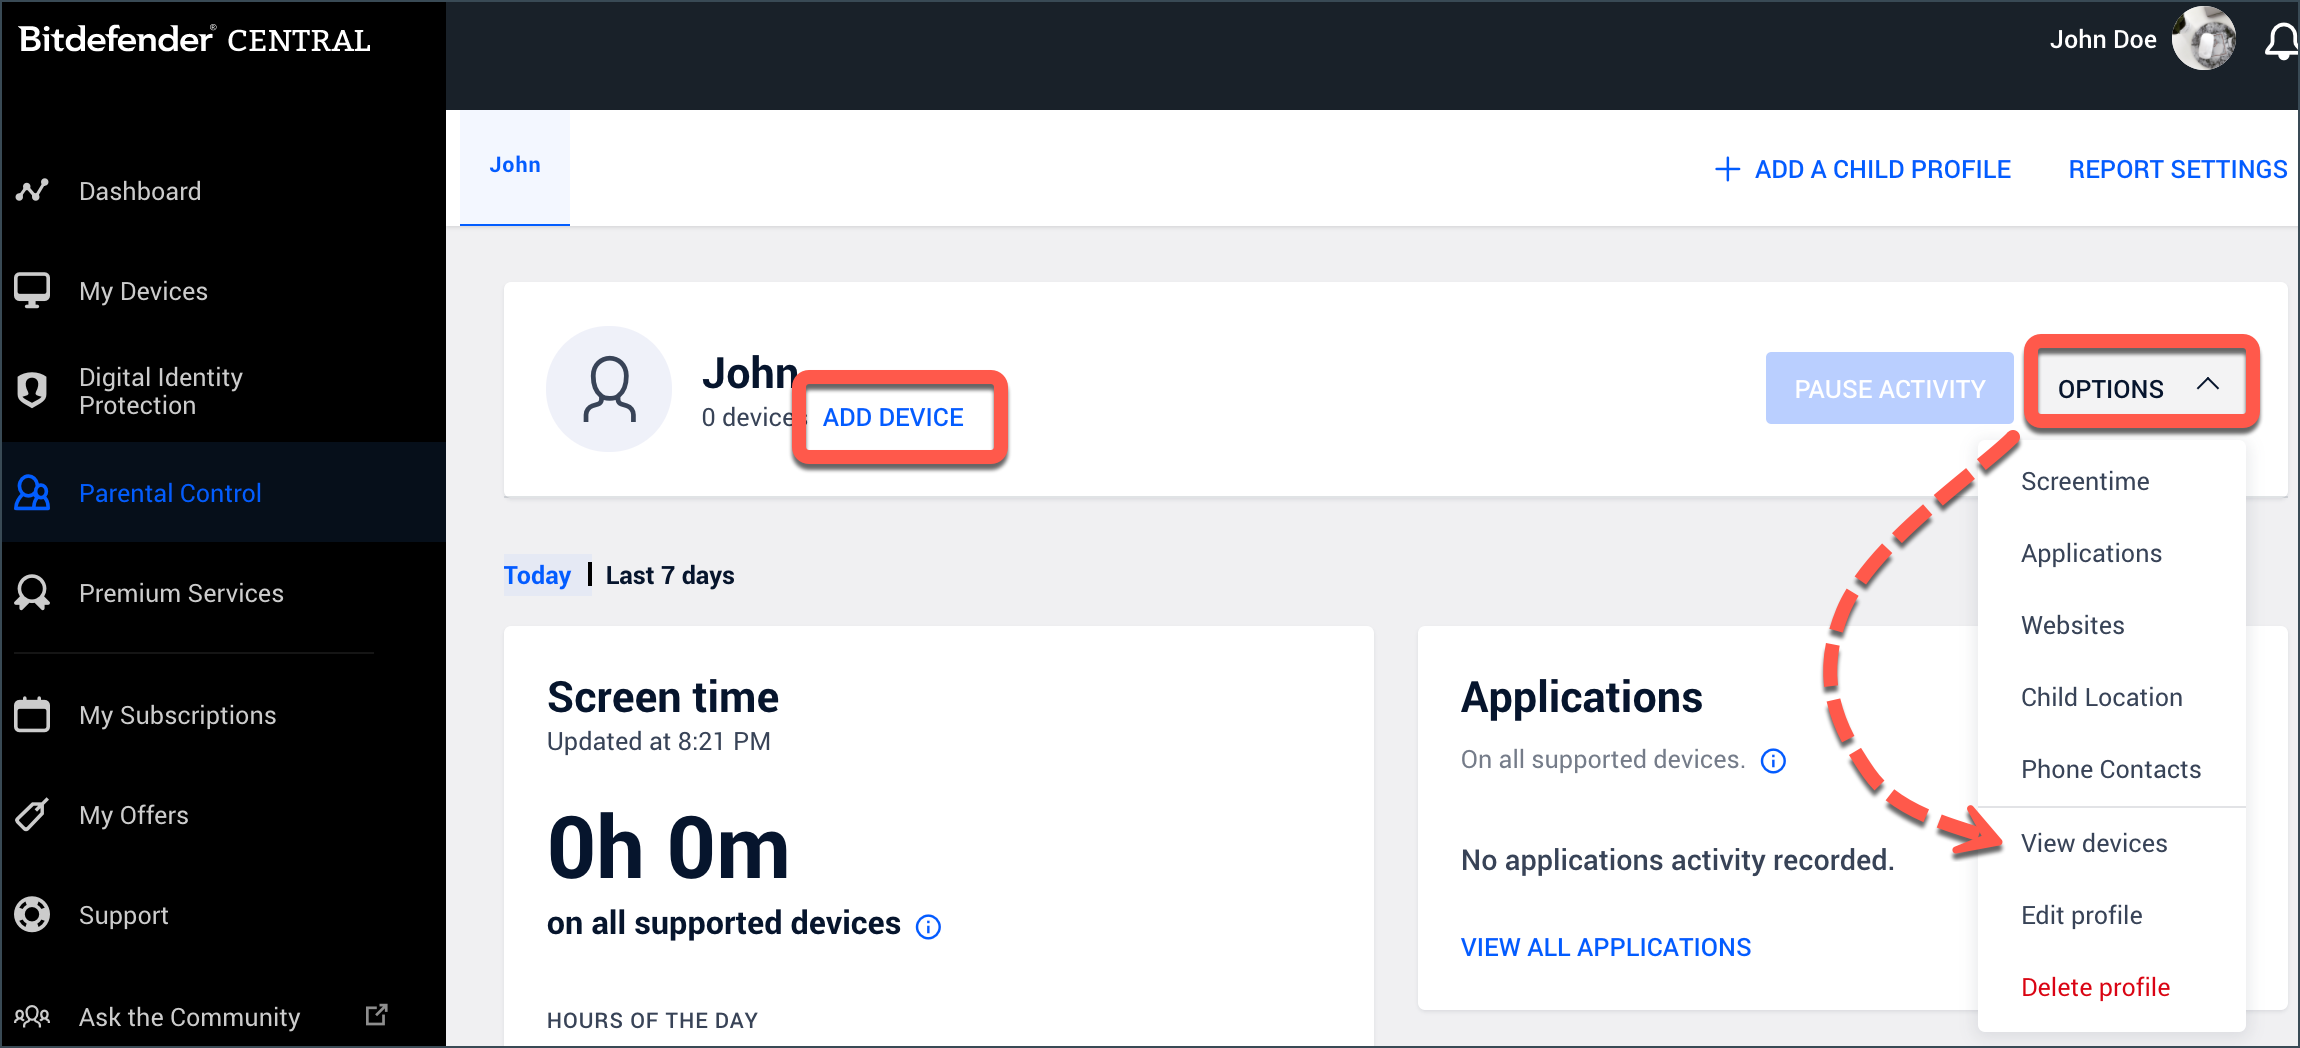
8. In the child profile tab, click Add device. Or go to Options and select View devices > Add device.
9. You will see a list of all devices linked to your Bitdefender Central account. Select your child’s Mac in the list, then click Assign. In a few moments, Parental Control will automatically install on the device.
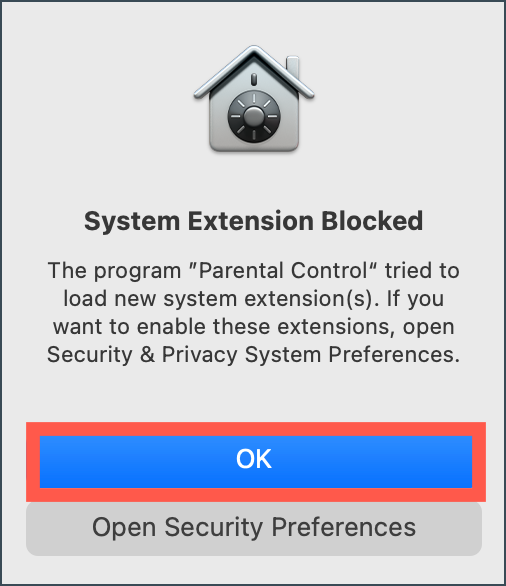
10. If you are installing Parental Control on macOS 10.13 High Sierra or a newer version, you will be notified that a system extension signed by Bitdefender has been blocked. This is not an error, just a security check. Click on OK.
11. A new window will appear, with the steps required in order to run Bitdefender properly. Click the Security & Privacy link.
Note: You might be required to manually allow Parental Control to access System Preferences. Click OK.

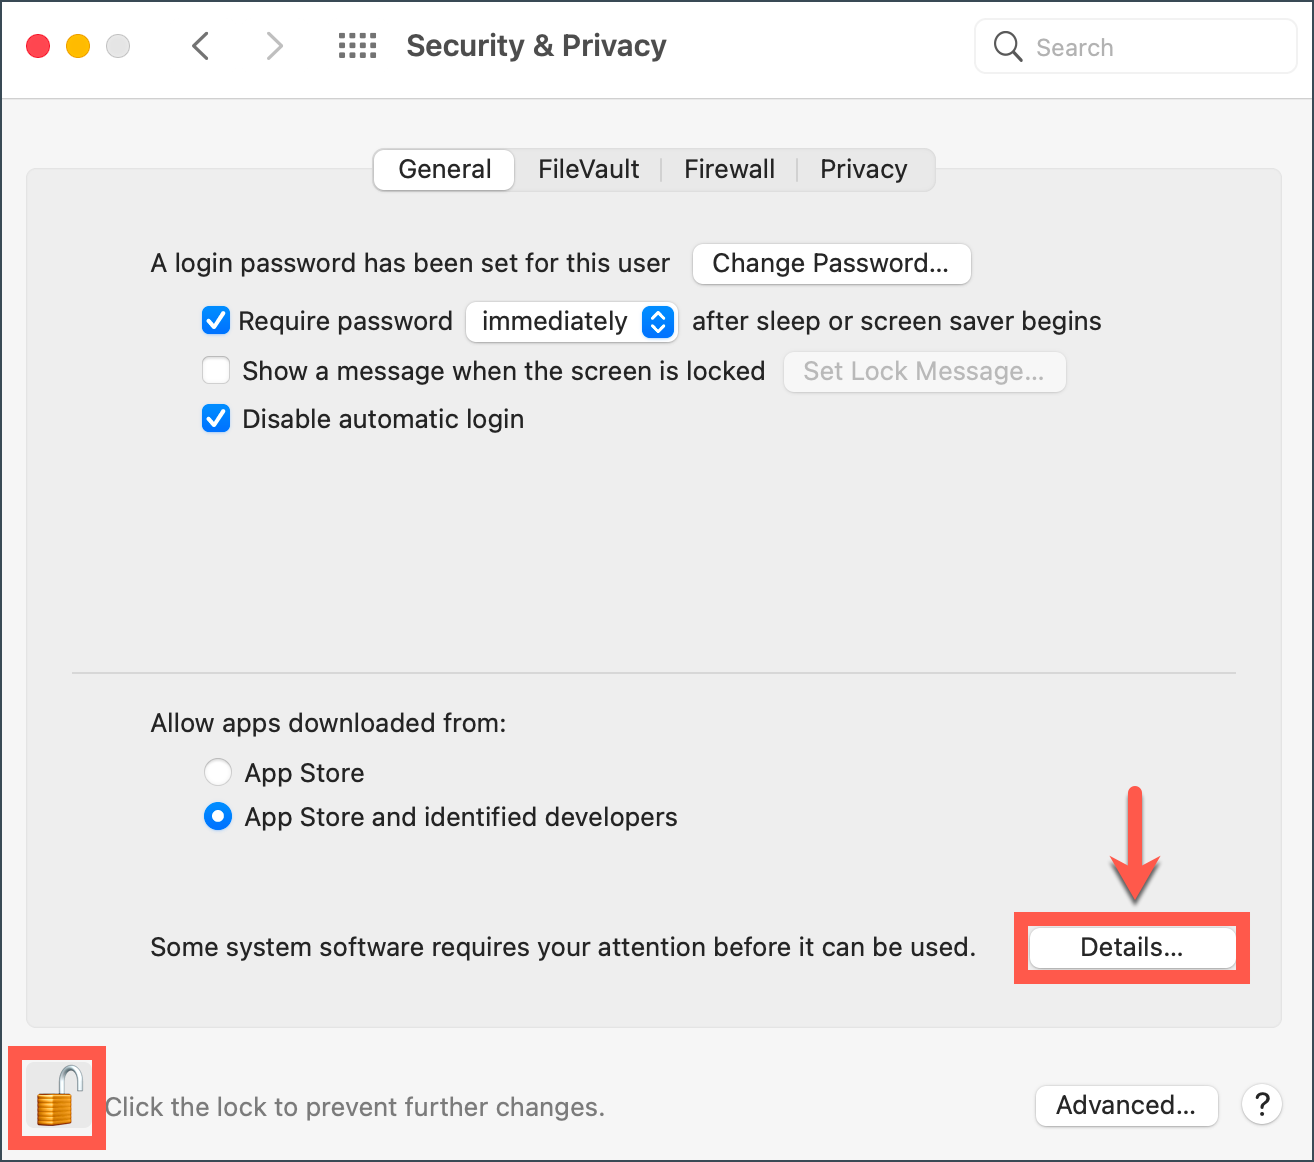
12. In the Security & Privacy window click the lock to make the changes. When prompted, enter the password of an administrator account, then press Unlock.
Then click the Allow/Details button, located in the lower part of the window.
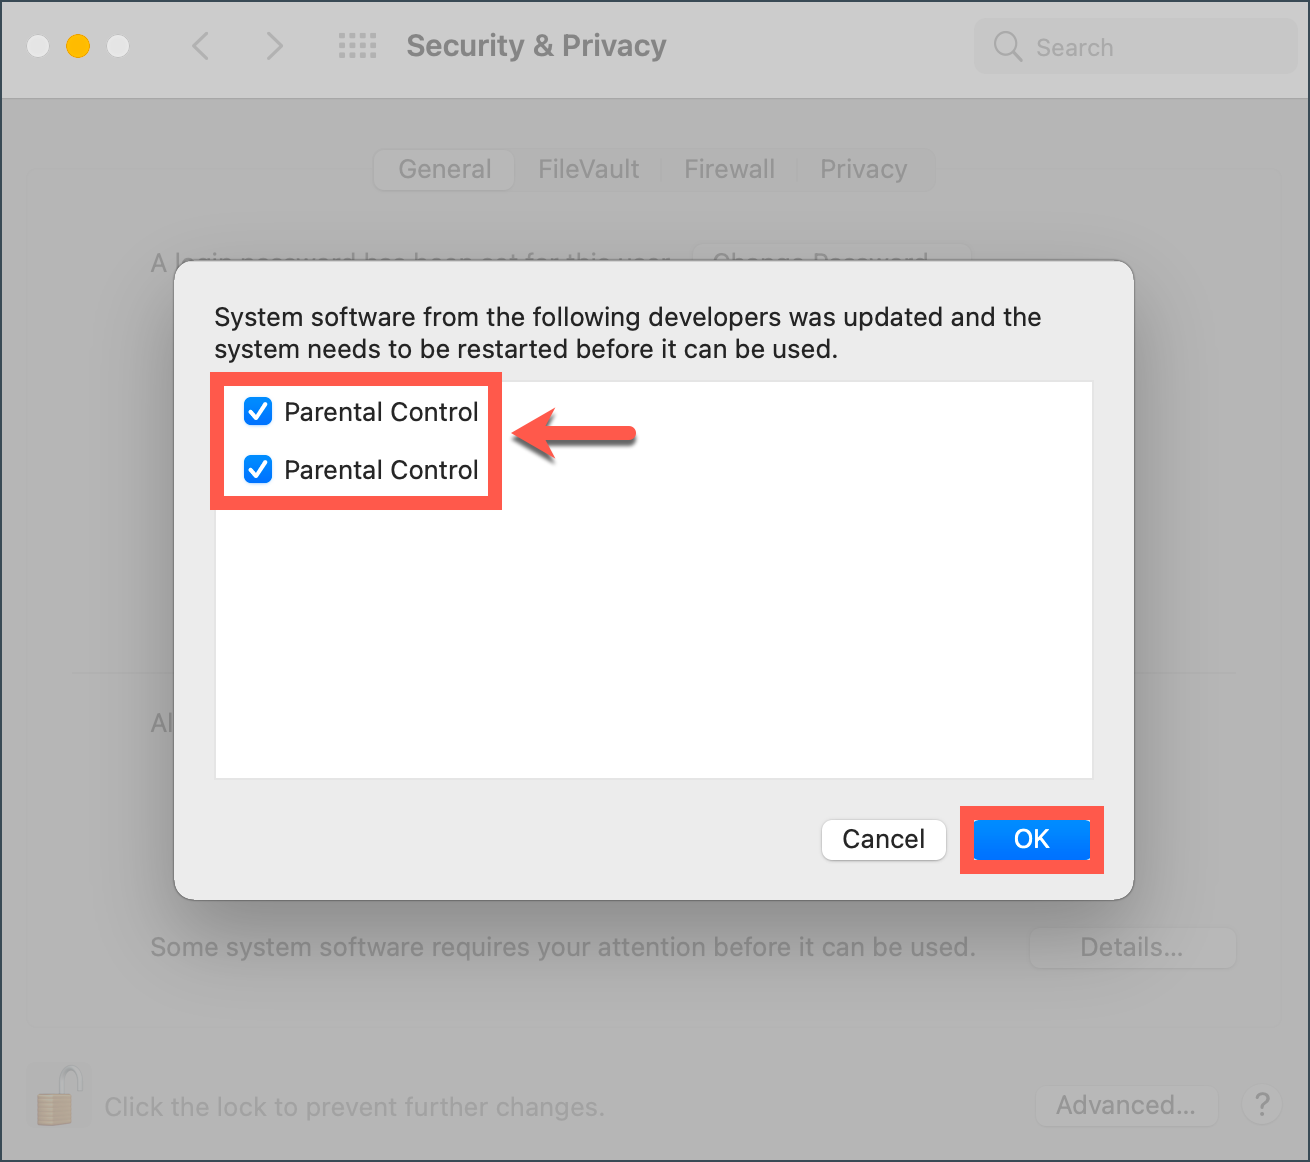
Note: If software from several developers needs to be allowed, a list will be displayed. Select Parental Control, then click OK.
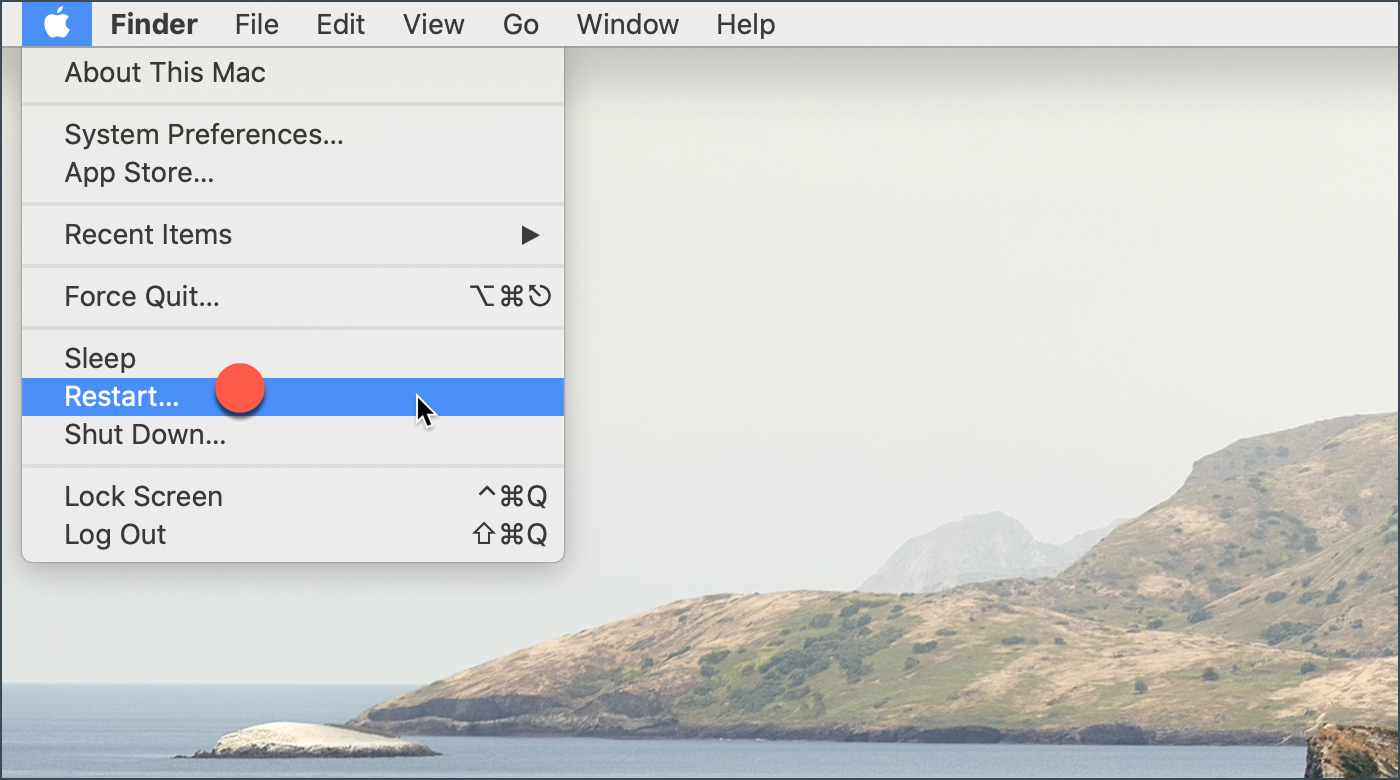
13. Restart the Mac.
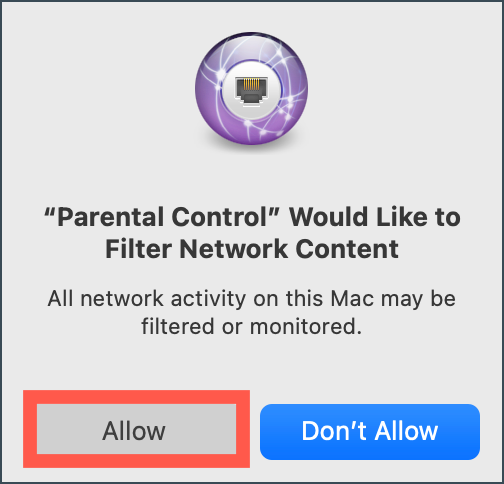
14. A new window will appear – Filter Network Content. Click the Allow button.
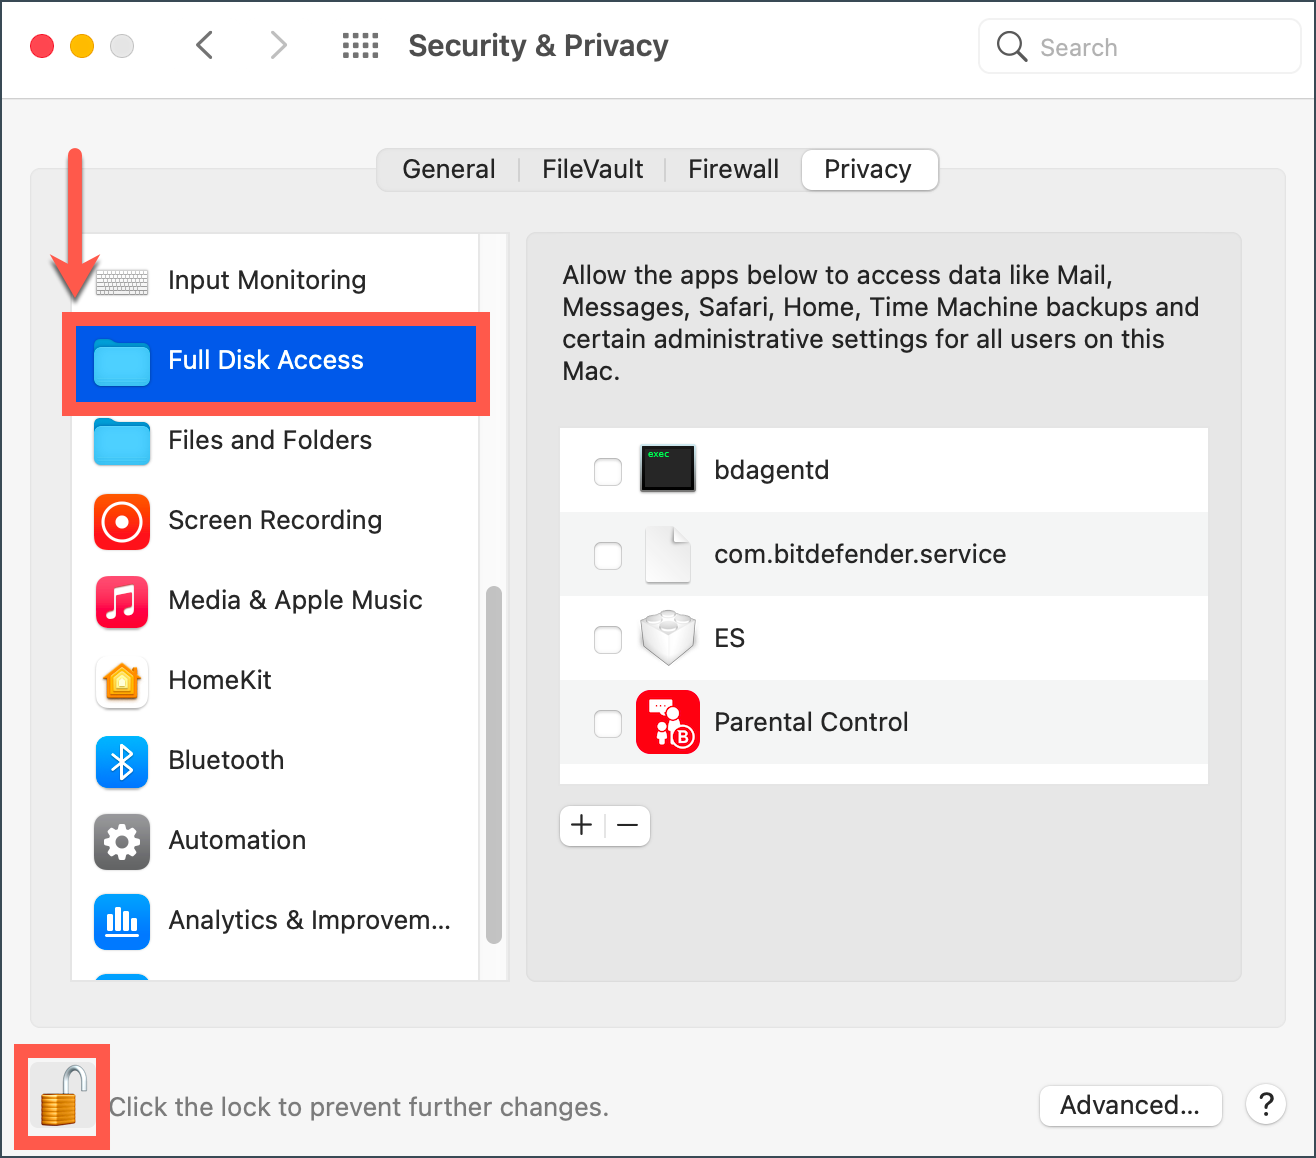
15. Next, open System Preferences, select Security & Privacy, then access the Privacy tab. In the Privacy tab, click the lock in the lower-left corner. When prompted, enter the password of an administrator account, then press Unlock.
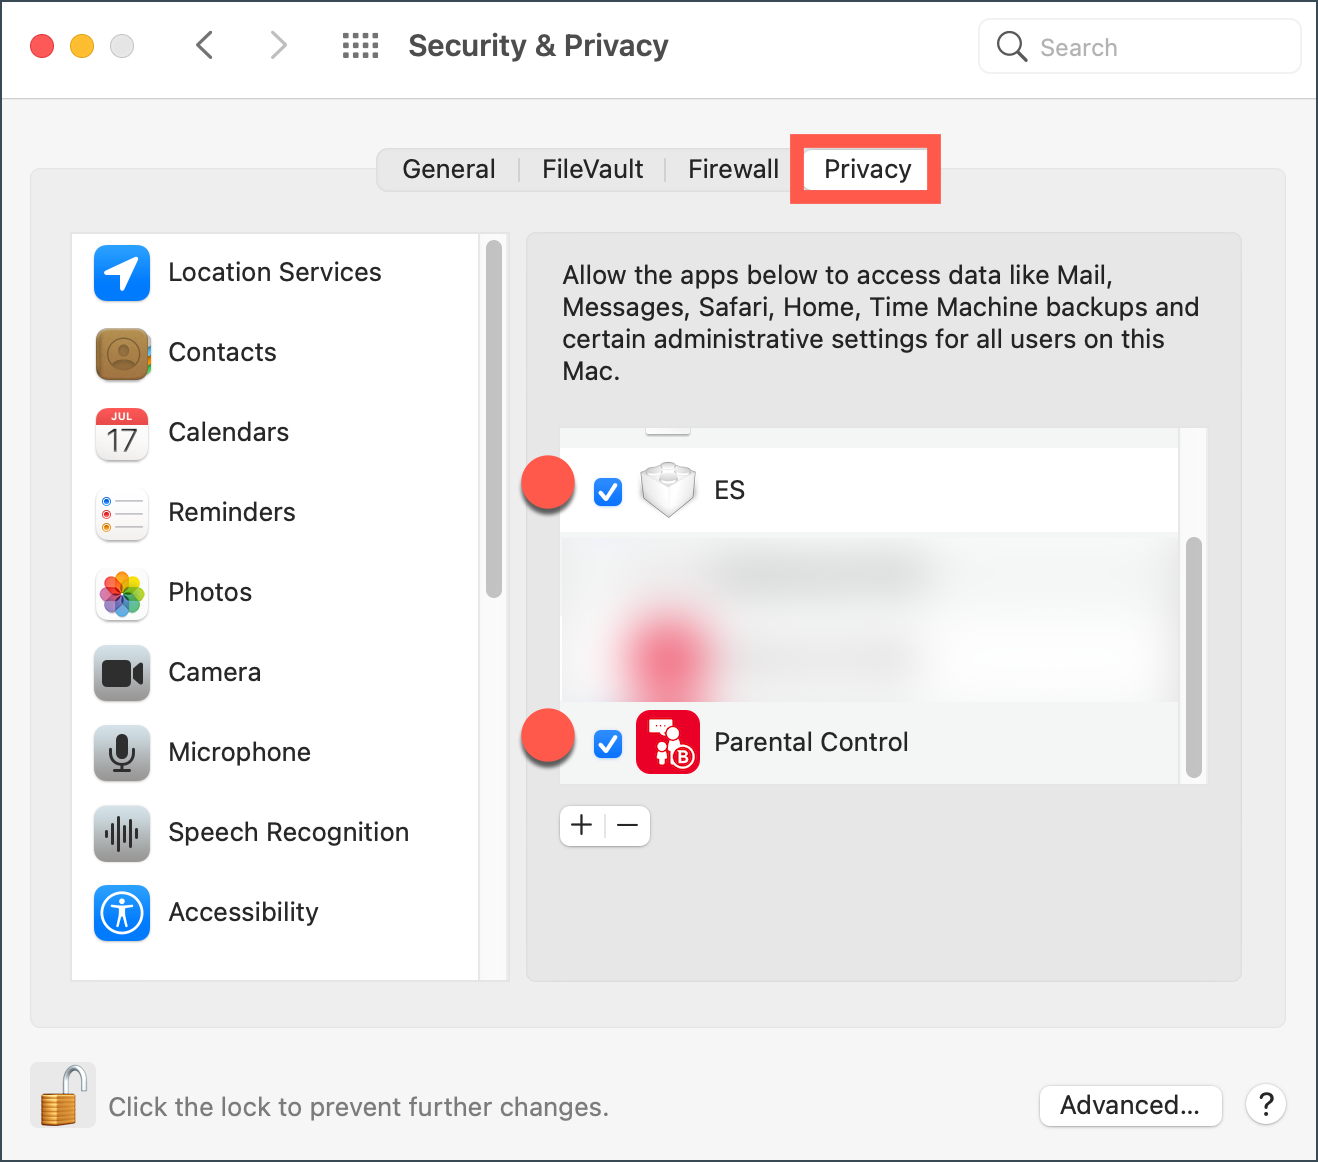
16. Check the box in front of these two Bitdefender entries from the list:
• ES
• Parental Control
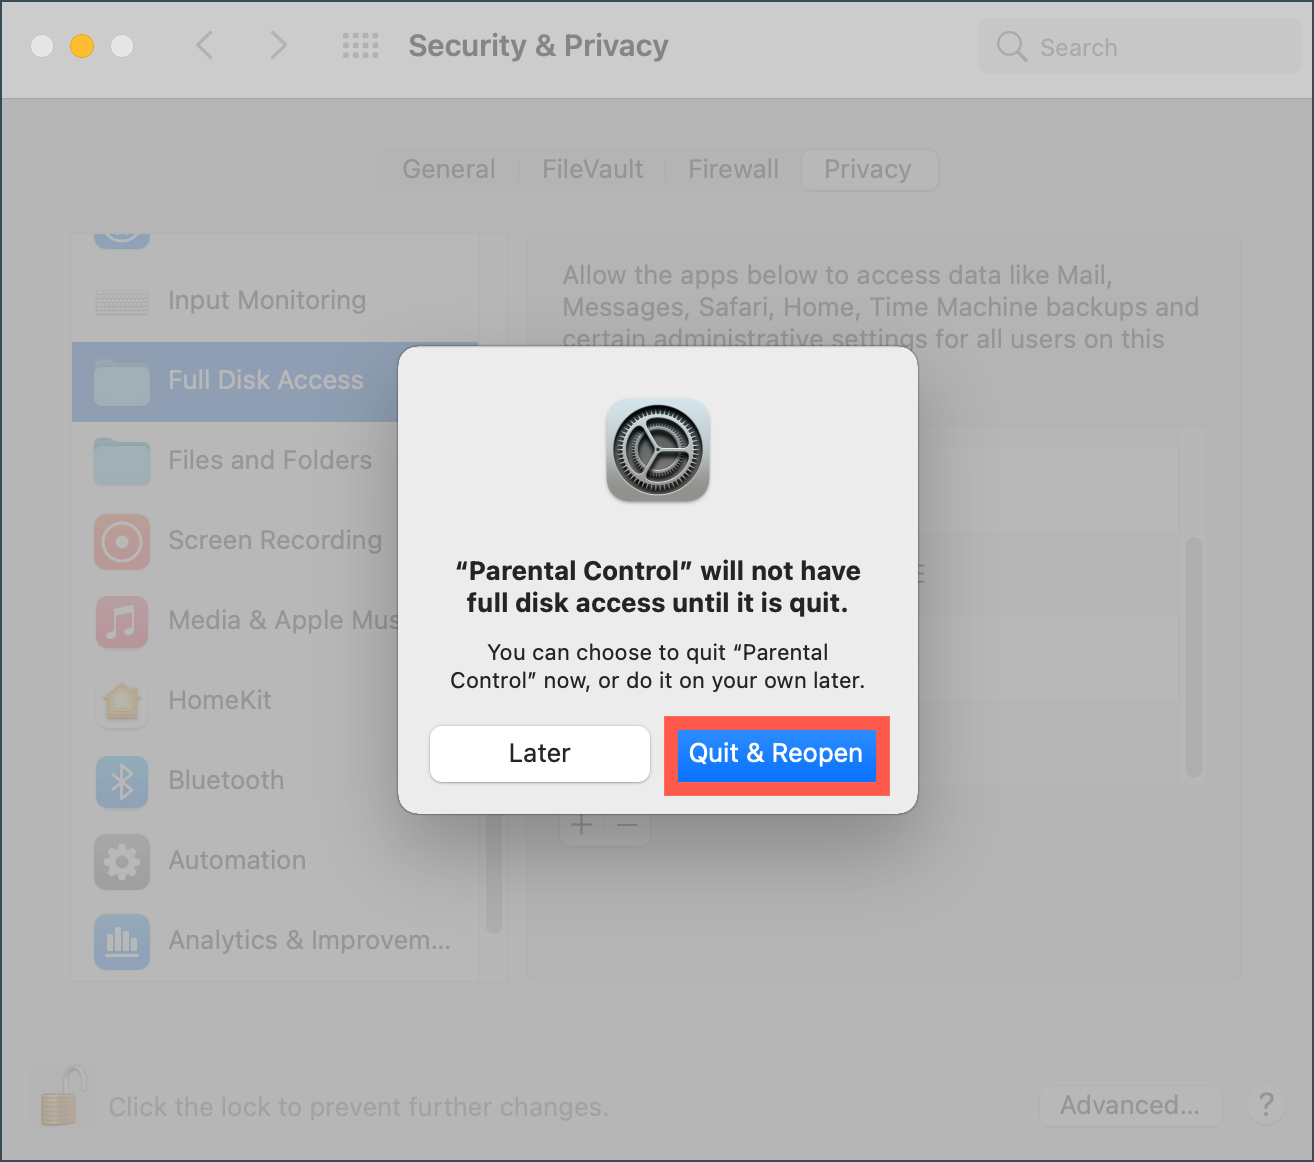
17. The following message appears: “Parental Control” will not have full disk access until it is quit. Press Quit & Reopen.
Congratulations! You have now successfully completed the installation of Bitdefender Parental Control on macOS.