This article guides you stepwise to change the Wi-Fi channel on your Bitdefender BOX. By default, Bitdefender BOX uses wireless channels that perform fine for most homes. Bitdefender BOX automatically selects a Wi-Fi channel based on your network environment. If you are experiencing frequent lost connections, slow data transfers, or other Wi-Fi issues that can be caused by interference, you might want to manually change the wireless channels on Bitdefender BOX.
To change the Wi-Fi channel to a less crowded one and achieve a better network speed, follow the steps below:
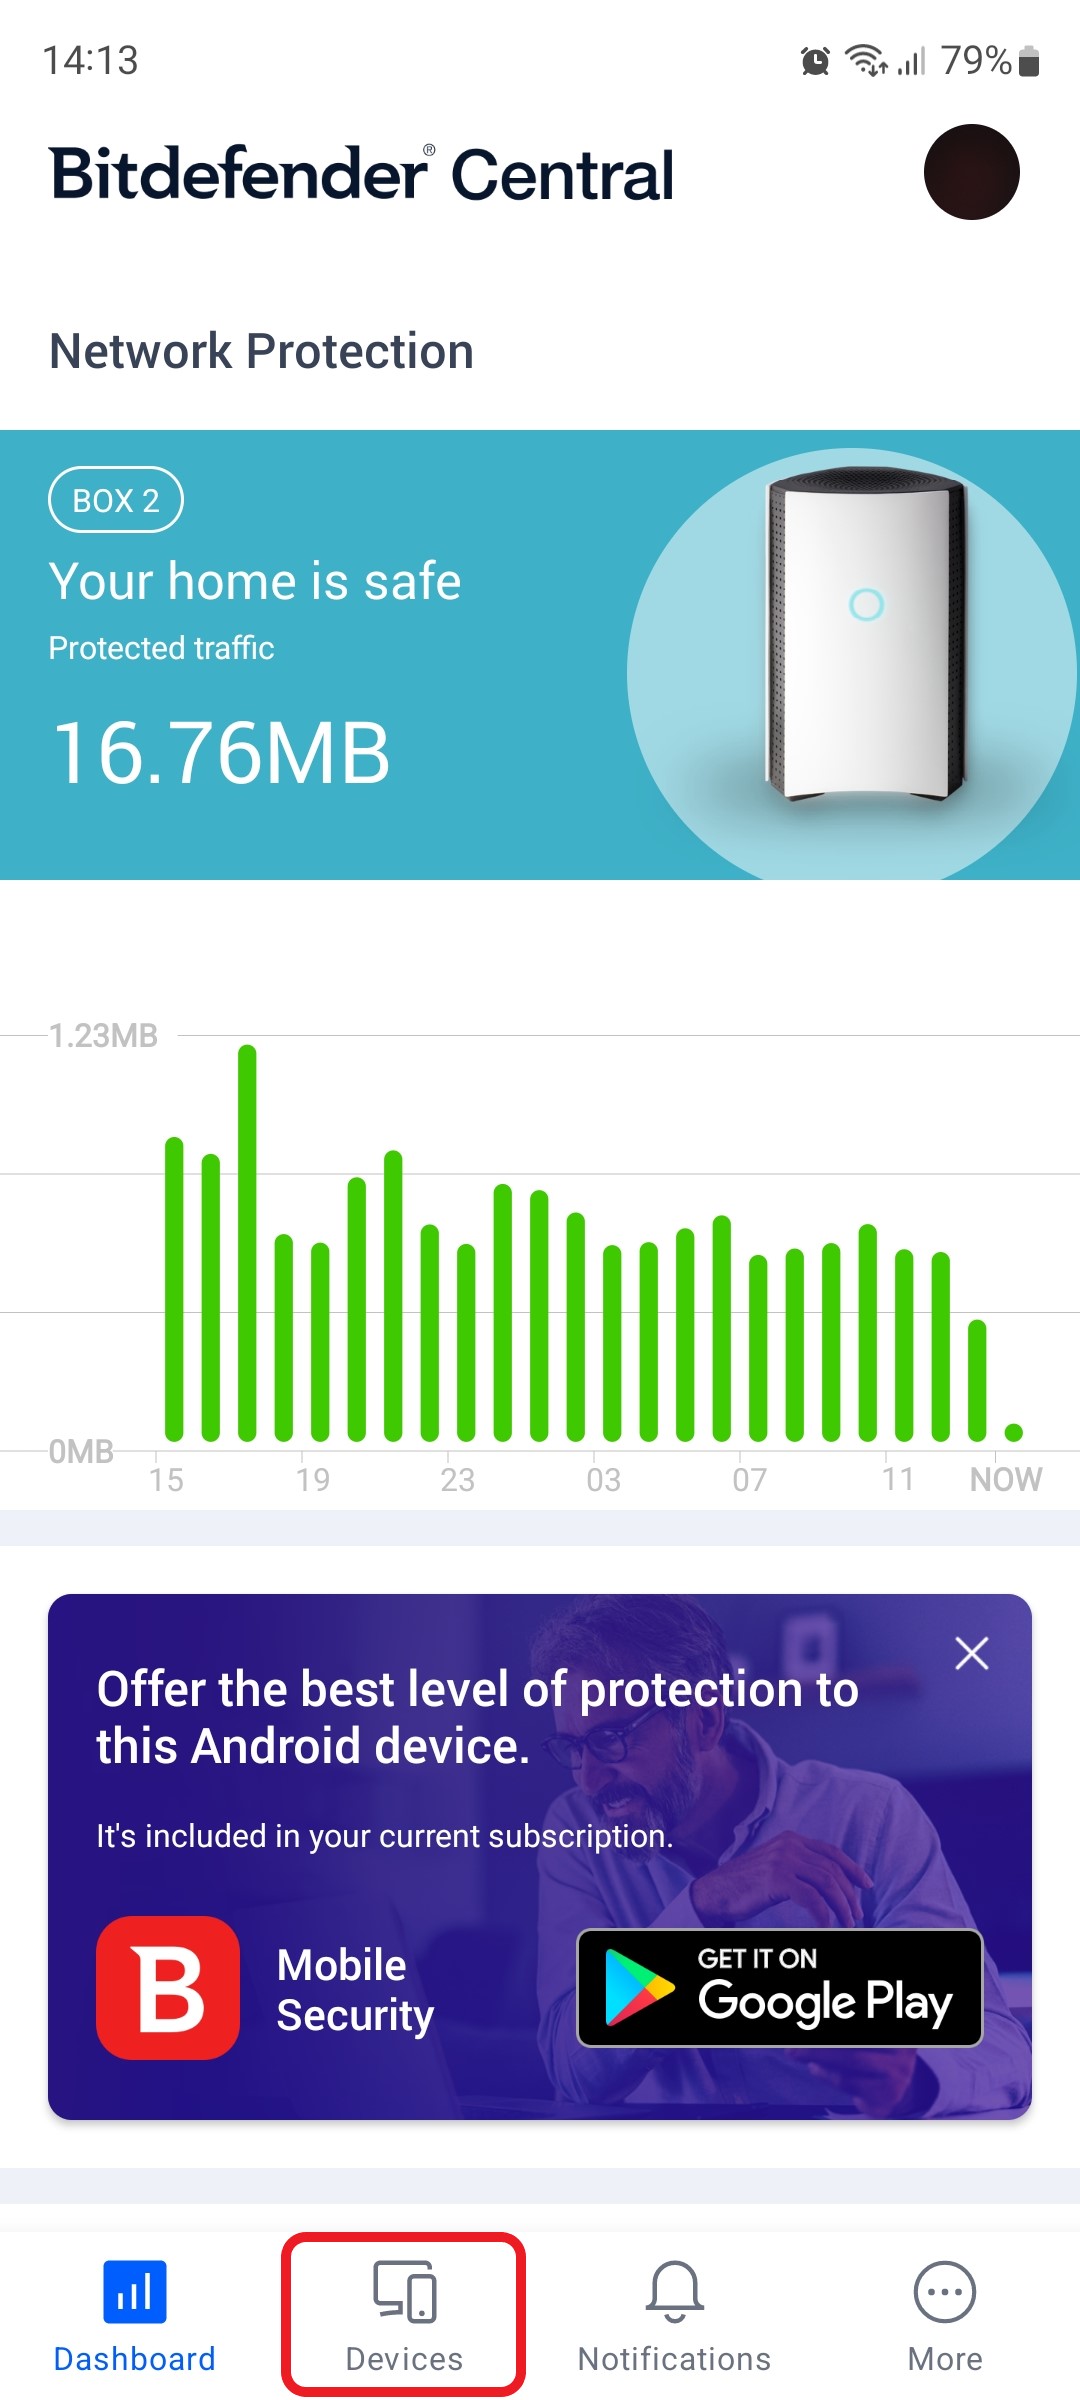
1. Open the Bitdefender Central app installed on your smartphone and go to the “Devices” icon at the bottom of the screen.
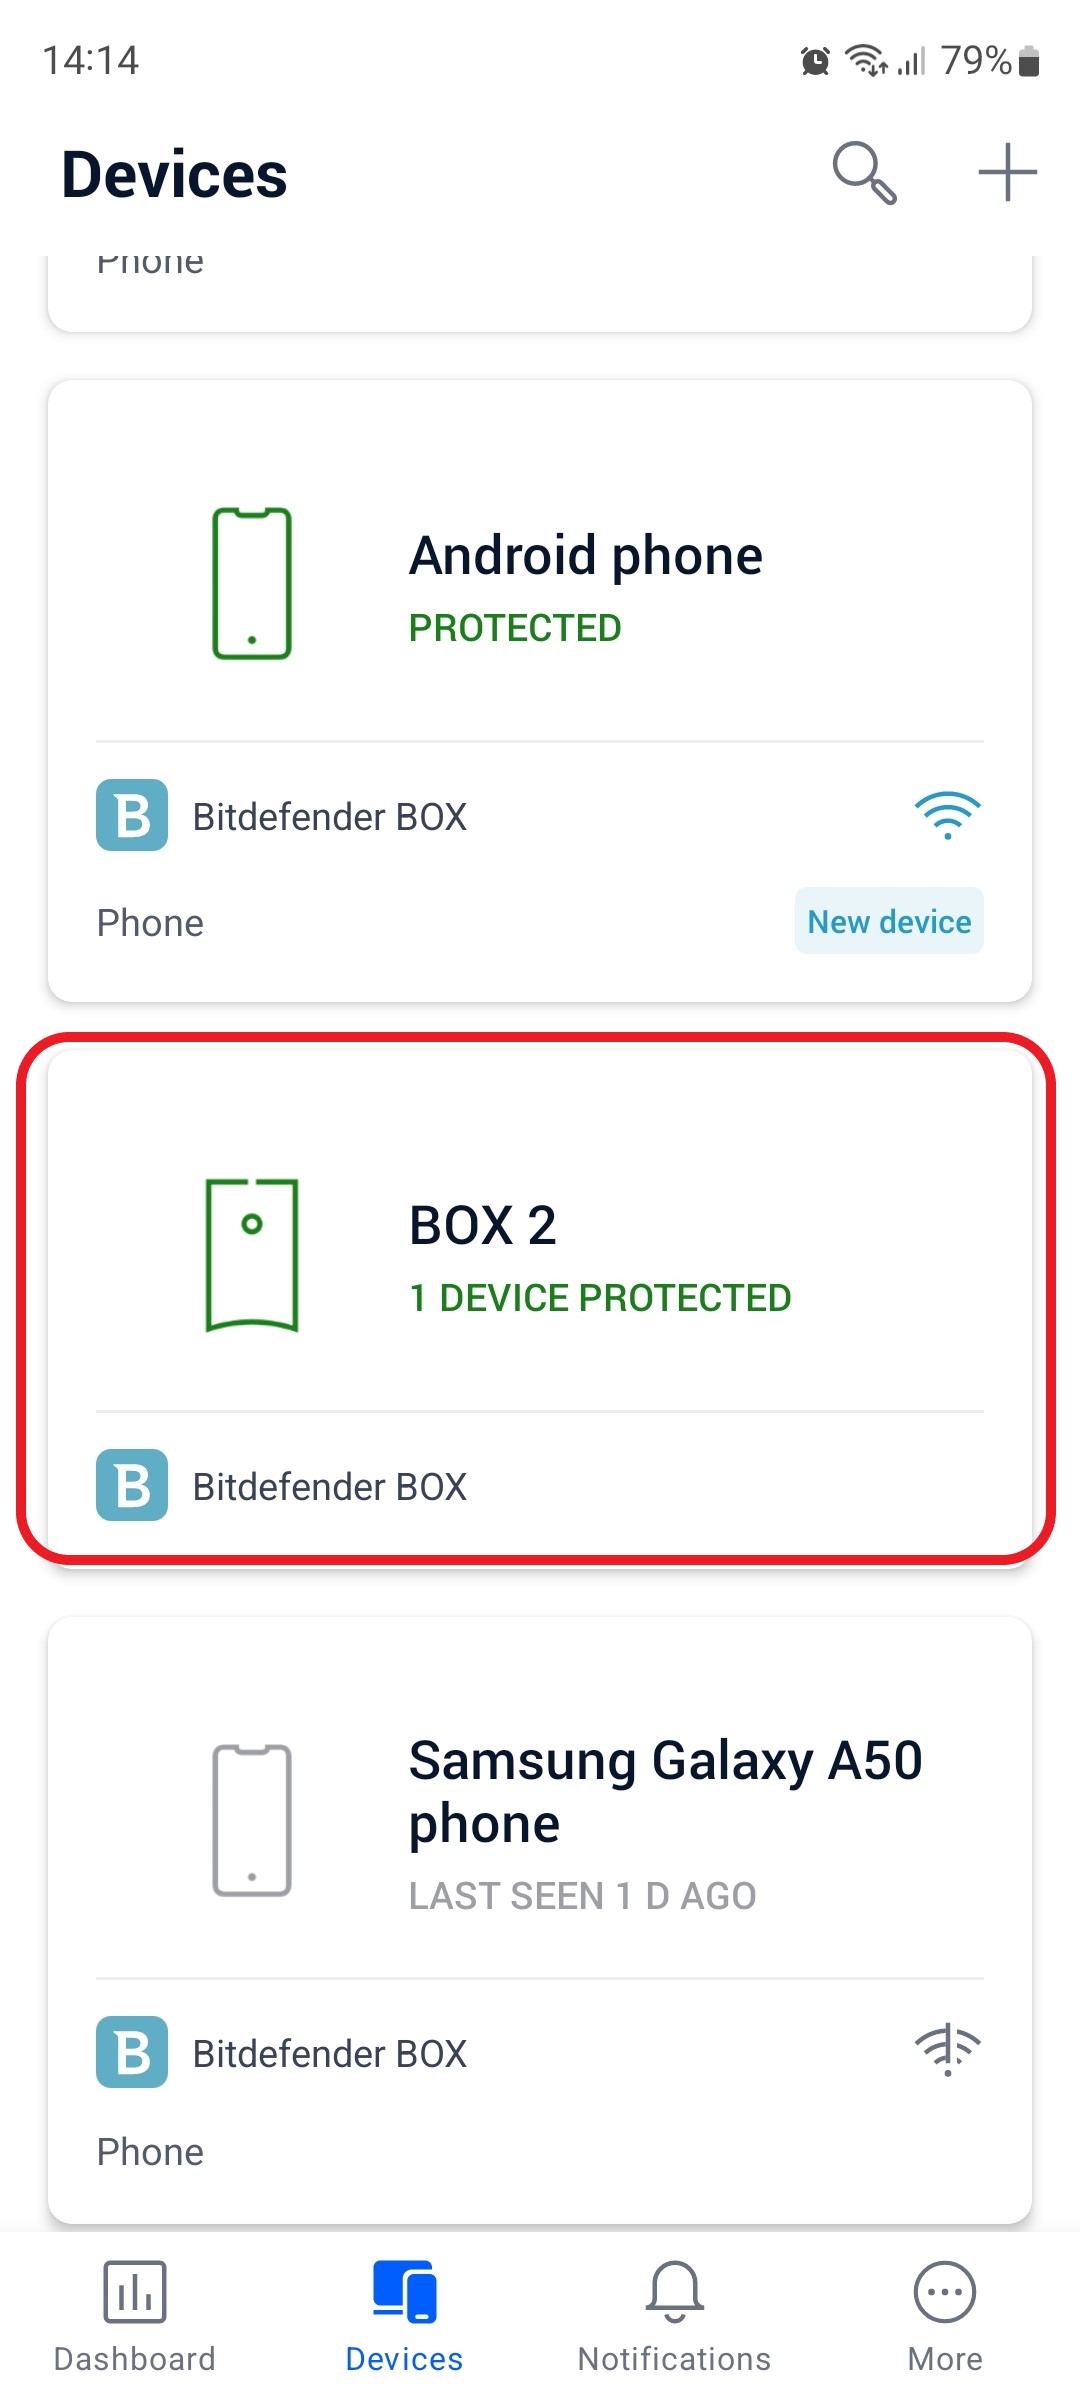
2. Next, select Bitdefender BOX in the list of devices.
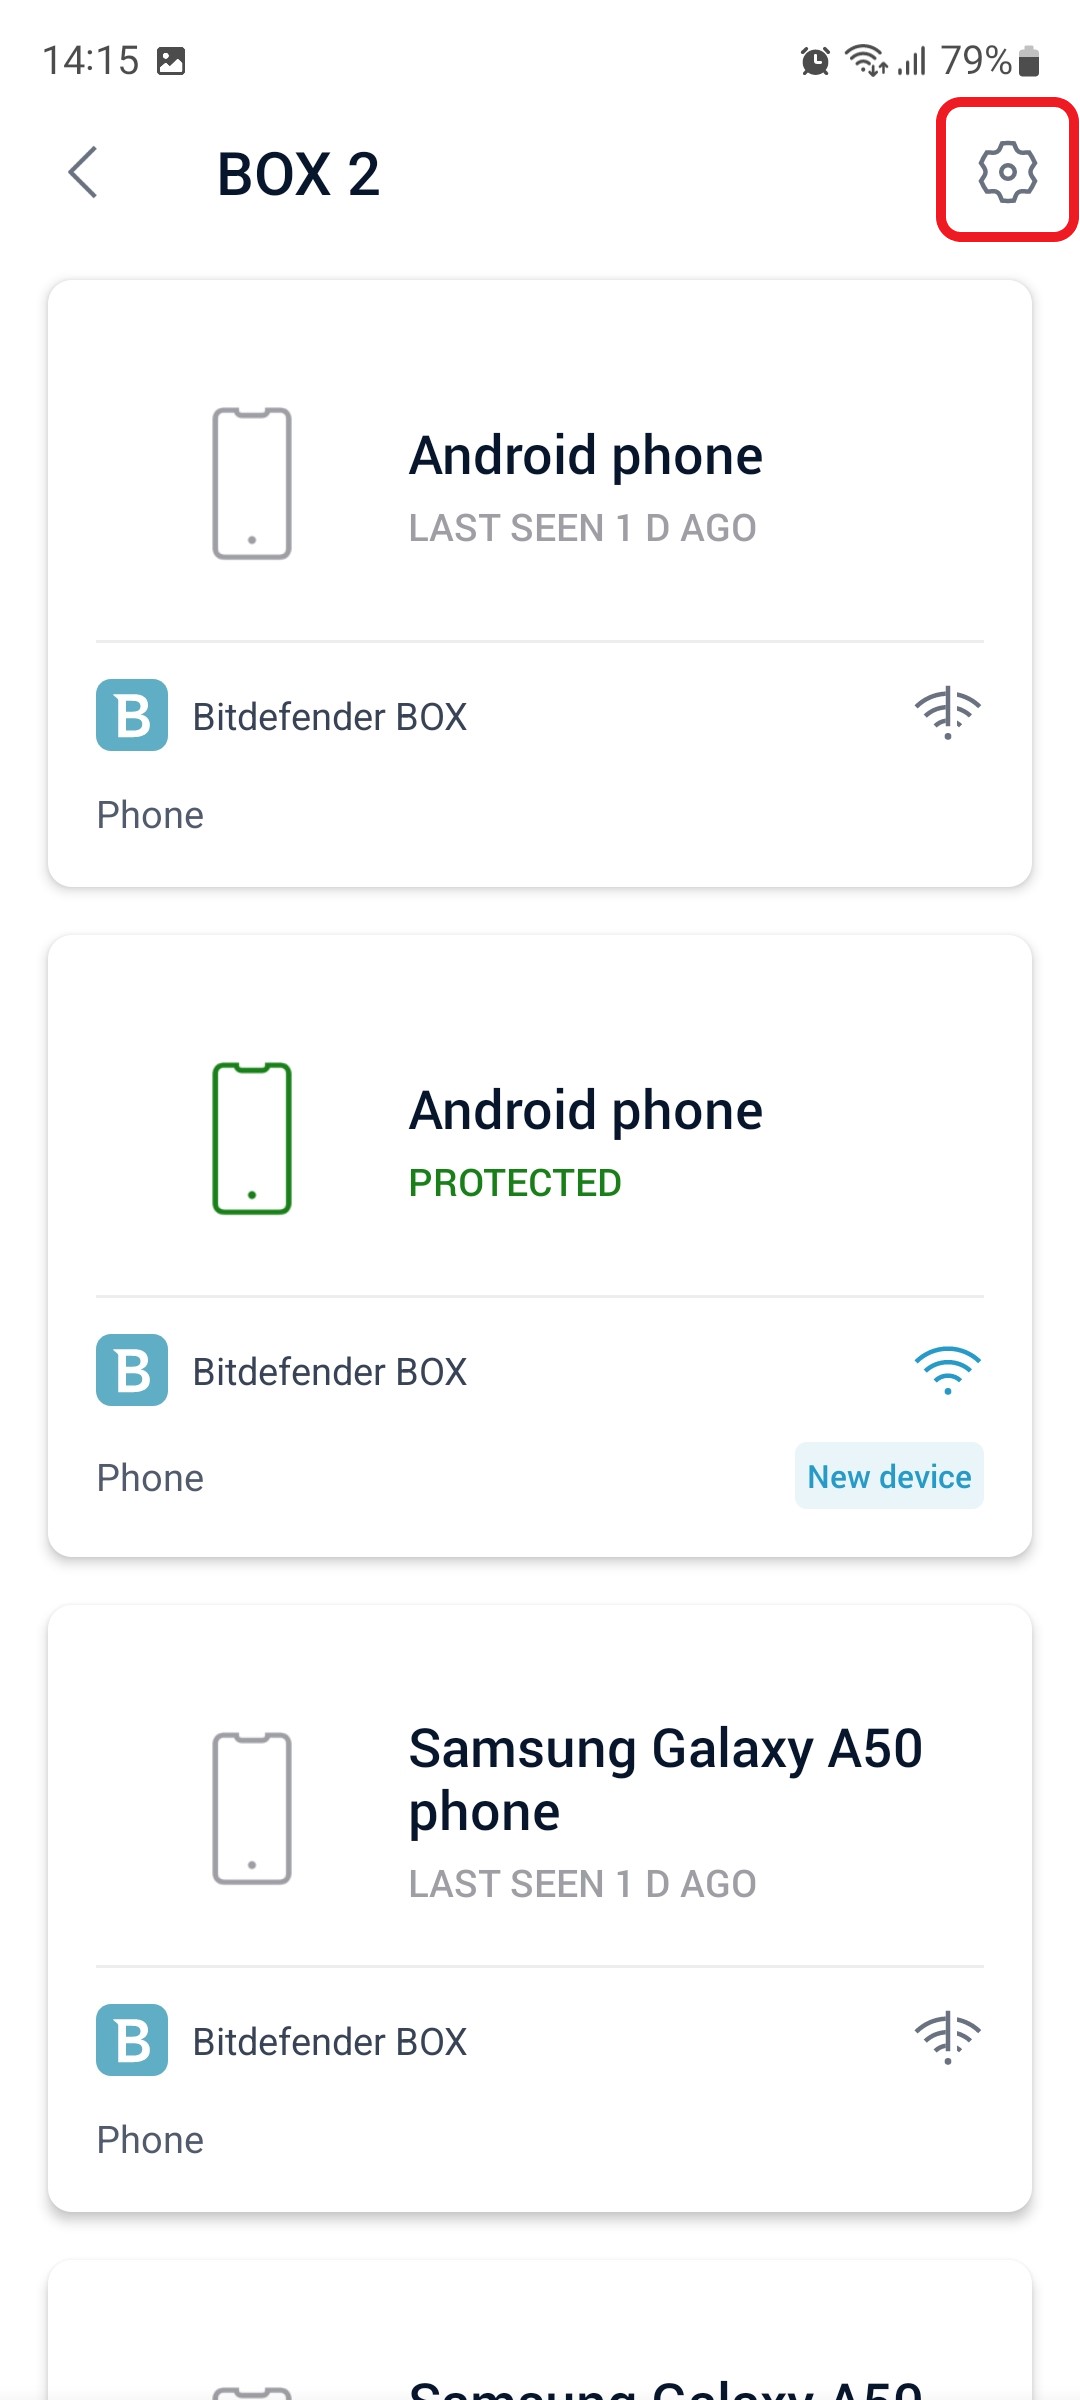
3. Then tap the small cogwheel in the top right corner to open the Bitdefender BOX settings.
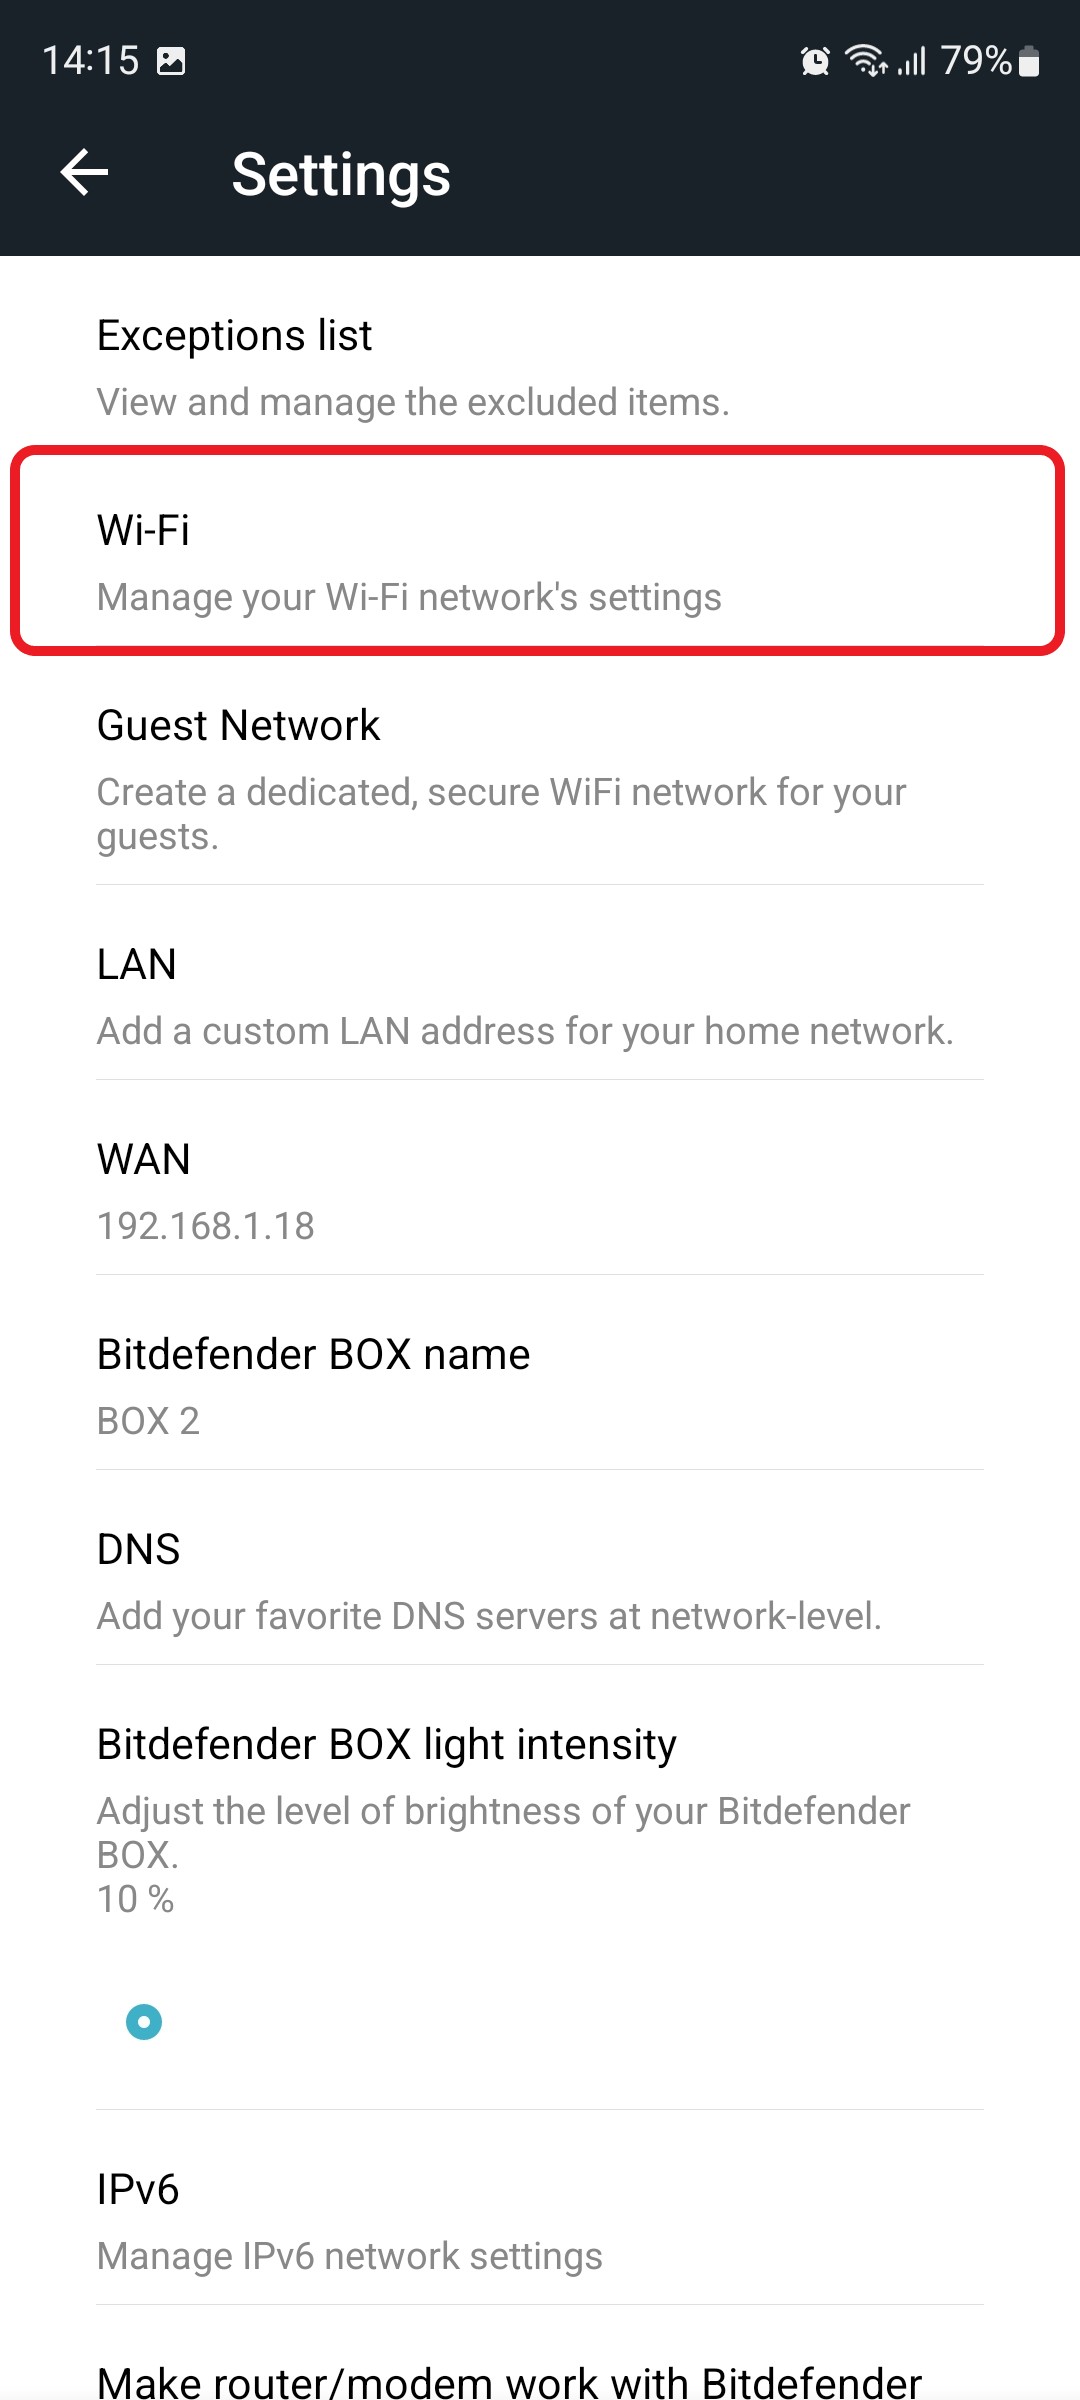
4. After opening the Settings menu, tap on “Wi-Fi”.
5. In the Wi-Fi settings, scroll down and tap on Channel.

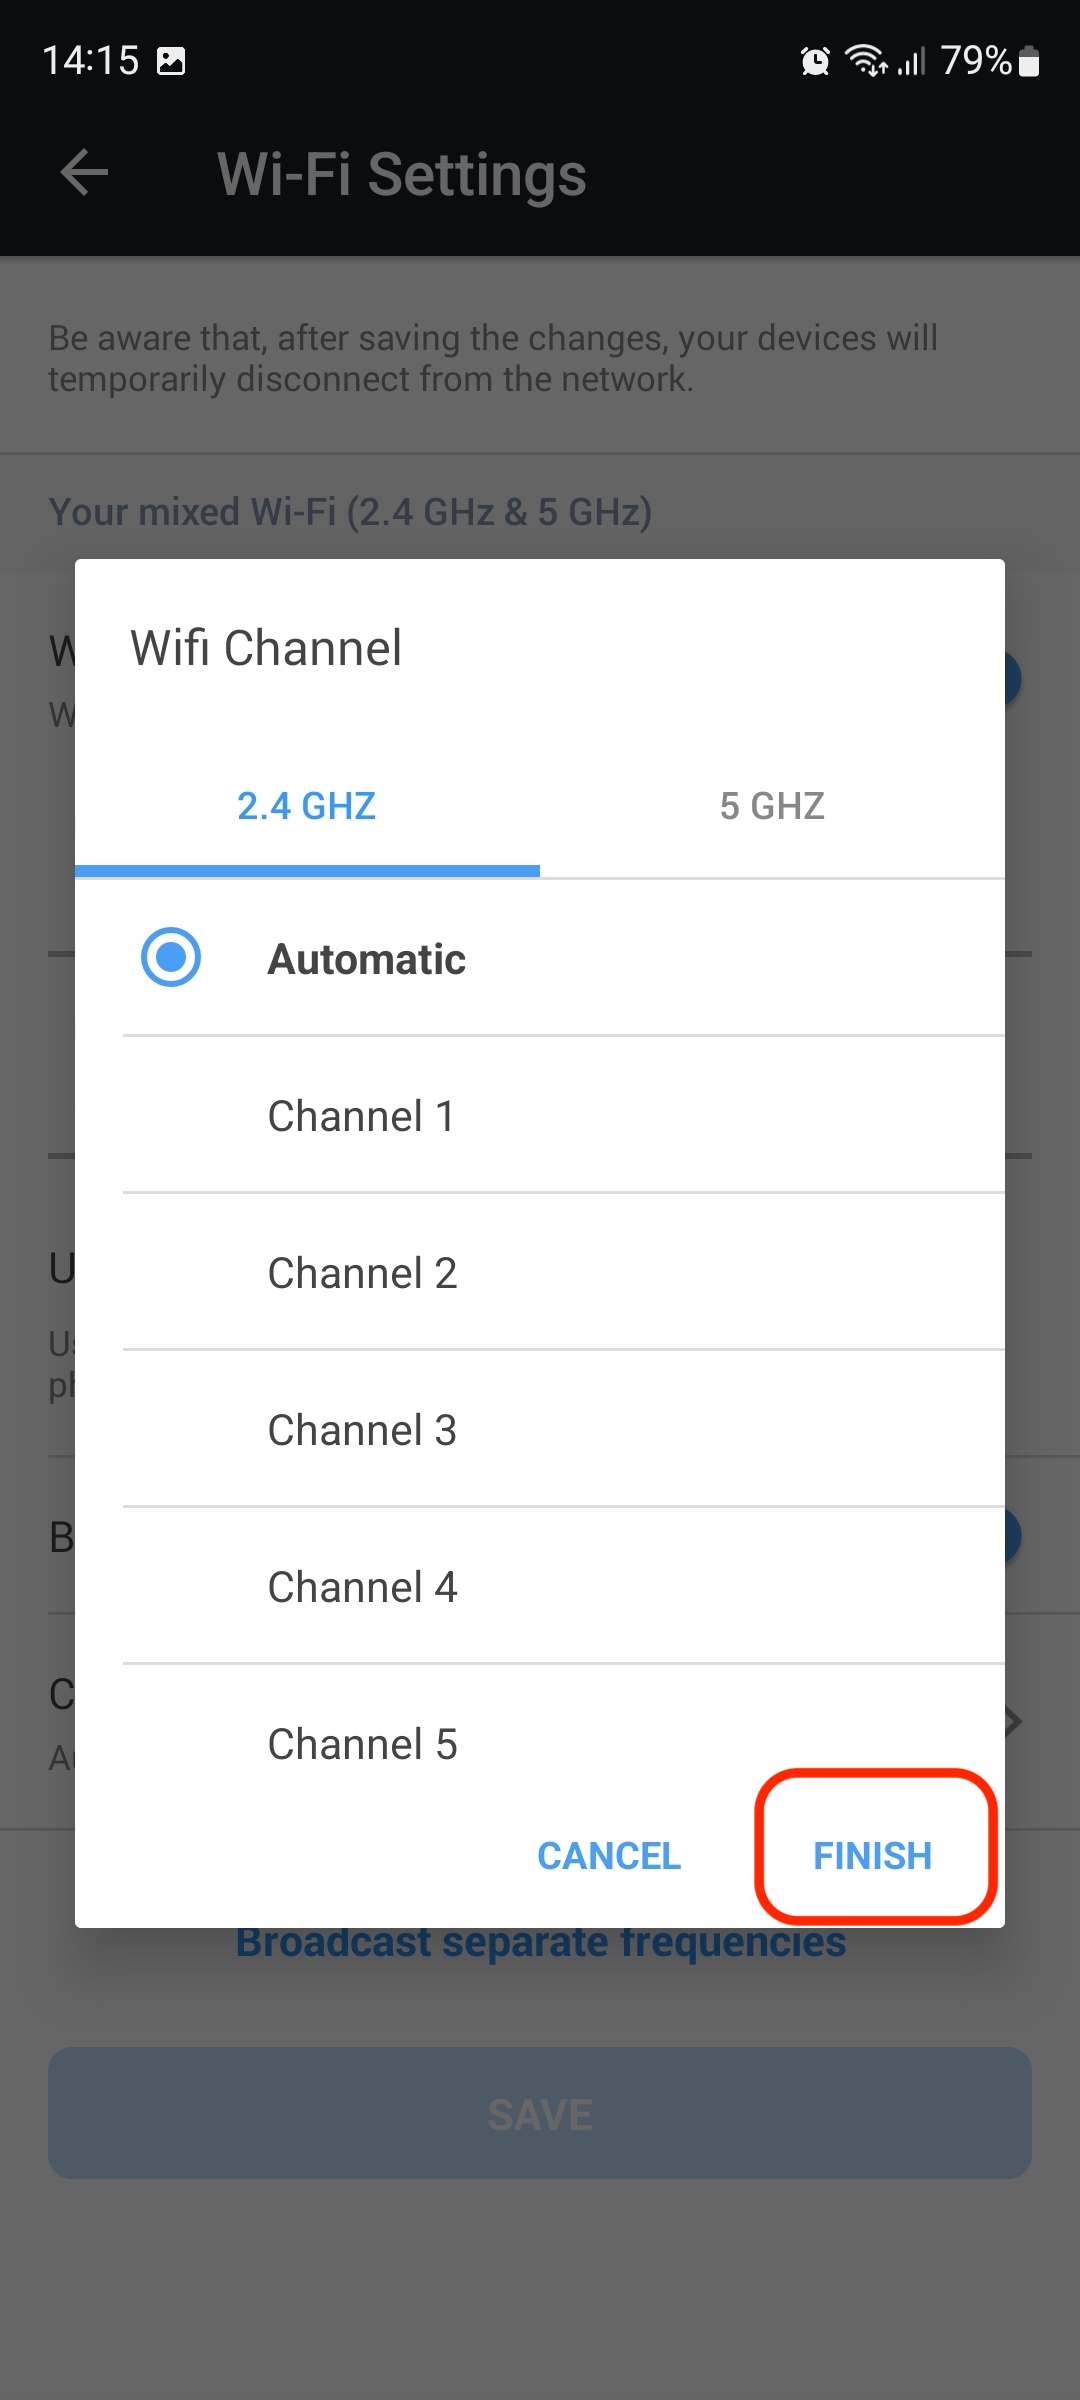
6. Select the wireless band that you want to change the channel for. For instance, if you want to change the 2.4 GHz Wi-Fi channel, tap the 2.4 GHz tab.
From the channel list, select a channel number, then press the FINISH button to apply the change.
ⓘ Note: After saving the changes, your devices will temporarily disconnect from the Bitdefender BOX network.