If your computer connects to the Internet through a proxy server, you must configure Bitdefender with the proxy settings. Normally, Bitdefender automatically detects and imports the proxy settings from your system.
Home Internet connections do not normally use a proxy server. As a rule of thumb, check and configure the proxy connection settings of your Bitdefender program when updates are not working. If Bitdefender can update, then it is properly configured to connect to the Internet.
To manage the proxy settings, follow these steps:
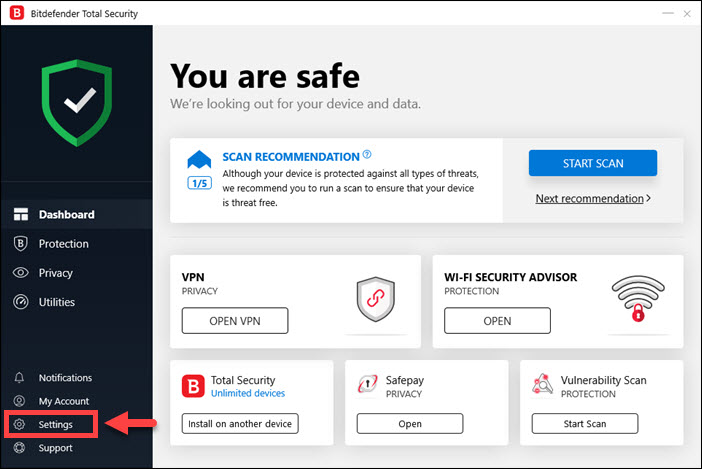
1. Open the main Bitdefender window.
2. Click the Settings icon on the lower left side.
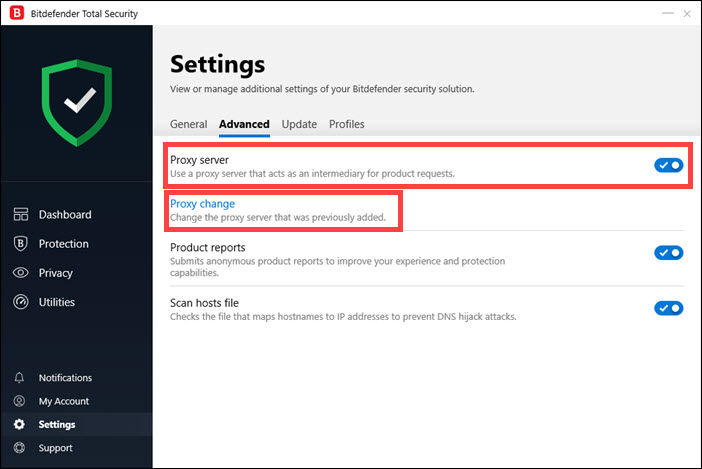
3. Select the Advanced tab.

4. Turn on proxy usage by clicking the switch Proxy server.
5. Click the Proxy change button.
6. There are two options to set the proxy settings:
• Import proxy settings from default browser – proxy settings of the current user, extracted from the default browser. Bitdefender can import proxy settings from the most popular browsers, including the latest versions of Internet Explorer, Mozilla Firefox, and Opera. If the proxy server requires a username and a password, you must specify them in the corresponding fields.
• Custom proxy settings – proxy settings that you can configure yourself. The following settings must be specified:
• Address – type in the IP of the proxy server.
• Port – type in the port Bitdefender uses to connect to the proxy server.
• Username – type in a username recognized by the proxy.
• Password – type in the valid password of the previously specified user.
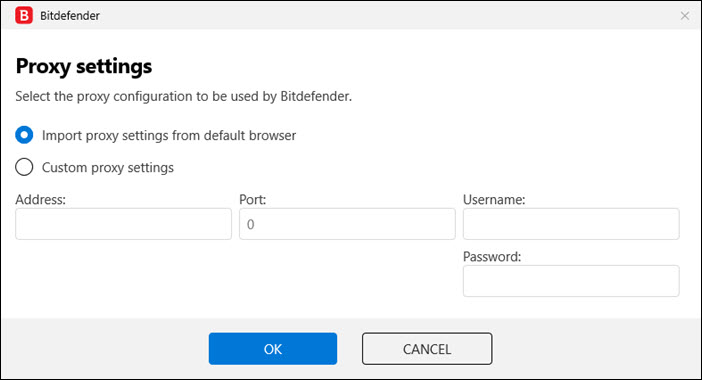
7. Click OK to save the changes and close the window.
Bitdefender will use the available proxy settings to perform updates until it manages to connect to the Internet.