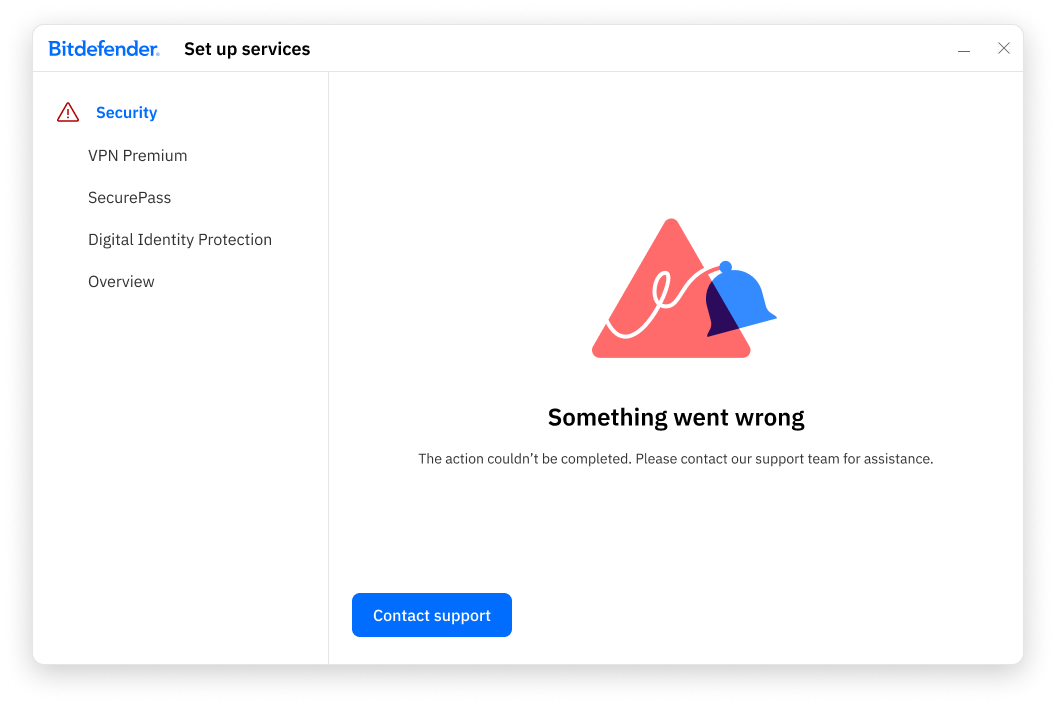
When installing Bitdefender App on macOS, you may encounter an error message stating “Something Went Wrong”. This error prevents the installation from continuing and usually appears when the Bitdefender Security service cannot be installed successfully.
This article provides step-by-step instructions to resolve the issue and complete the installation.
Symptoms
- During installation on Windows, the Security service setup stops and displays the message “Something went wrong. The action couldn’t be completed.”
- The installation cannot continue beyond this point.
- Re-running the installer results in the same error message.
Cause
The most common causes of this error include:
- Disk or system cache issues
- Incomplete or failed previous Bitdefender installations
- Slow or unstable internet connections
- Network restrictions such as proxies, firewalls, or DNS issues
Solution
Follow the steps below in the order listed to resolve the “Something went wrong” installation error on macOS.
Step 1: Start Your Mac in Safe Mode
Restarting in Safe Mode allows macOS to perform a basic disk check and clear certain system caches that may interfere with installation – How to start up your Mac in safe mode.
Step 2: Check and Repair Your Disk Using Disk Utility
Disk Utility checks your disk for errors and repairs them automatically if possible. For detailed steps, see – How to repair a Mac storage device with Disk Utility.
Step 3: Uninstall Bitdefender
- Open Finder and go to the Applications folder.
- Open the Bitdefender folder.
- Double-click BitdefenderUninstaller.
- Follow the on-screen instructions to completely remove Bitdefender from your Mac.
This ensures no corrupted or incomplete files remain before reinstalling.
Step 4: Restart Normally and Check Your Internet Connection
- Restart your Mac in normal mode.
- Ensure you have a stable internet connection.
Tips:
- If using Wi-Fi, ensure you have a strong signal
- If possible, switch to a wired (Ethernet) connection
Step 5: Disable Proxy Settings
Proxy settings can interfere with the download of Bitdefender components.
Temporarily disable any proxy settings configured on your Mac – How to turn off Proxy settings on macOS.
Step 6: Disable the Firewall
Firewalls can block the Bitdefender Security service during installation.
- Turn off the macOS Firewall.
- Disable any third-party firewall or network monitoring apps (such as Little Snitch).
For step-by-step instructions, see – How to Turn Off the Firewall on macOS.
ⓘ After Bitdefender is installed successfully, you can re-enable the firewall. Be sure to allow all Bitdefender connections.
Step 7: Change DNS Settings
Changing DNS settings can improve connectivity and help resolve download or speed issues.
Set your Mac’s DNS settings to use a reliable DNS server. For step-by-step instructions, see – How to change your Mac’s DNS server.
Step 8: Reinstall Bitdefender
After completing all steps above:
- Download the Bitdefender installer again from your Bitdefender Central account.
- Run the installer and follow the on-screen instructions to complete the setup.
The installation should now finish successfully.