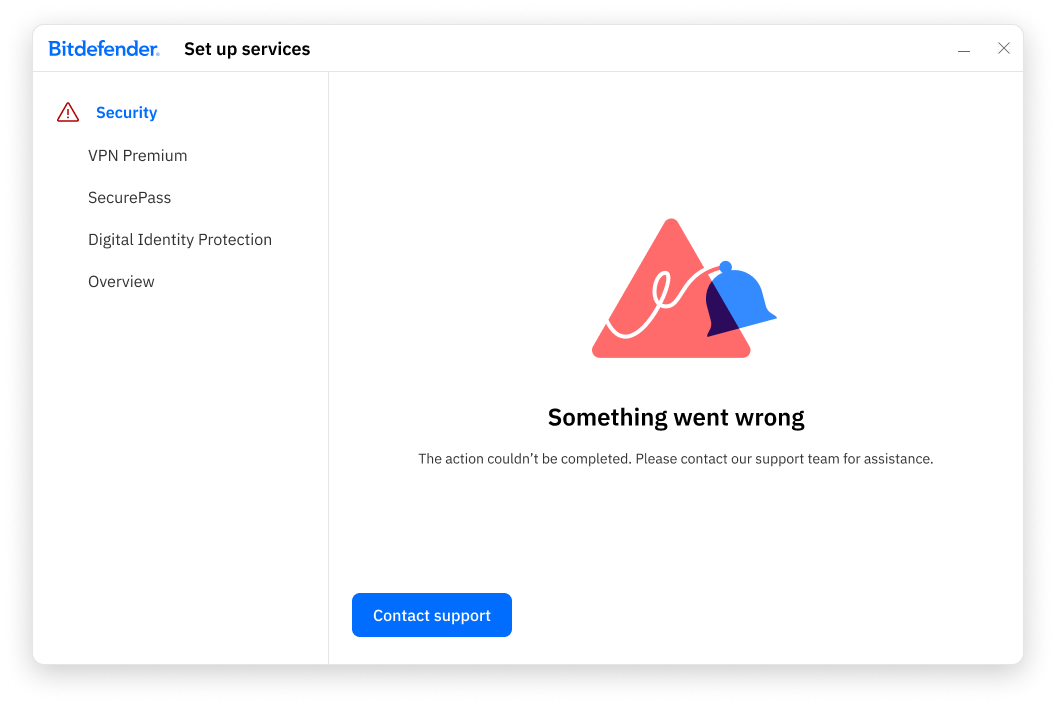
When installing the Bitdefender App on a Windows computer, you may see the error message “Something went wrong.” This occurs when the Bitdefender Security service cannot be set up correctly.
This article provides step-by-step instructions to resolve the issue and complete the installation.
Symptoms
- During installation on Windows, the Security service setup stops and displays the message “Something went wrong. The action couldn’t be completed.”
- The installation cannot continue beyond this point.
- Re-running the installer results in the same error message.
Cause
In most cases, the “Something went wrong” error is caused by leftover files, conflicting security software, or Windows system issues that prevent the installer from completing all required actions.
Solution
Follow the steps below in the order listed to resolve the “Something went wrong” installation error on Windows.
Step 1: Remove Other Security Solutions
- Uninstall any other antivirus or security software by following the steps outlined in the article How to uninstall or remove apps and programs in Windows.
- If the uninstall encounters errors, use the dedicated removal tool available here – Uninstall tools for major Antivirus software.
- Afterward, restart your computer.
Step 2: Clean Up System Files
- Run Disk Cleanup to clean unnecessary files and the remains of previous security software – How to run Disk Cleanup.
Step 3: Retry the Bitdefender installation
- Now download and install the latest version of Bitdefender from your Bitdefender account – How to Install and Set Up the Bitdefender App on Windows.
Step 4: Use System File Checker (SFC)
- If the installation error persists, use the Microsoft System File Checker tool (SFC) to repair missing or corrupted files – How to run System File Checker.
Step 5: Check Disk Integrity
- Use the Check Disk tool to check the integrity of disks and correct certain types of common errors – How to run a Disk Check.
Step 6. Update Windows
- To ensure optimal performance and security, install all available Windows updates, including the latest Service Pack – How to check for Windows updates.
Step 7: Set Permissions for Bitdefender folders
Follow the steps below to manually set permissions for Bitdefender installation folders:
- C:\Program Files\Common Files\Bitdefender\SetupInformation
- C:\Program Files\Common Files\Bitdefender
- C:\Program Files\Bitdefender
Create the required folder:
-
- Open the folder C:\Program Files\Common Files\
- If the Bitdefender folder doesn’t exist, create it:
- Right-click inside the Common Files folder, select New > Folder, and name it Bitdefender
- Inside the Bitdefender folder, create another folder named SetupInformation
- Now you will have the folder C:\Program Files\Common Files\Bitdefender\SetupInformation
Set folder permissions:
-
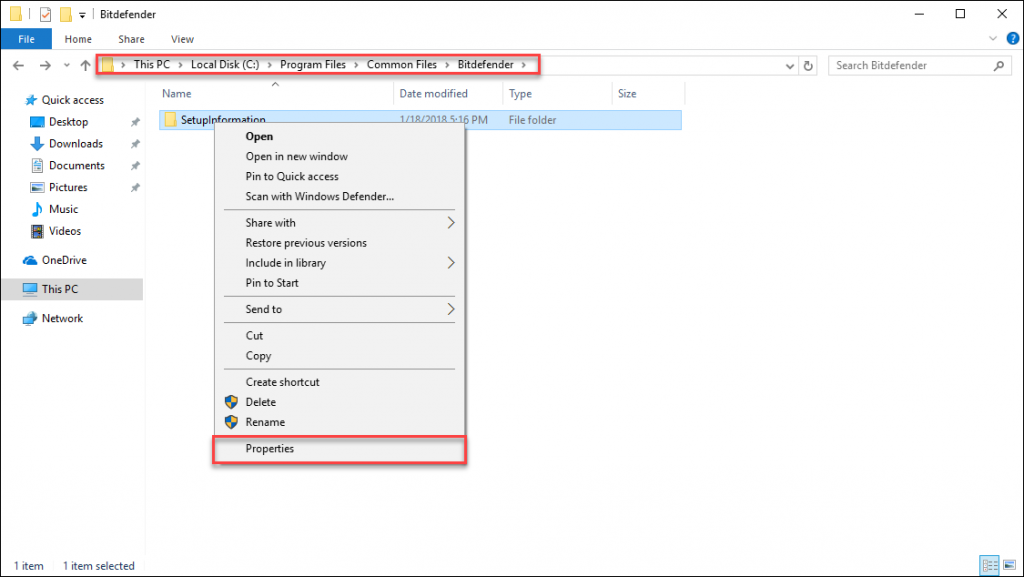
- Right-click on the SetupInformation folder and select Properties.
-
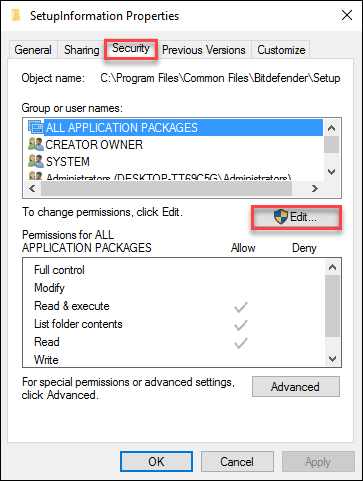
- Go to the Security tab and click the Edit button.
-
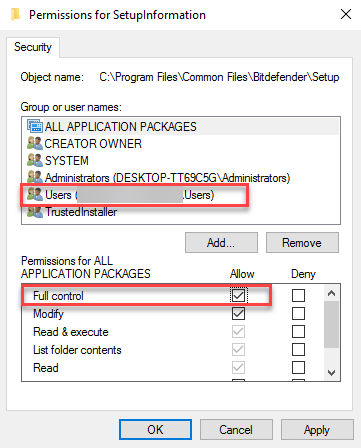
- In the Group or user names section, select your Windows username.
- After selecting your username, check the Allow box next to Full control. This will set the correct Windows permissions for the C:\Program Files\Common Files\Bitdefender\SetupInformation folder.
Repeat for these Bitdefender folders:
-
- Also set permissions for these two Bitdefender folders:
- C:\Program Files\Common Files\Bitdefender
- C:\Program Files\Bitdefender (create this folder manually if it doesn’t exist)
- Also set permissions for these two Bitdefender folders:
-
- Right-click on each Bitdefender folder within the specified folders, choose Properties, and follow the same steps above to allow full control to your Windows username.
.
Once you’ve granted full permissions on all these folders, restart your computer, run the Bitdefender installer again, and check if the issue is resolved.