In order to generate full memory dumps, follow the steps below:
1. Go to Start → Control Panel.
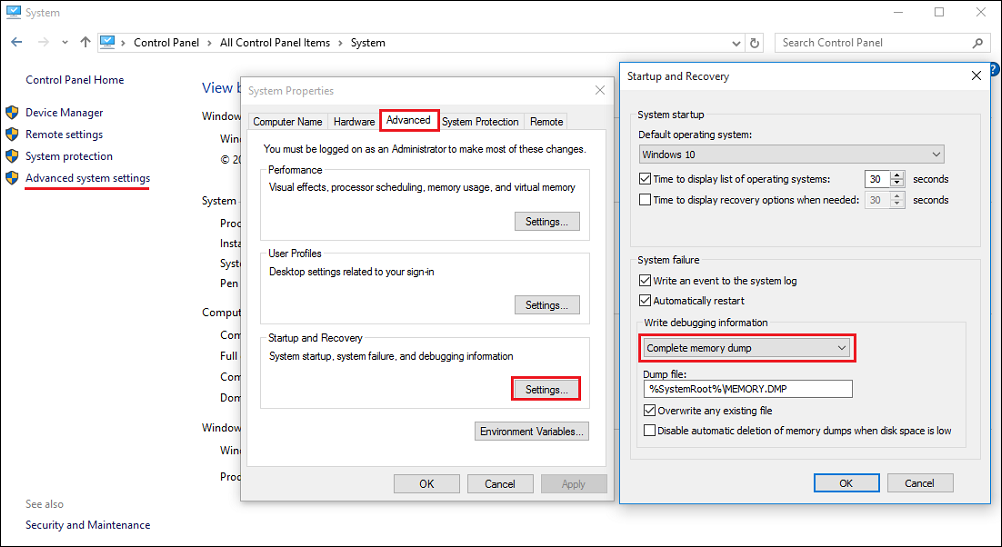
2. Open System and click on Advanced System Settings.
3. Click on the Advanced tab and then press the Settings button from Start up and Recovery.
4. Please select Complete Memory Dump from the ‘Write debugging information’ drop-down list.
5. Make sure that the Automatically restart option is checked.
6. Make sure that the ‘Overwrite any existing file‘ option is checked.
7. Click the OK button twice to save the changes made.
8. Once the blue screen occurs again a *.dmp file is generated in C:\Windows folder.
Follow the steps below in order to display hidden objects and be able to see the created dumps:
How to display hidden objects
1. Go to your ‘Control Panel’ and open ‘Folder Options’.
2. Then go to the ‘View’ tab and perform the changes listed below:
• Check ‘Display contents of system folders’.
• Check ‘Show hidden files and folders’.
• Uncheck ‘Hide file extensions for known file types’.
• Uncheck ‘Hide protected operating system files’.
3. Click ‘Apply’ and then OK to exit.
If you encounter an issue where the Complete Memory Dump item doesn’t appear in the Write debugging information drop-down list download this registry key extract it and run it on your computer.
If for some reasons, you cannot run the .reg file that you downloaded above, follow these steps manually:
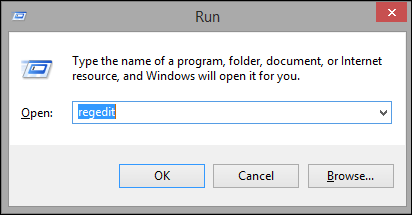
1. Go to Windows Start menu.
2. Type in regedit and then press Enter.
3. Expand the left-hand tree and select the following key:
HKEY_LOCAL_MACHINE\SYSTEM\CurrentControlSet\Control\CrashControl
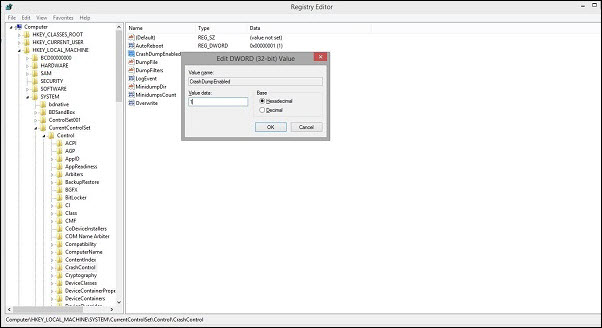
4. In the right-hand panel double-click the data value CrashDumpEnabled to edit it.
5. Change the value to number 1
6. Click OK.
7. Restart the computer.
The Complete memory dump option is now enabled and can be selected from the System Properties menu as described above.